Category: Riding Tips
-

Bicycle safety reminder for both cyclists and motorists
As we head into the warmer months, many are ready are ready to enjoy the a sunshine, commute, or get some exercise. Since May is National Bike Safety Month, here are a few quick reminders to help keep both cyclists and drivers safe on the road this summer. Sharing these reminders could save a life.…
-
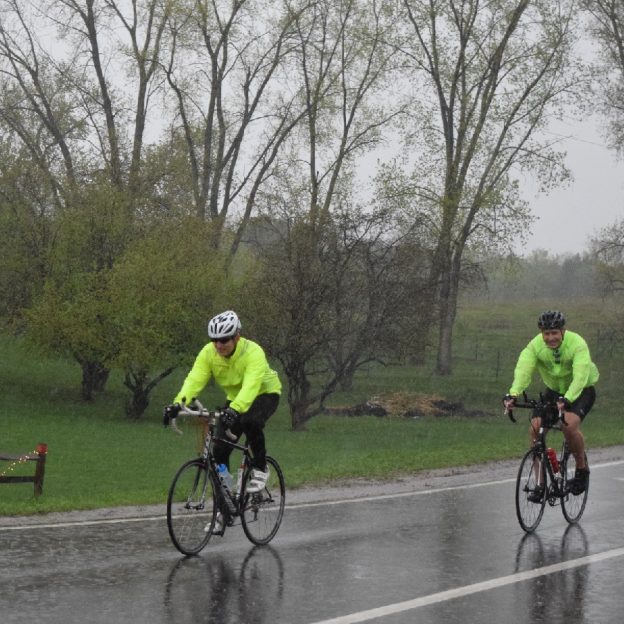
Quick post bike maintenance tips after riding in the rain
Sadly, it is sometimes unavoidable to ride in the rain. In my experience, the rain actually waits for me to get as far from home as possible before starting. So, when you do get caught in the rain, how do you protect your bike from the damages of water? Read on for a few helpful…
-

Bike noises may be easy to fix with these tips
Bikes are fun, and any noise distraction from your two-wheeled steed can be annoying. One distraction that is easy to fix is noises your bike usually doesn’t make. The reason they are easy to eliminate is that each noise is telling you what’s wrong. Here are some of the most common noises, their causes, and…
-

Being visible and noticed doesn’t end when the sun comes up
Now that spring is here and riding and walking outdoors are in full swing, stay visible and noticed. Wear clothing that makes you stand out when riding your bike or walking along the road or trail. Being noticed by others is the key to avoiding accidents. Focus on the two forms, passive and active visibility,…
-

With these tips, wood ticks won’t haunt your next outdoor adventure
Unless you enter the annual Woodtick Races in Cuyuna, MN, on June 13th, these bloodthirsty wood ticks are annoying and could be hazardous to your health. Especially if you are biking or hiking on trails through the woods or in tall grass. Always take note as you enjoy your outdoor adventures. These little critters, especially…
-

Have fun with 30 Days of Biking in April
What started as a way to get more people active, the “30 Days of Biking” campaign has grown in popularity, and shows added heart-healthy values. Depending on the weather, your daily ride might be as little as a spin around the block, a few laps around the underground parking garage, or spinning at the gym.…
-

Courteous tips for a fun ride on or off the bike trails
With warmer spring temperatures drying out the bike trails, we thought it would be good to repeat a message developed by the International Mountain Bike Association (IMBA). These tips work well for courteous conduct on both shared-use paths and lanes. Keep in mind that procedures for yielding and passing may vary in different locations or with…
-

Common cycling mistakes easily solved for more fun
Mistakes are something humans can’t escape; nobody is perfect, especially when riding a bike. That said, we can try to eliminate some of the simple errors we may make, even if we don’t realize we are heading down the wrong path. Consider taking a look at some of the most common and damaging cycling mistakes…
-
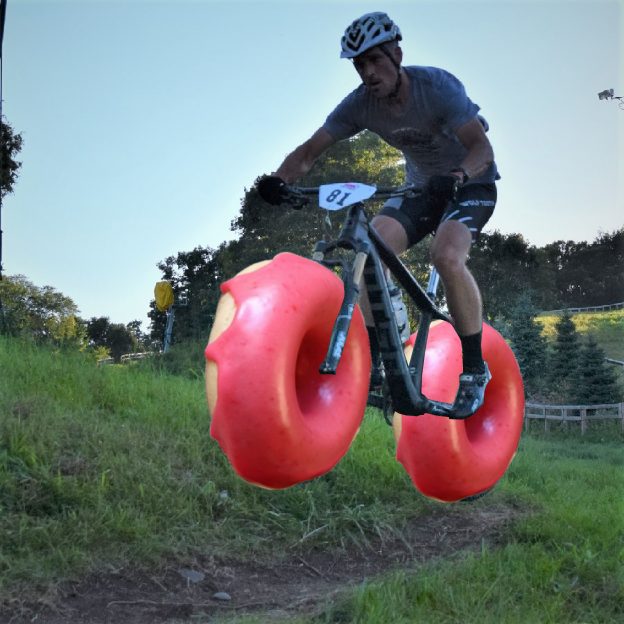
Add a casual doughnut ride to your 30 Days of Biking
Last year I spent some time in the cradle of liberty, Philadelphia. While there, I enjoyed a few rides, but the most enjoyable one was the Trek of Philadelphia’s Doughnut Ride. I was reminded of the joys of simple rides and good company rather than strenuous efforts and a competitive pace. With 30 days of…
-
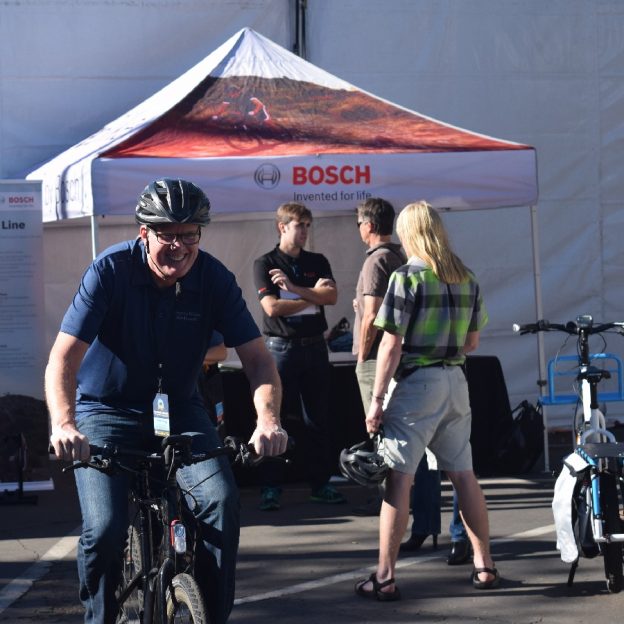
Fun is testing e-bikes before purchasing
One of the most important and fun parts of buying an electric pedal-assist bike (E-bike) is taking the model(s) you are most interested in out for a test ride. Like buying a car, a test ride will help you finalize your decision once you have narrowed your selection.