Tag: Bike repair
-

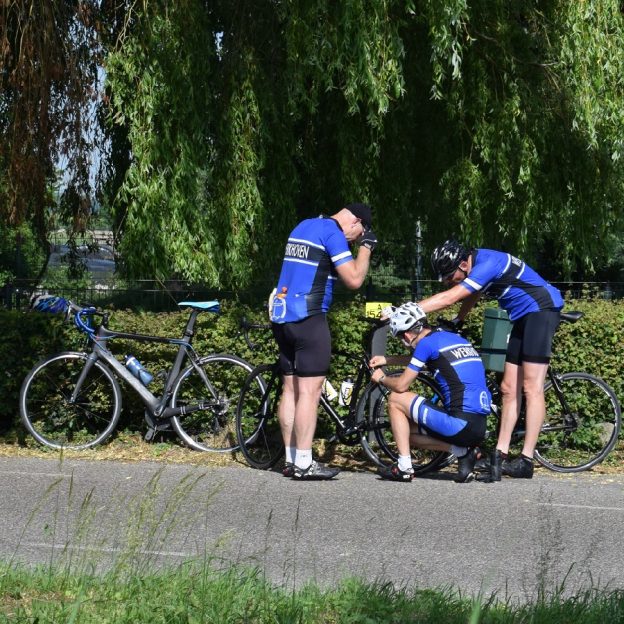
Bike noises may be easy to fix with these tips
Bikes are fun, and any noise distraction from your two-wheeled steed can be annoying. One distraction that is easy to fix is noises your bike usually doesn’t make. The reason they are easy to eliminate is that each noise is telling you what’s wrong. Here are some of the most common noises, their causes, and…
-

Common cycling mistakes easily solved for more fun
Mistakes are something humans can’t escape; nobody is perfect, especially when riding a bike. That said, we can try to eliminate some of the simple errors we may make, even if we don’t realize we are heading down the wrong path. Consider taking a look at some of the most common and damaging cycling mistakes…
-
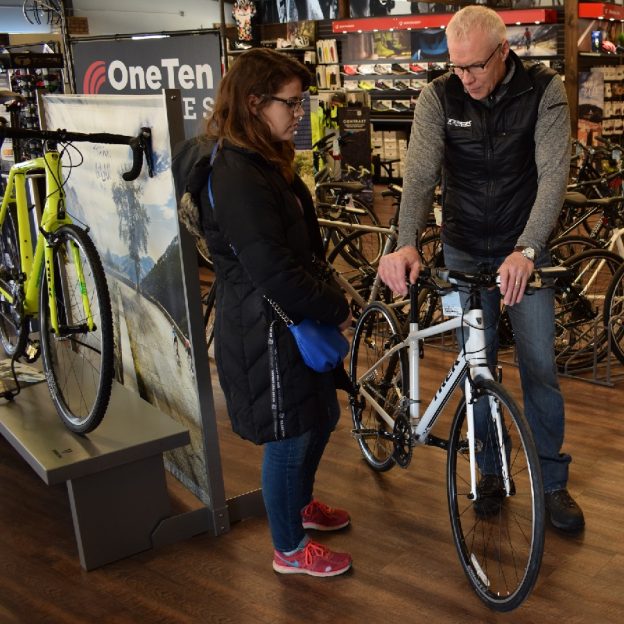
Winter in a bike shop is a great time to learn and save
The winter months are the perfect time to visit a bike shop and learn. Other than just enjoying bikes at a time when you may not be riding, there are many benefits to visiting your bike shop during the cooler months of the year. You can learn more about your bike in the slower winter…
-
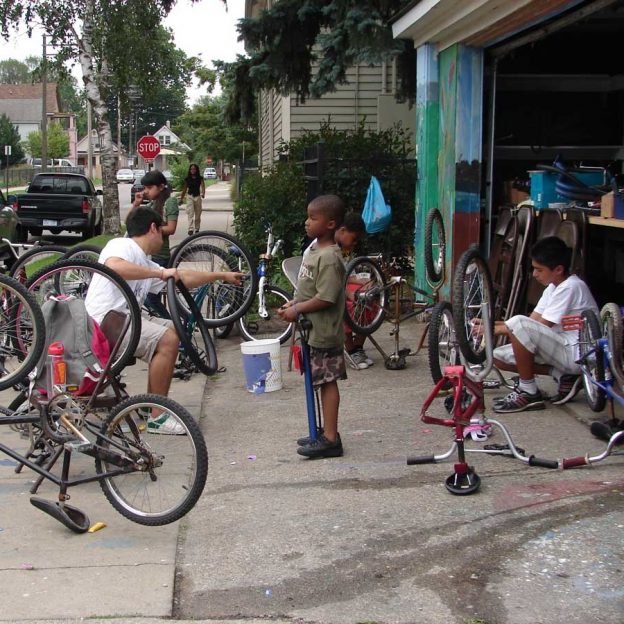
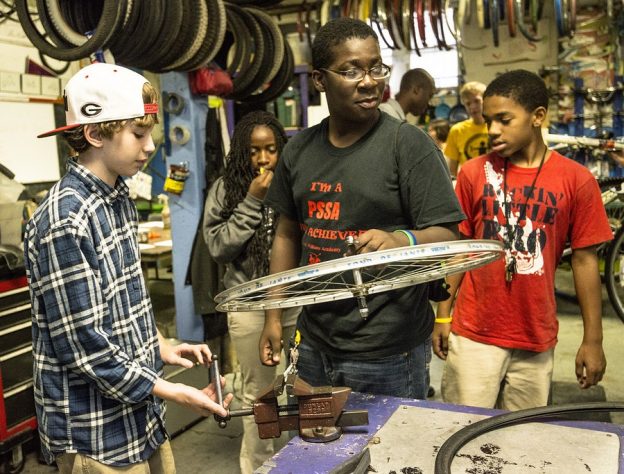
Teach your child the ancient art of bicycle maintenance
As a parent and tinkerer, one of the most fun activities I share with my two boys is teaching them how bike maintenance works. Now that my older son is riding more and helping me review a bike for HaveFunBiking, the time has come to teach him how a bicycle works. Almost everybody gets the…
-
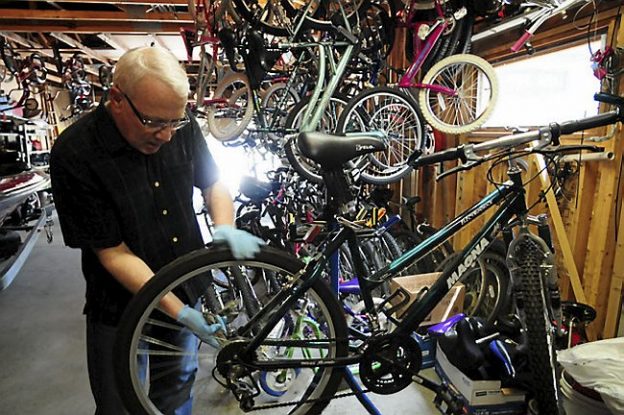
Bicycle maintenance will keep your bike in optimal condition
Like any other mechanical device, routine bicycle maintenance and cleaning will keep your bike in optimal condition as the season progresses. Additionally, routine bicycle maintenance will make your bike safer to ride when you need it. Where do you start? What do you use? Well, here are a few tips to put you on the…
-

Common cycling mistakes and the ways you can easily solve them
Common cycling mistakes are something we as humans can’t escape, but nobody is perfect. That said, consider taking a look below at some of the most common and damaging cycling mistakes made by both occasional and seasoned cyclists.
-
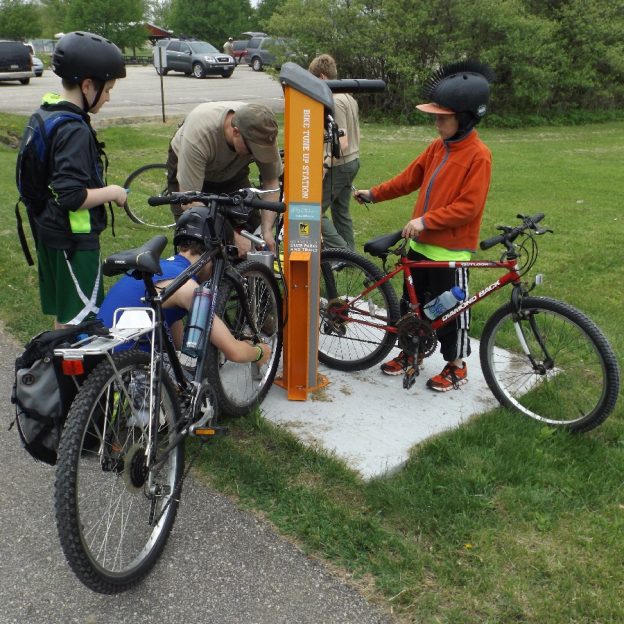
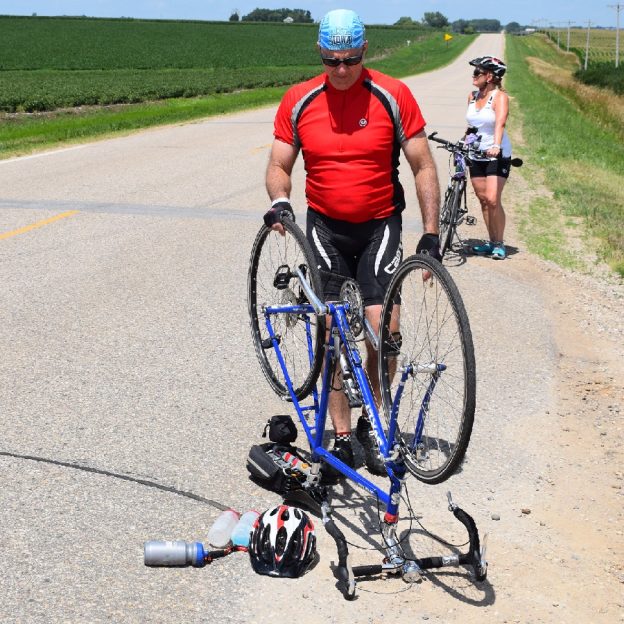
How to fix a flat tire on a bike is a skill every rider should have
One inevitability of riding a bicycle is that you will get a flat tire. With a little practice and planning, you will be able to fix a flat tire and finish your ride. To be prepared, you will need a few tools and to practice how to fix a flat on your bicycle a few…
-
Causes of a broken chain and the quick and easy ways to fix it
The second most common trailside mechanical to a flat tire is a broken chain. While it could be the end of an otherwise great ride, with a little preparation, you can easily and quickly get if fixed and back on the road. Read on to learn the causes of and remedies to a broken chain.
-
Round, straight and fast, wheel truing makes riding easier
Wheel truing is a great way to take care of your bike while making it easier to ride. However, when you start adjusting your wheels, it’s important to know where to start. Please, read on below for details on what makes your wheels work, and how to make them work better.
-
Quick and easy tips for adjusting your bicycle’s v-brakes
For those who don’t have disc brakes, the V-brakes on your bike are your greatest single source of control. Take a look below for some tips and tricks on how to adjust your V-brakes.