by John Brown
As a parent and tinkerer, one of the most fun activities I share with my two boys is teaching them how bicycle maintenance works. Now that my older son is riding more and helping me review a bike for HaveFunBiking, the time has come to teach him how a bike works. Almost everybody gets the basics, but after 20 years working in shops, I want to give as much of my experience to him as possible. Take a look at my plan for teaching my son bicycle maintenance.
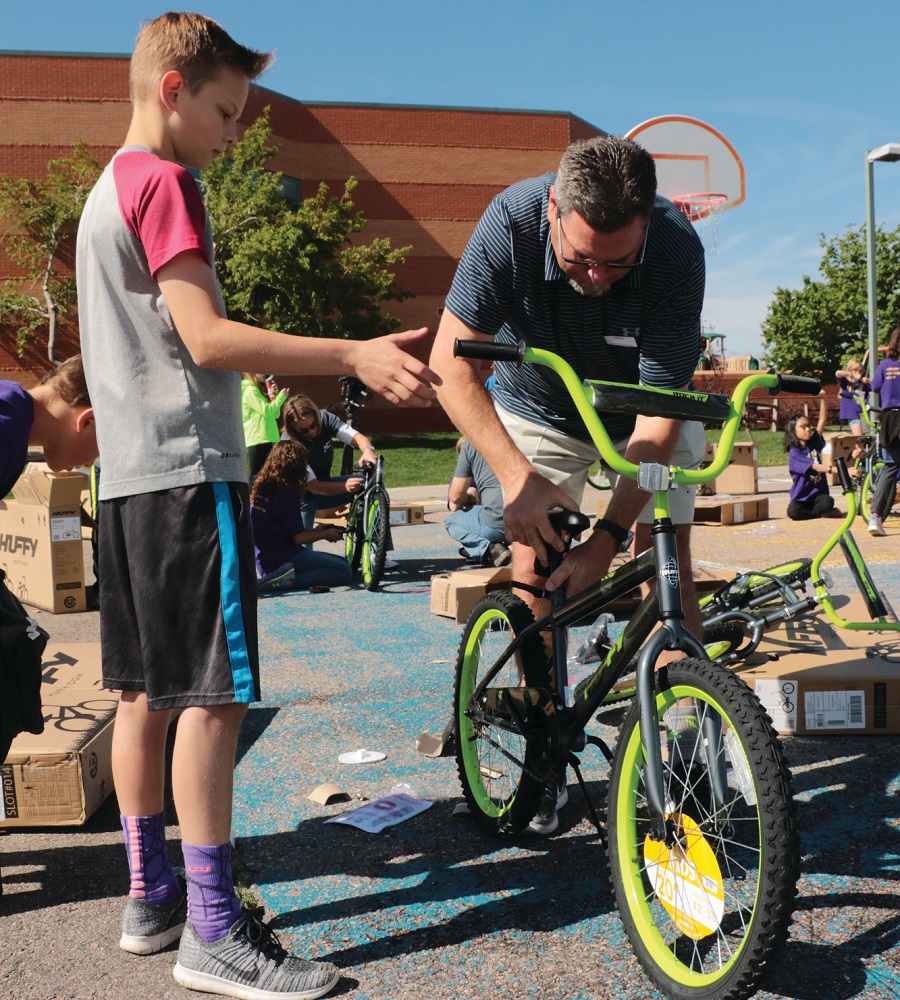
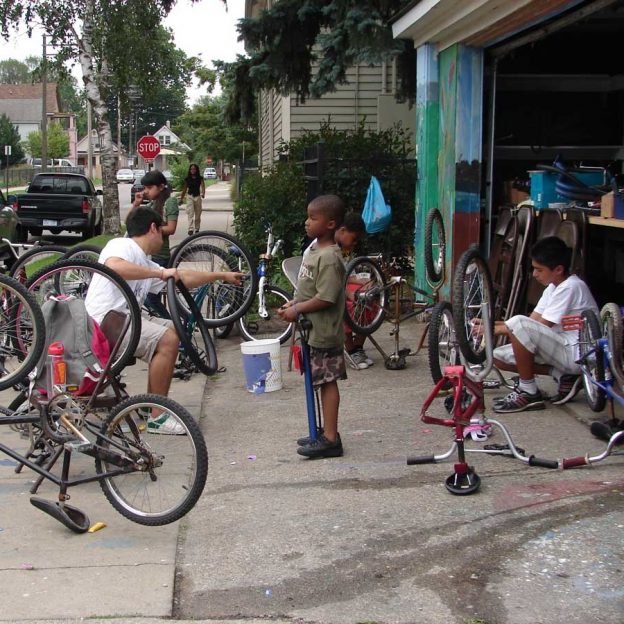
Here this father-son team assembles a new bike for a school program.
Safety first in bicycle maintenance
Like wearing a helmet when riding a bike, working on a bike also has safety gear. Eye protection is a must. With safety glasses on, the next step is to show your child the danger zones on a bike. Spinning wheels, spinning brake rotors, along with crank, chain, and cogs, are all dangerous to little fingers. Teach your children to avoid those areas when the bike is moving. On that subject, it is also essential for kids to wear snugly fitting clothing. Loose clothing can get caught in moving parts.
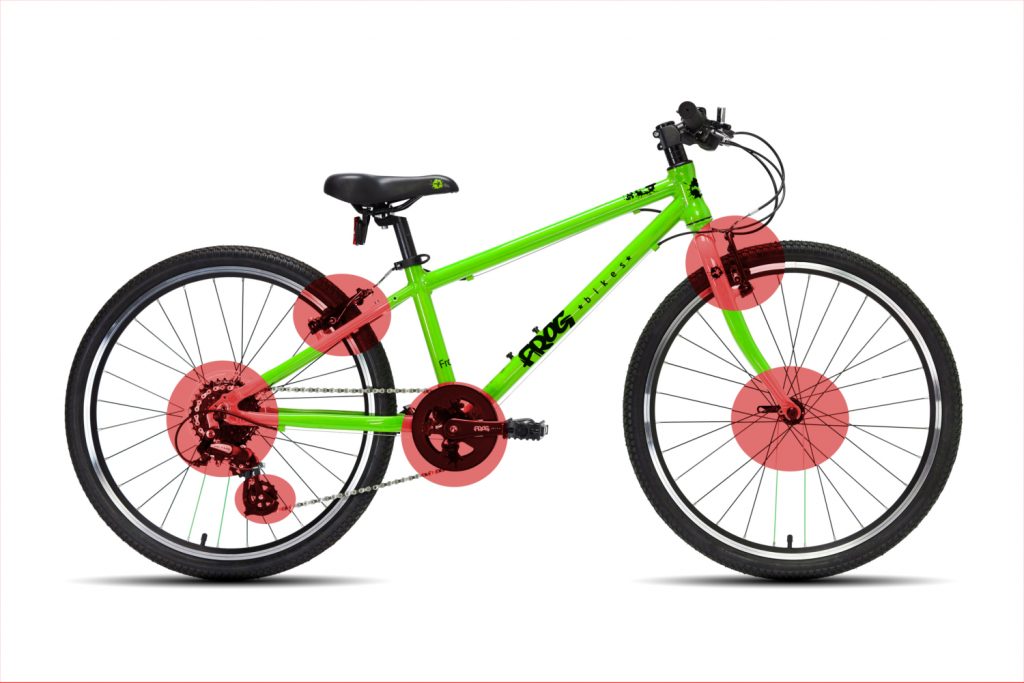
Caution areas are highlighted in red. These are the places fingers can get pinched.
Tools of the trade-in bicycle maintenance
The next step is to teach your kid the tools and how to use them. The main tools used on bikes are metric hex wrenches, screwdrivers, and metric box wrenches. First, show your child how to hold each tool for best leverage and what part of the tool engages with the bike. Then, show them where each tool fits on the bike before beginning the fix.
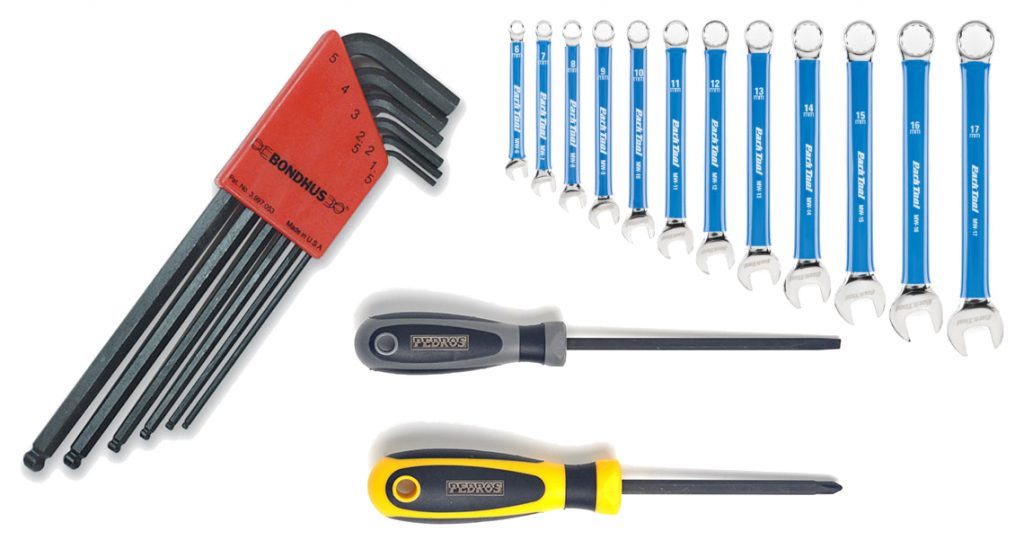
Professional bike mechanics use hex wrenches, box wrenches, and screwdrivers.
Having fun with bicycle maintenance
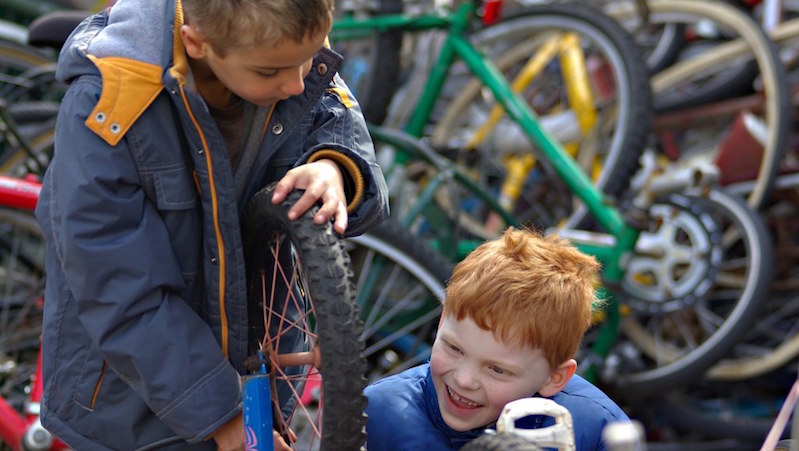
Now that the safety and instruction portions are over, making the process fun! Your kid is likely dying to get their hands (and wrenches) on the bike as quickly as possible, so let them have at it. Considering you already gave them the safety and function basics, their bike exploration will be safe and enlightening. Once they play a little, ask your kid to teach you how the bike works! Have them exercise their brain and logic by explaining how the bike functions.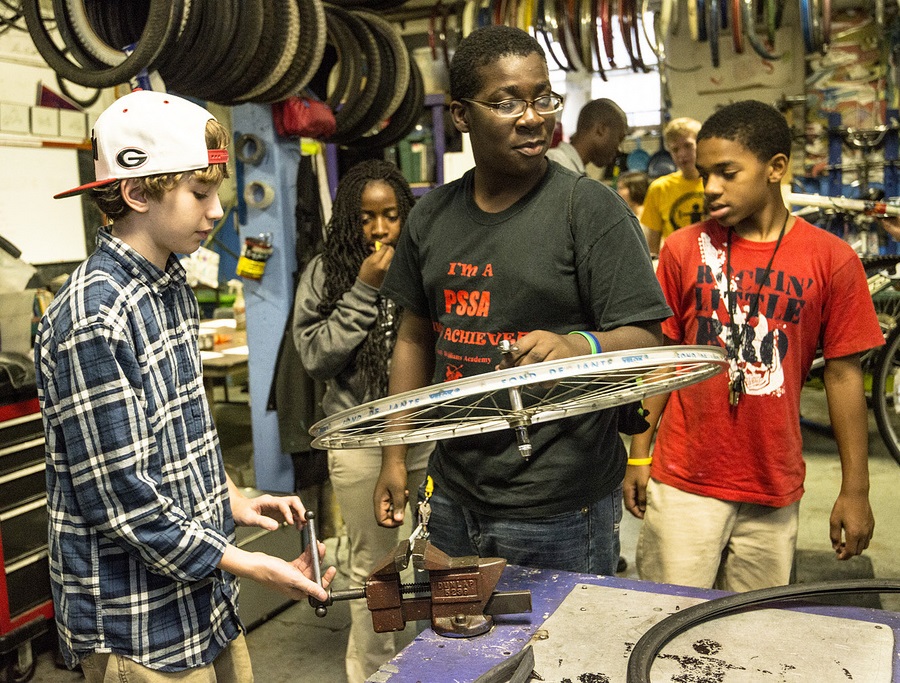
Teaching a little at a time
It’s easy for parents to get overzealous when teaching. If you are mechanically inclined, sharing that gift with your kids can be exciting, but try not to overwhelm them. Feel comfortable stopping the lesson when they lose interest. I like to start teaching with the rear brake (assuming it is a rim brake). The rear brake usually needs adjustment and is a rather simple example of how the rest of the bike functions. Once the rear brake is dialed and your kid is comfortable with the process, have them adjust the front brake.
 Next, I start teaching about how to adjust the shifting system. Hopefully, you and your child had a good conversation when they “taught” you how the shifting worked because that conversation is an excellent baseline for teaching how to adjust the shifting. Because of the barrel adjuster on the rear derailleur, start with the rear shifting first. Once they get the hang of that, move to the front derailleur.
After the bike functions properly, teach your kids to adjust the seat, bars, and controls. You may ask why I would recommend the simple adjustments last. The simple answer is that these adjustments require the most leverage and are best saved once your child practices using the tools.
Test ride
Once your child completes the adjustments, it’s time to take a test ride. Have your kid test ride in a supervised area away from traffic (like a driveway). Once the test ride is complete, make any additional adjustments, and be sure all the hardware is tight.
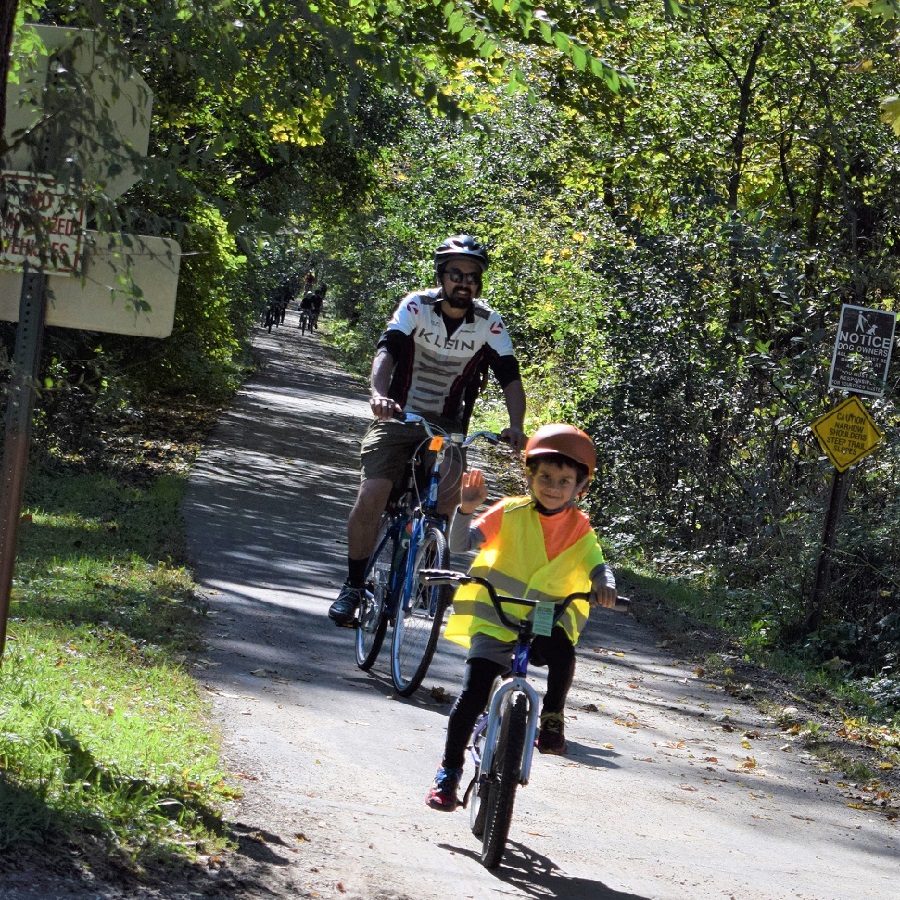
Test rides are fun!
Learn through mistakes
Most of the fun of learning to work on bikes (or anything for that matter) is the process. Nobody gets it right on the first try, and we all learn from our mistakes. Mistakes are more valuable than successes. So the most important part of teaching your kids to work on bikes is to let them make mistakes and be a resource for the solutions if needed.