Product Category: Bike Tools & Supplies
-
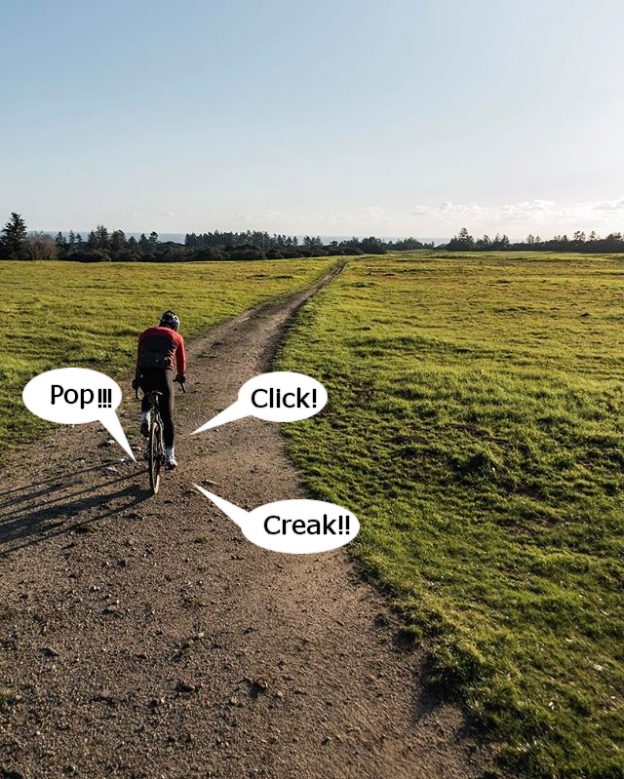
Clicks to Squeals: What Those Annoying Noises Are Telling You
Bikes are fun to ride, and any distraction from that fun can be annoying. One type of distraction that is easy to eliminate is the various annoying noises your bike can make. It’s easy, because as your bike makes noise, it’s telling you what’s wrong. Here are some of the most common noises and their…
-
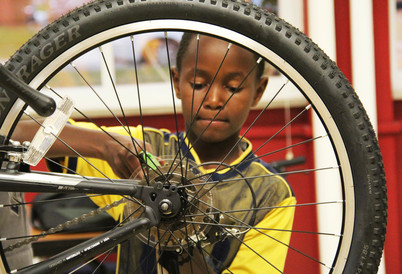
Demystifying the Mysterious Task of Wheel Truing Made Easy
Truing your wheels is a great way to take care of your bike while making it easier to ride. When you start adjusting your wheels, it’s important to know where to start. Read on below for details on what makes your wheels work, and how to make them work better.
-
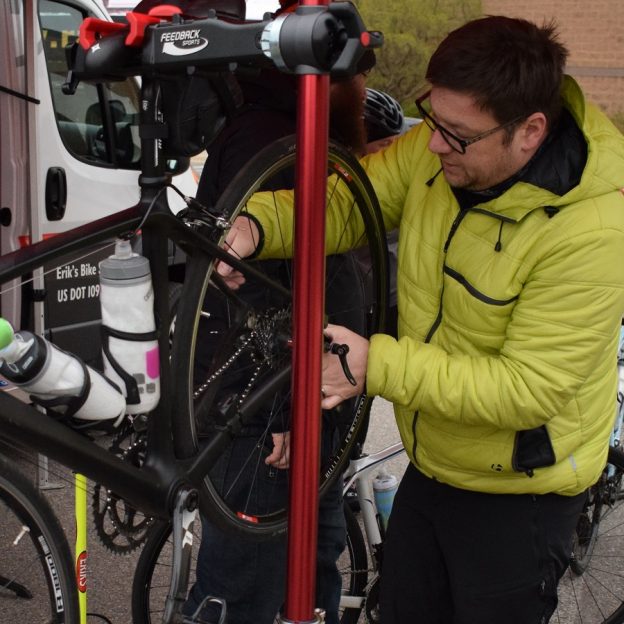
How to Adjust Your V-Brakes for More Control and Safety
If you don’t have disc brakes, the V-brakes on your bike are your greatest single source of control. Read on for some tips and tricks on how to adjust your V-brakes for a safe ride.
-
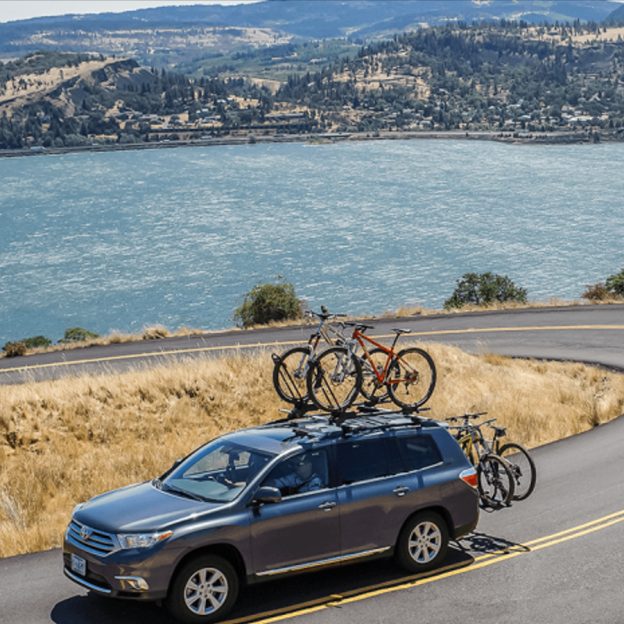
How to Get the Right Bike Rack to Carry your Bicycle Easily and Safely
A bike rack is a necessity if you want to transport your bicycle safely. You can damage your bike by trying to transport it in your trunk. Here are a few tips and facts about choosing, buying and installing bike racks.
-
Emergency Repairs: Fix a Flat Tire
If you ride your bike enough, you will eventually get a flat tire. This mechanical is something that can be quickly repaired, leaving you free to finish your ride. Read this step by step on how to change your fix a flat.
-

Keep Your Bike in Optimal Condition with Some Routine Maintenance Tips
Routine maintenance and cleaning will keep your bike in optimal condition and make it safe to ride when you need it with these is informative tips.