Tag: how to
-
Tips and tricks for setting up your tubeless tires on your bike
Tubeless tires are one of the best upgrades you can make to your bike. They are more resistant to flats, ride better, and are lighter. With all their benefits, the fear of setting them up keeps many riders from enjoying the tubeless world. If you are still refusing to take the leap for fear of…
-

A simple look at your bikes disc brakes function and maintenance
Disc brakes were introduced on bikes as early as the 1950’s with Shimano making an actual hydraulic disc in the mid 1970’s. There were even versions of the timeless Schwinn Stingray series released in 1971 that came stock with a rear disc brake. You need to fast forward more than 25 years before the first…
-

Learn How To Install Bar Tape For Your Most Comfortable Ride Yet
Riding and maintaining your road bike can be easy with some basic maintenance and by practicing the right skills. And while you ride your bike, you should do everything you can to feel comfortable. That includes the right fit, the right clothes, and above all else, the right touch points. Touch points on a bike…
-

How to Shift Gears on your bike for Efficiency and Confidence
Shift gears to the terrain you are riding can take you miles from home with ease. Over hills and through tough valleys, all thanks to the ability to know how to shift your gears. Learn the what, how, when and why of shifting your bike below.
-
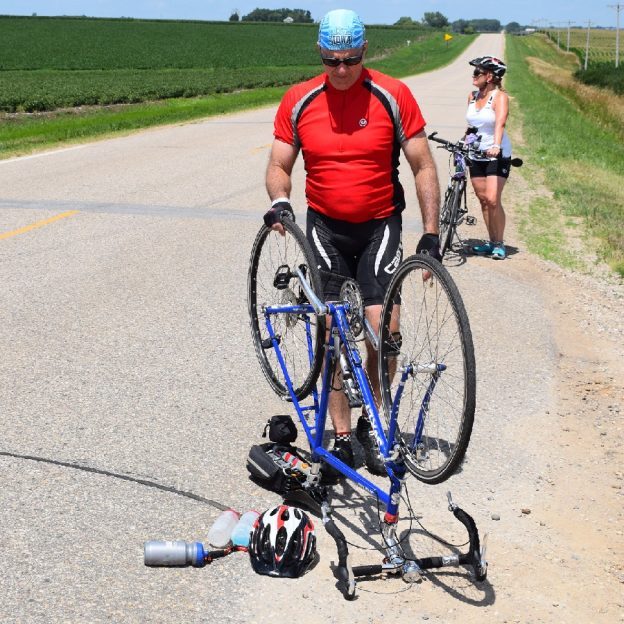
Learn How to Care for Your Bike Tires for a Comfortable and Safe Ride
Tires are often overlooked but wildly important in the safety and security of your next bike ride. Learning how to inflate your bike tires properly, review their condition, and fix flat tires is something every rider should know.