Category: News
-
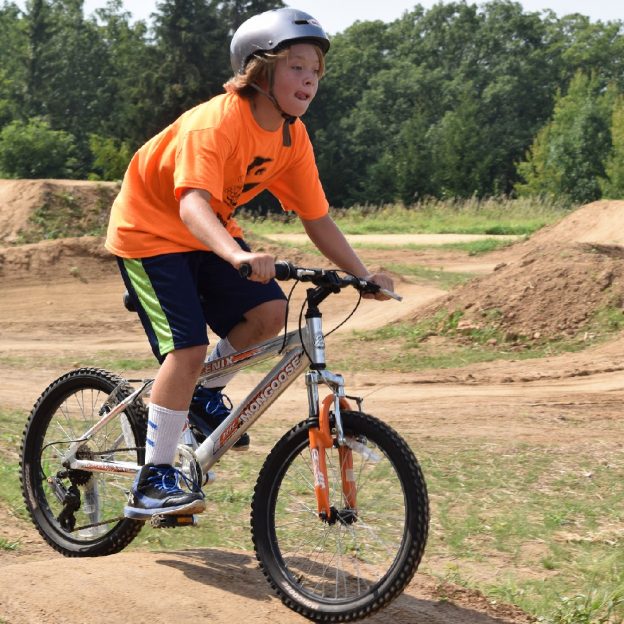
Explore Minnesota’s bike skills parks and pump tracks
Riding in a bike skills park or on a pump track is a fun and easy way to learn the technical skills needed for better mountain bike handling. These parks typically consist of a circuit course of rollers, banked turns (berms), and features designed to be entirely ridden by a rider. The term “pumping,” by up…
-
Join BAM as they tour the Detroit Lakes Area
BAM (Bicycle Around Minnesota) is headed to the Detroit Lakes Area. This year’s tour, scheduled for August 13-16, invites you to tour the Detroit Lakes Area, with overnight stops in Fergus Faills and Perham. Since 2006, this four-day bike tour has discovered many parts of Minnesota.
-

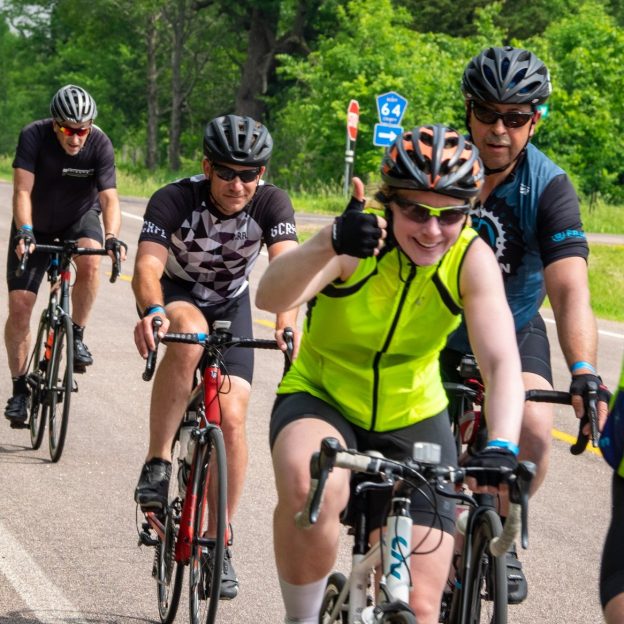
‘Rock-N-Roll the Lakes’ bike ride in Southern Minnesota is back
As the hometown of rock-n-roll icons Eddie Cochran, and Marion Ross (also known as Mrs. C from Happy Days) knows, Albert Lea, MN is a place to rock! You’re also likely to spot one of the many eagles, pelicans, and countless other birds and wildlife that live in the area when riding around the local…
-
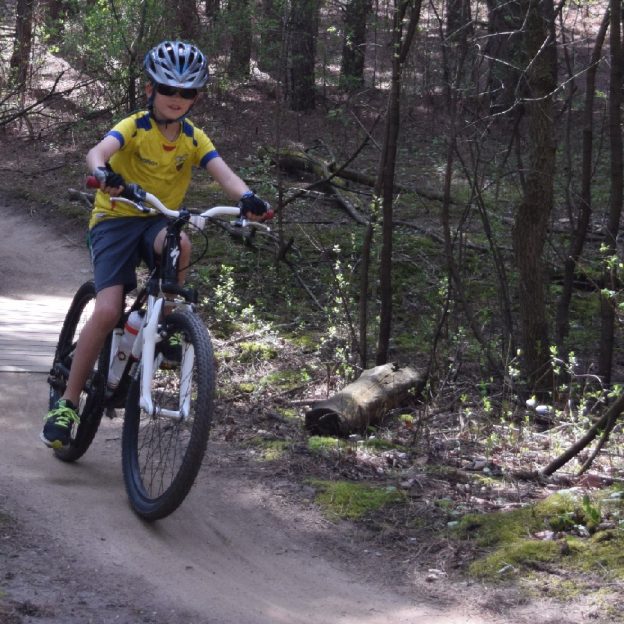
Kids’ mountain bikes: tips and tricks to get them on the trail
John Brown loves riding his mountain bike and enjoys sharing that passion with his two boys. He dedicates weekends to teaching his kids the following exercises on mountain biking so they ’love the sport’ as he does. Through their eyes, the sense of freedom and excitement is shown with enthusiasm giving his kids a fantastic…
-
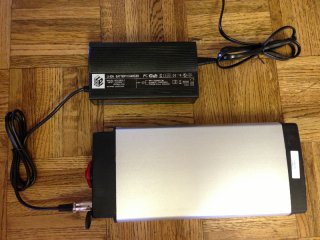
5 Tips to extend a lithium battery life for e-bikes and other power tools
Electric bicycles and e-power tools are becoming increasingly common in most countries worldwide. Here are some tips to extend the lithium battery life.
-
Minnesota’s paved and surface trails to explore this summer
With more than 4,000 miles of paved bike/hike trails in Minnesota, it has become a world-renowned bicycle touring destination for all to enjoy. Making considerable strides in connectivity throughout the state. In some areas, you can pedal more than 150 miles without leaving the pavement. As you plan your next adventure, look through the following…
-
Planning that next Minnesota outdoor adventure, made easy
Are you looking for a fun outdoor biking, hiking or paddling adventure without difficult driving distance from the Minneapolis/St Paul Area? With the latest edition of the Minnesota Bike/Hike/Paddle Guide see our ‘Destination at a Glance’ pages after each map to easily plan your next adventure. Here, view the top five outdoor attractions in each…
-
Bicycle safety reminder for both cyclists and motorists
As we head into the warmer months, many are ready are ready to enjoy the a sunshine, commute, or get some exercise. Since May is National Bike Safety Month, here are a few quick reminders to help keep both cyclists and drivers safe on the road this summer. Sharing these reminders could save a life.…
-
Bike around Lakeville and discover its treasures
Your vacation time is precious, and Lakeville takes that seriously. Located on the south side of the Twin Cities, the bike-friendly small town is the perfect getaway for those seeking a break from the big-city noise. Breathe in all the fresh Minnesota air you want as you enjoy your favorite outdoor activities. Ride your bike…
-
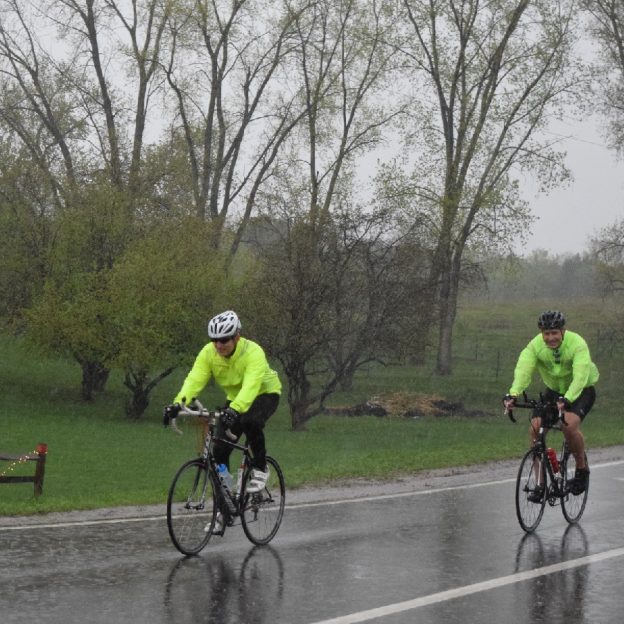
Quick post bike maintenance tips after riding in the rain
Sadly, it is sometimes unavoidable to ride in the rain. In my experience, the rain actually waits for me to get as far from home as possible before starting. So, when you do get caught in the rain, how do you protect your bike from the damages of water? Read on for a few helpful…