Category: News
-
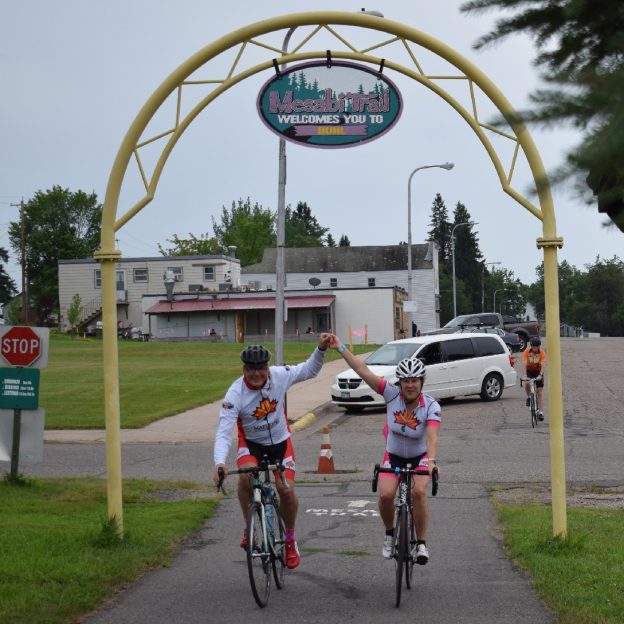
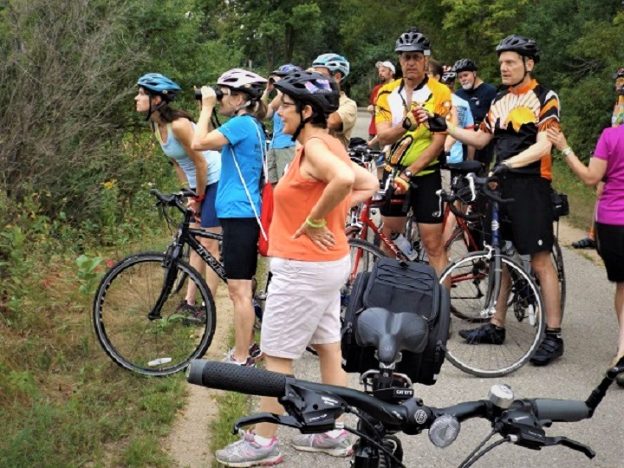
Fun memories and spectacular views on the Mesabi Trail Tour
Join old and new friends on the Mesabi Trail Tour for the most fun you can have on two wheels. The 2026 Great River Energy Mesabi Trail Tour returns on August 1st with four fun distances for your next bike adventure. Choose from the 6-, 24-, 36-, or 46-mile routes. All routes travel out and…
-
Bike noises may be easy to fix with these tips
Bikes are fun, and any noise distraction from your two-wheeled steed can be annoying. One distraction that is easy to fix is noises your bike usually doesn’t make. The reason they are easy to eliminate is that each noise is telling you what’s wrong. Here are some of the most common noises, their causes, and…
-
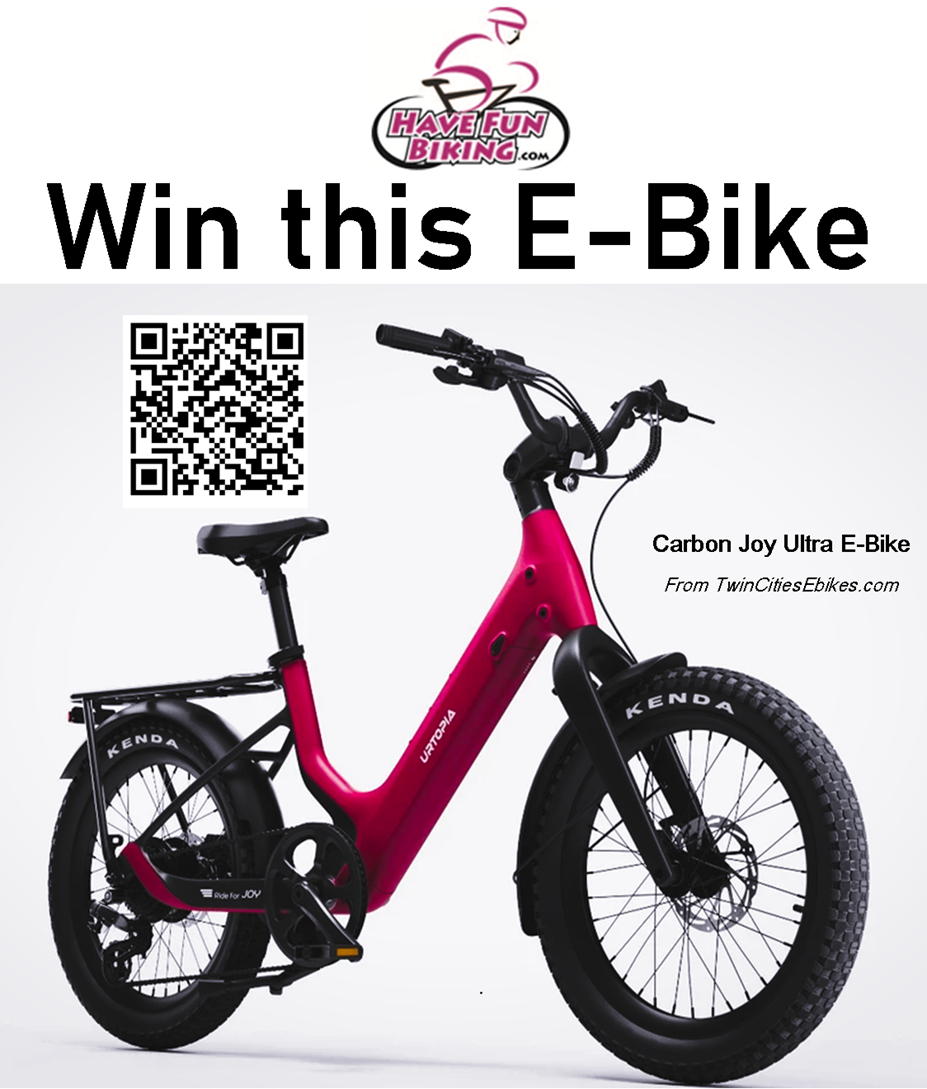
Win this Urtopia Joy eBike at HaveFunBiking.com
When you sign up for our email updates at HaveFunBiking.com (HFB), you are also entered for a chance to win this E-bike. The all-new Urtopia Carbon Joy Ultra E-Bike from Pedego Twin Cities. Please fill out the form below to enter. Good luck!
-

Being visible and noticed doesn’t end when the sun comes up
Now that spring is here and riding and walking outdoors are in full swing, stay visible and noticed. Wear clothing that makes you stand out when riding your bike or walking along the road or trail. Being noticed by others is the key to avoiding accidents. Focus on the two forms, passive and active visibility,…
-
Discover the pleasure of biking around Brainerd
The farther you drive north, the more you’ll be surrounded by lakes and never-ending trails. And the Brainerd Lakes Area is no exception. Here, you are in luck when you want to escape the city to taste the come-stay-for-a-while vibe of relaxing by the lakeside in northern Minnesota.
-
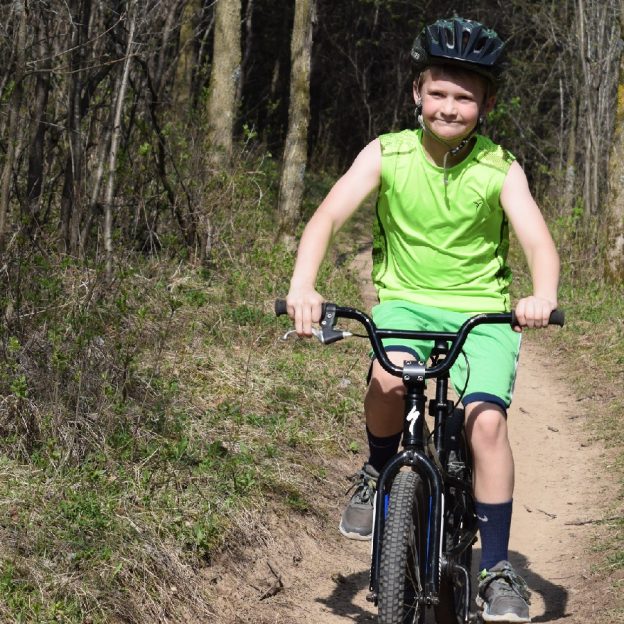
With these tips, wood ticks won’t haunt your next outdoor adventure
Unless you enter the annual Woodtick Races in Cuyuna, MN, on June 13th, these bloodthirsty wood ticks are annoying and could be hazardous to your health. Especially if you are biking or hiking on trails through the woods or in tall grass. Always take note as you enjoy your outdoor adventures. These little critters, especially…
-
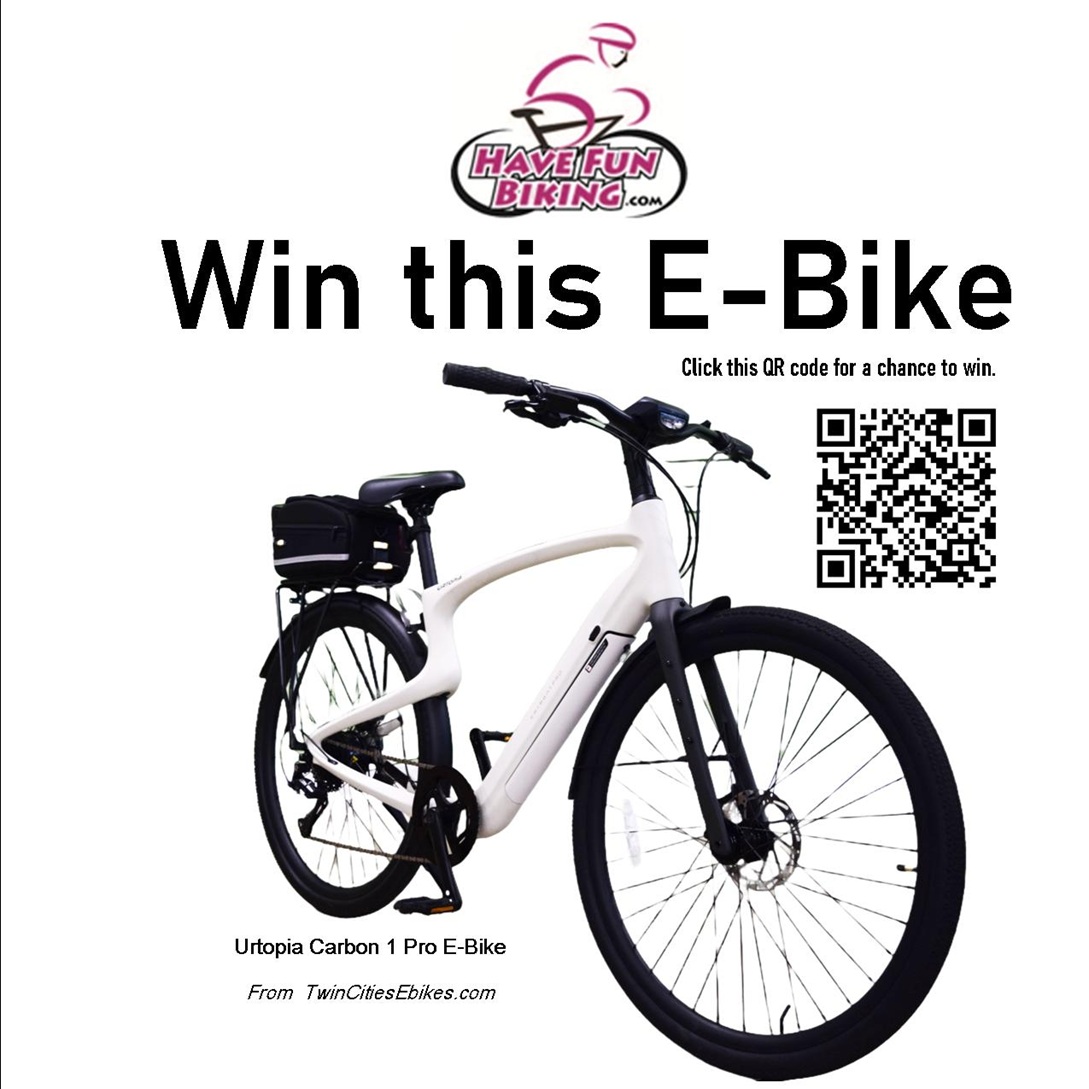
Win this Urtopia E-bike at HaveFunBiking.com
When you sign up for our email updates at HaveFunBiking.com (HFB), you are also entered for a chance to win this E-bike. The all-new Urtopia Carbon Pro Electric Assist E-Bike from Pedego Twin Cities. Please fill out the form below to enter. Good luck!
-
Biking options for those with a disability to stay active
Did you know leading a couch potato lifestyle is as dangerous as smoking 20 cigarettes a day? Coronary heart disease (CHD) is the USA’s biggest killer and is responsible for one in every four deaths. Simply put, being a couch potato or inactive is a deadly problem globally, but there are options to stay active. By getting more…
-
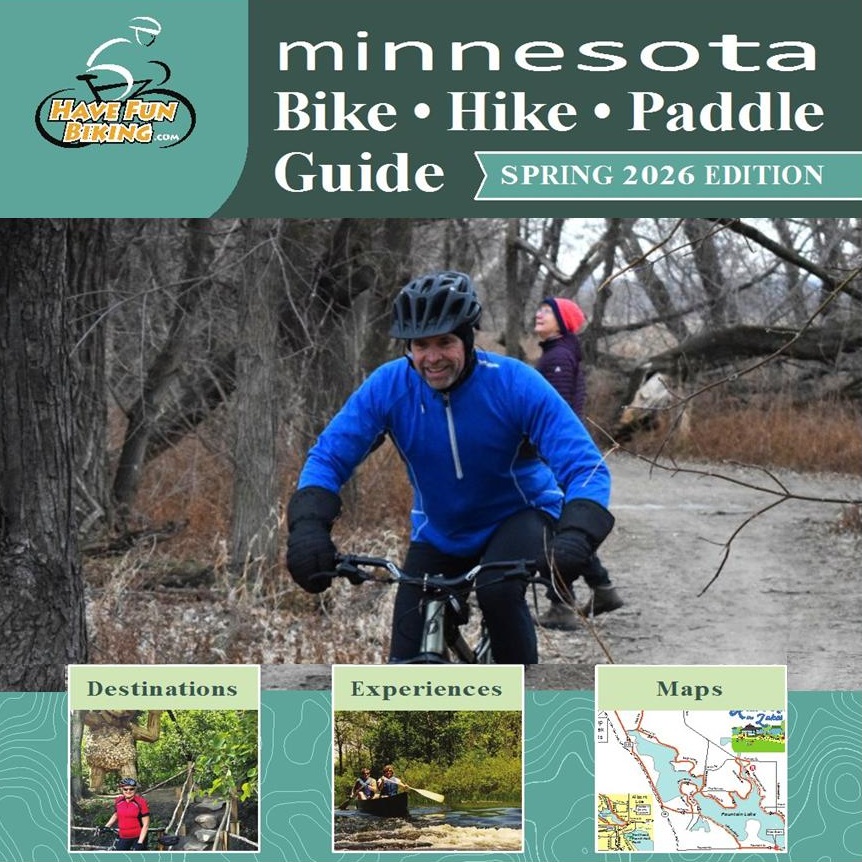
The Spring MN Bike/Hike Guide is now available digitally
With the fragrance of May flowers in the air. The 17th Annual Spring Edition of the Minnesota Bike/Hike/Paddle Guide is available digitally as the printer works on the summer issue. Enjoy and use this handy booklet, full of links, to plan your next adventure!
-
Fun bike-bird opportunities in the Willmar Lakes Area
Are you looking for a fun spring outdoor adventure with endless bird-watching opportunities? Consider planning a trip to the Willmar Lakes Area in western Minnesota. Travel two hours west out of the Twin Cities, and before you know it, you will be greeted by small-town charm and a sprawling countryside full of birding opportunities. It…