Category: News
-
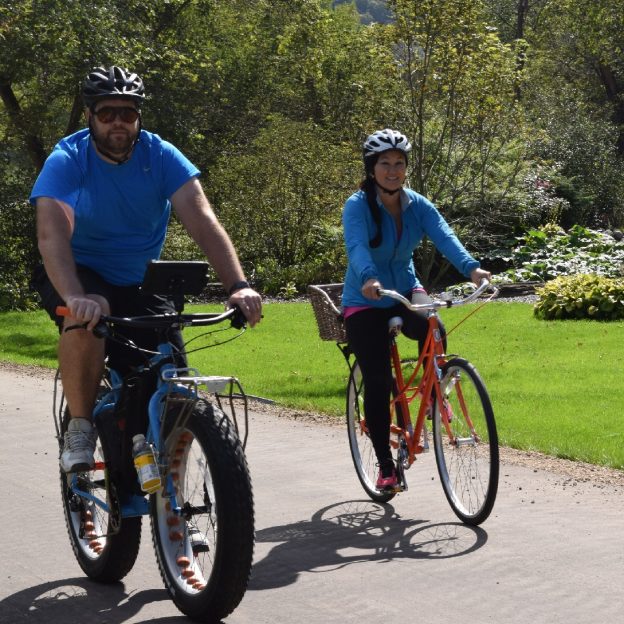
Minnesota’s paved and surface trails to explore this summer
With more than 4,000 miles of paved bike/hike trails in Minnesota, it has become a world-renowned bicycle touring destination for all to enjoy. Making considerable strides in connectivity throughout the state. In some areas, you can pedal more than 150 miles without leaving the pavement. As you plan your next adventure, look through the following…
-
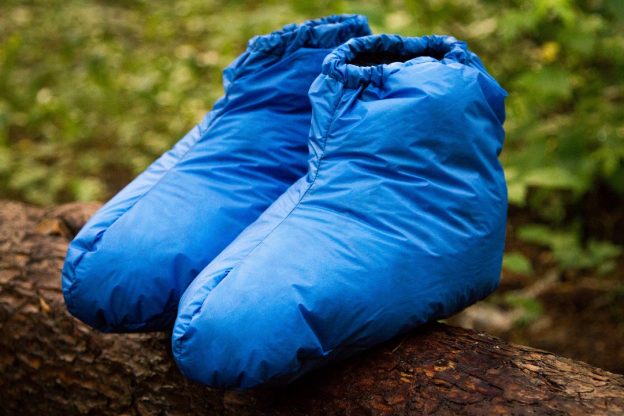
Perfect sock for those cold feet after your outdoor adventure
The perfect solution when cold feet are an issue after fat biking, ice fishing, skiiing or while sleeping. A pair of GooseFeet Gear Down Socks is a perfect solution. They also make great backcountry hut or ice house footwear with the Over-Bootie. By themselves, the elastic ankle cuffs at the top of the sock keep…
-
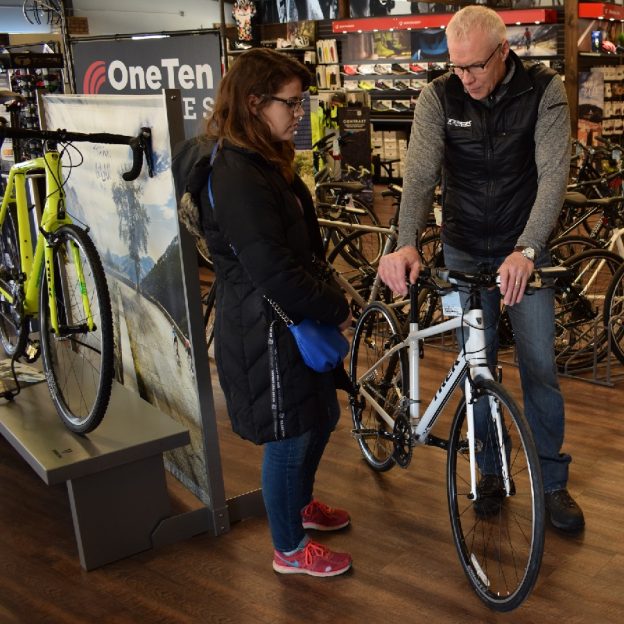
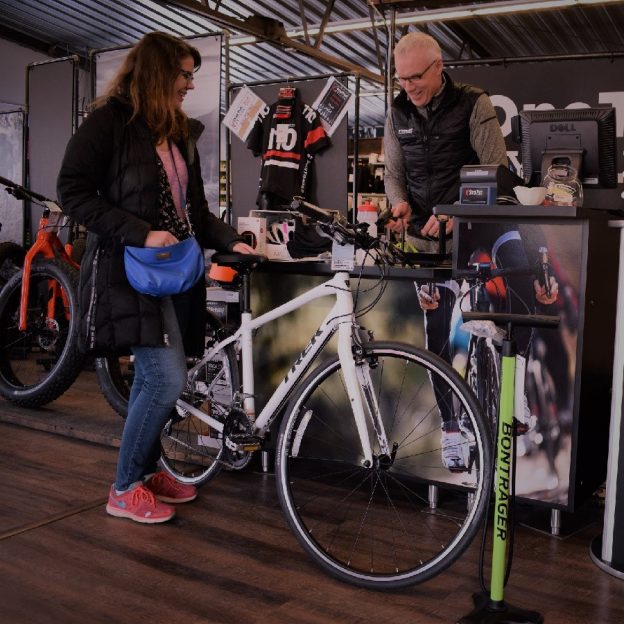
Winter in a bike shop is a great time to learn and save
The winter months are the perfect time to visit a bike shop and learn. Other than just enjoying bikes at a time when you may not be riding, there are many benefits to visiting your bike shop during the cooler months of the year. You can learn more about your bike in the slower winter…
-
Staying fit when outdoor winter activities isn’t your thing
Snow, ice, and cold make for excellent conditions for fat biking, but how do you keep in shape when winter bike riding isn’t your thing? Luckily, many fun activities, exercises, drills, and products can help keep you in shape through the winter months.
-
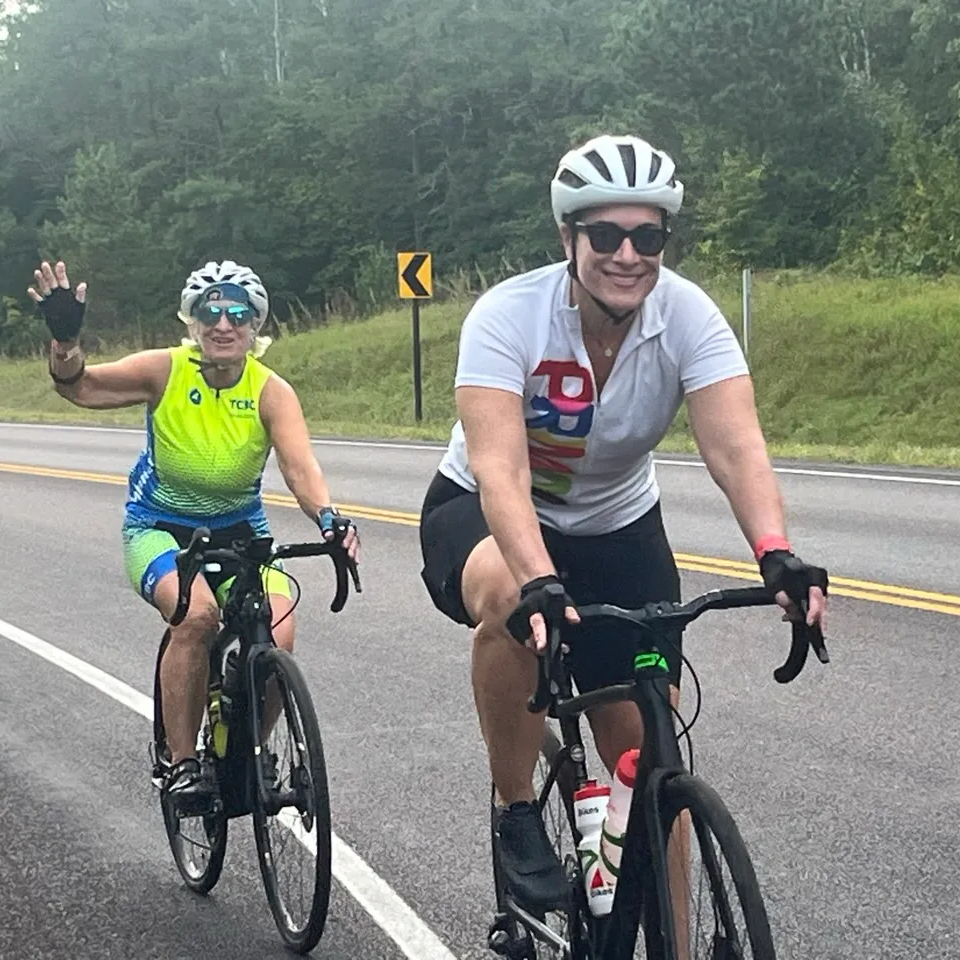
Bike tour enjoys an endless adventure in the Brainerd Lakes Area
This year’s Bike Around Minnesota Endless Adventures, highlights riders pedaling 230 unforgettable miles over four spectacular days. While touring the heart of the Brainerd Lakes Area. Enjoying overnight stops in Pequot Lakes, Pine River, Emily, and historic Aitkin on the Mississippi River. Where cyclists experienced the very best of Minnesota’s lakes, forests, and small-town charm—including…
-
Quick tips for renting a bicycle when traveling
Taking your bicycle when you travel is not always possible, but don’t give up on the idea of riding altogether. Renting a bike or e-bike is an easy way to experience new places. Plus, it lets you try a new bike you may want to buy when you get home. Before you travel, here are…
-
Winter riding fun with these easy cold weather tips
I can’t fight it any longer; my powers of denial are only so strong. Despite my best efforts, a change is coming, and I can do nothing to stop it. That’s right, winter is here. We just experienced a real cold snap, and snow is coming. While I can’t stop the cold elements from hitting…
-
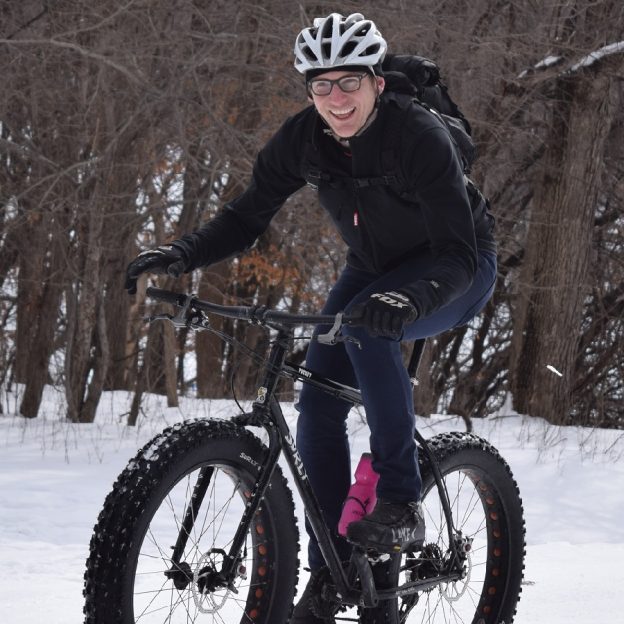
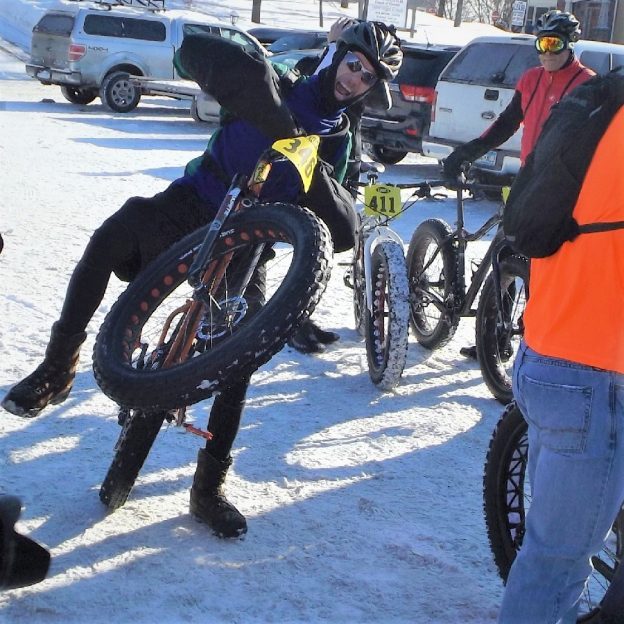
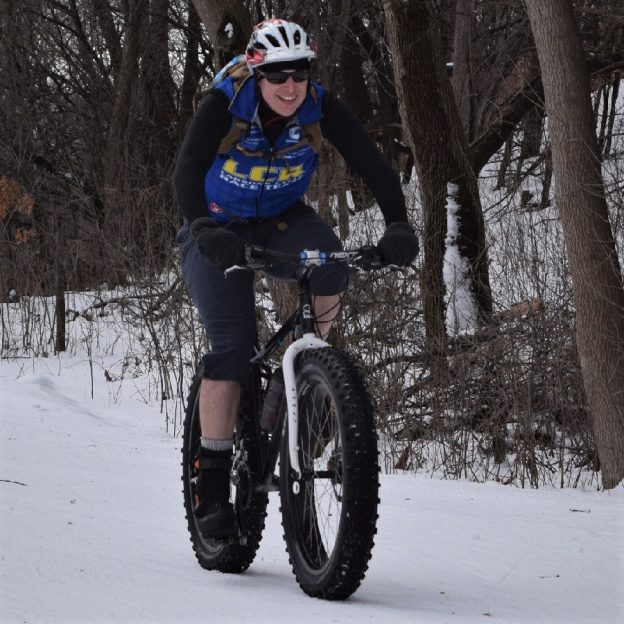
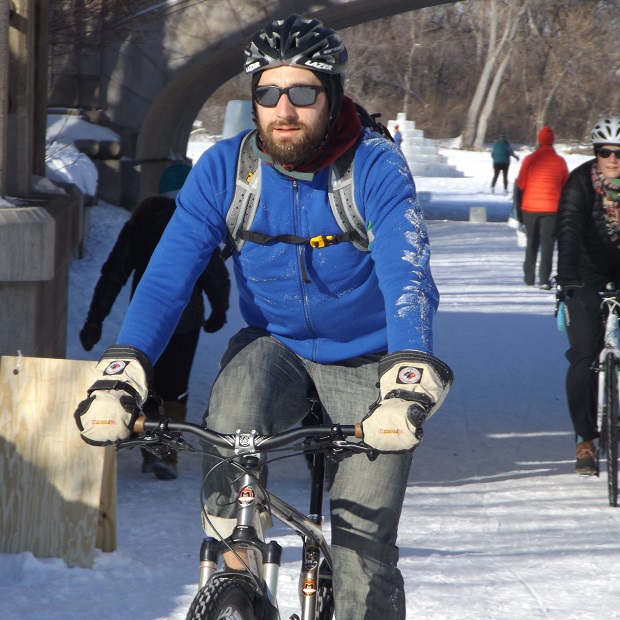
Remember your fat bike etiquette as the winter season progresses
Winter fat bike season is upon us again as the snow and temps drop. As with a regular mountain bike, there is a certain etiquette to follow on the trail. Everyone on the trail wants to have a good time outdoors and make memories in the crisp, clean air. Whether biking, hiking, skiing, or snowshoeing,…
-
A plow app for Minneapolis trails after it snows
Minnesota cyclists are a hardy bunch, but ice and snow-blocked trails can put the brakes on many commutes and rides. Again this year, ready for winter weather, the Minneapolis Trail Plowing Status Map App is live and worth checking when it snows. In the app’s fourth year, transponders mounted on the city’s snow removal equipment…
-
Make a resolution, 2026 could be your best bike year ever!
After all the presents are opened, and the last cookies disappear, many of us focus on the year ahead. More specifically, many of us begin the annual task of developing New Year’s resolutions for ourselves. Why not resolve to make this year your best year for bike riding by starting now?