Tag: winter riding
-
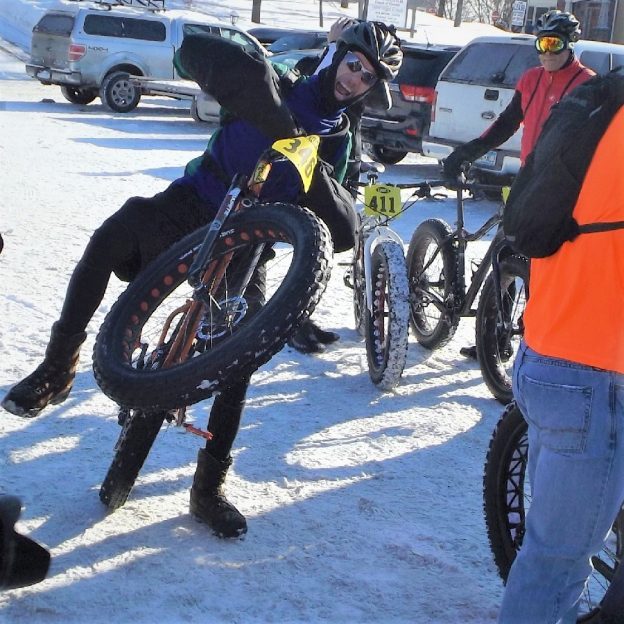
Staying fit when outdoor winter activities isn’t your thing
Snow, ice, and cold make for excellent conditions for fat biking, but how do you keep in shape when winter bike riding isn’t your thing? Luckily, many fun activities, exercises, drills, and products can help keep you in shape through the winter months.
-
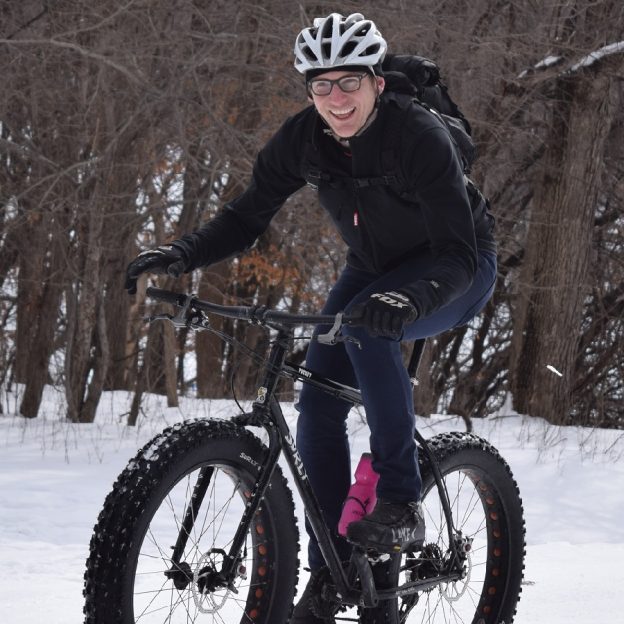
Winter riding fun with these easy cold weather tips
I can’t fight it any longer; my powers of denial are only so strong. Despite my best efforts, a change is coming, and I can do nothing to stop it. That’s right, winter is here. We just experienced a real cold snap, and snow is coming. While I can’t stop the cold elements from hitting…
-
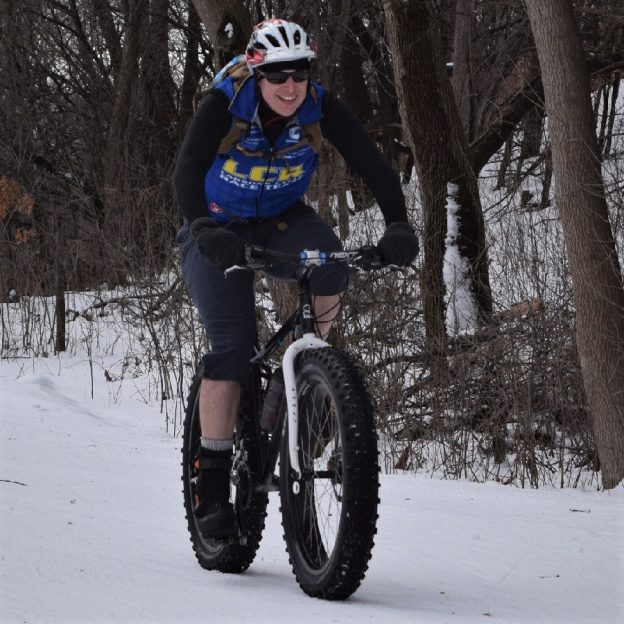
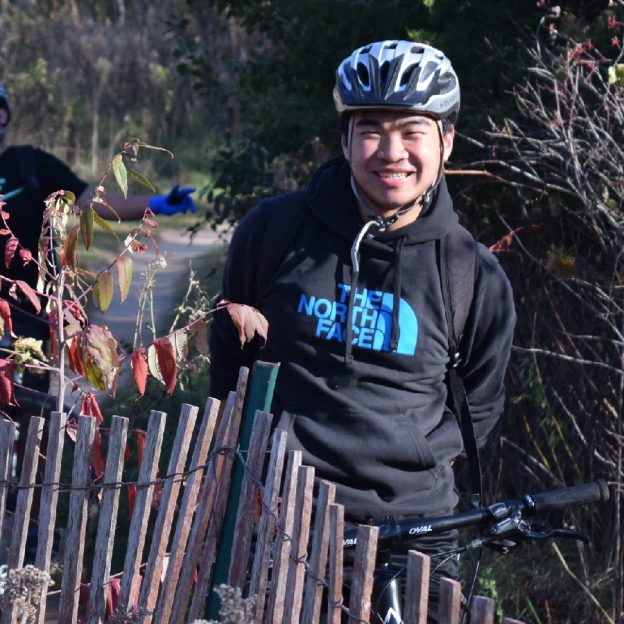
Remember your fat bike etiquette as the winter season progresses
Winter fat bike season is upon us again as the snow and temps drop. As with a regular mountain bike, there is a certain etiquette to follow on the trail. Everyone on the trail wants to have a good time outdoors and make memories in the crisp, clean air. Whether biking, hiking, skiing, or snowshoeing,…
-
Make a resolution, 2026 could be your best bike year ever!
After all the presents are opened, and the last cookies disappear, many of us focus on the year ahead. More specifically, many of us begin the annual task of developing New Year’s resolutions for ourselves. Why not resolve to make this year your best year for bike riding by starting now?
-
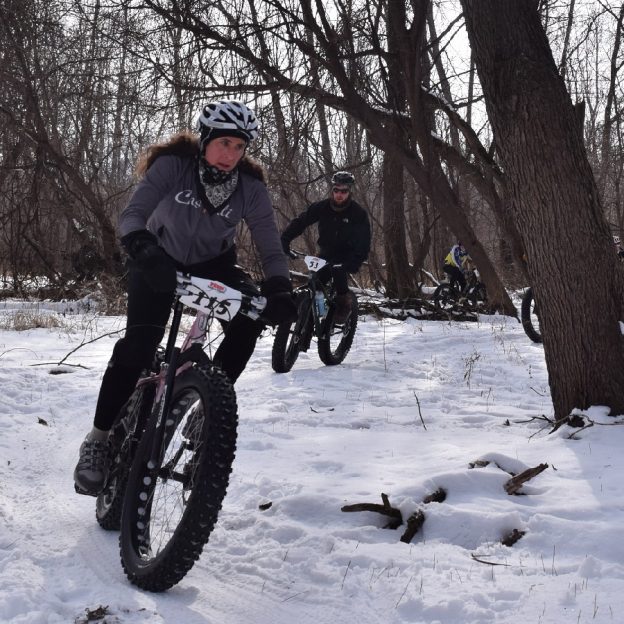
Bike Pic Nov 28, Black Friday fat bike fun
Its Black Friday for the shoppers, and perfect trails to shred for the outdoor adventurures.
-

Gaiters may be an added bonus to winter riding warmth
Cold, snow, sleet, and ice are normal conditions for my winter bike commute to work here in Minnesota. With the elements being so unfriendly, I am excited to try commuting with a pair of gaiters for added warmth. With that direction in mind, I was excited to try the Hillsound Armadillo LT gaiters. For those…
-
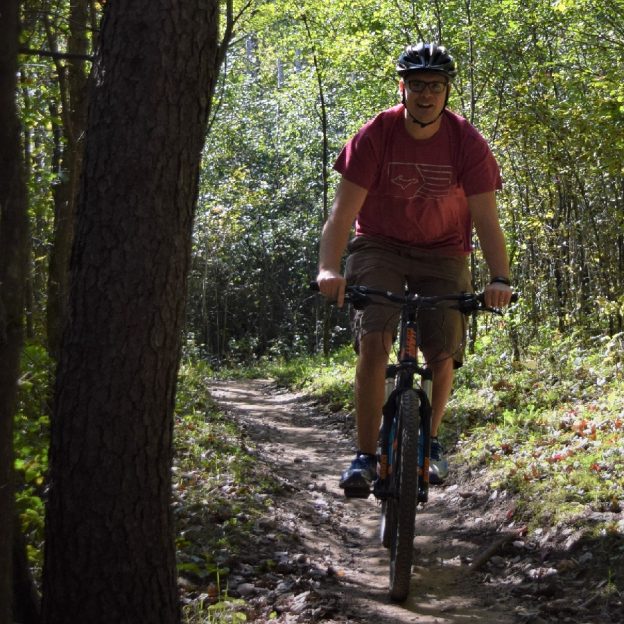
Bike Pic, Nov 29, it’s a turkey burner Friday, shred some trails
Shred some trails and calories this turkey burner Friday,
-
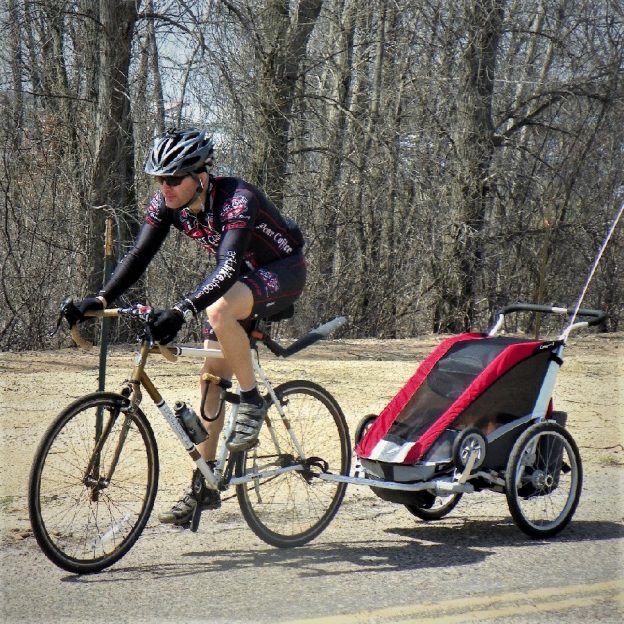
Bike Pic Nov 2, a peaceful Saturday morning bike ride with junior
This Saturday, bundle up junior and get him conditioned for the cooler weather ahead.
-
First thoughts and impressions of Sealskinz Socks
It was impossible to miss the Sealskinz booth at Interbike this year. There in the center of the exhibit was a huge tub of water with a woman standing in the middle wearing nothing on her feet but socks! When I asked if her feet were wet or cold, she responded casually “nope, I’ve been…
-

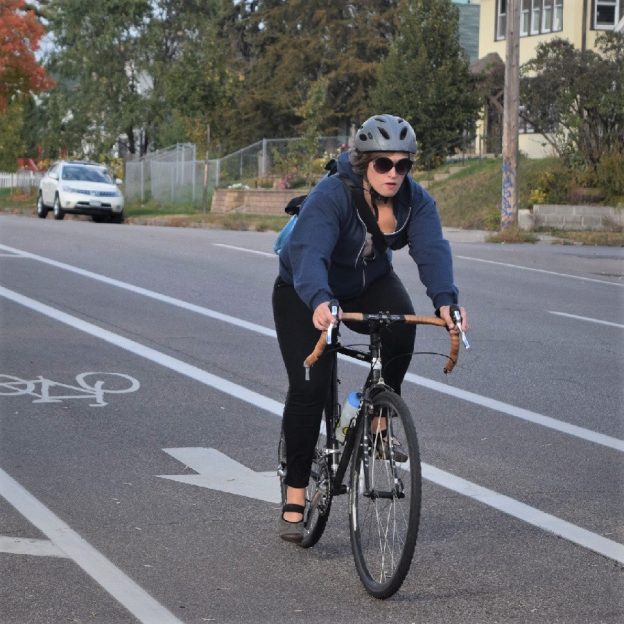
How to pick the right cycling clothes for any condition
With winter showing signs of ending and roads soon beginning to clear of snow and ice, we all look forward to venturing out into the world on two wheels. The following should help you find the right cycling clothes for that #NextBikeAdventure, so take a look at these tips.