Product Category: Accessorize Your Bike
-
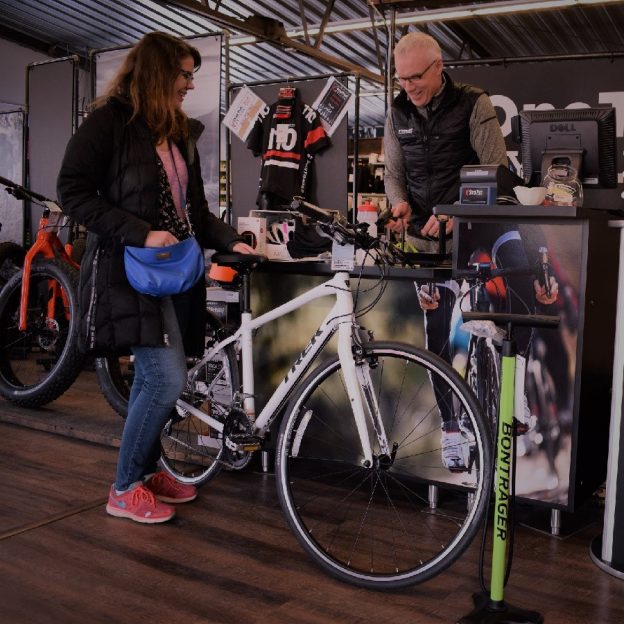
Bike accessories to make you more comfortable, efficient and informed
Congratulations, you bought a new bike! Few things are as fun as “new bike day” but don’t let all that excitement get the best of you. For every new bike there are bike accessories you should consider getting. While all you really need to get out there and be safe is a bike and helmet,…
-
Dynamo Light: How They Work and Why They Are So Dependable
Being visible is paramount to staying safe while riding and there are many different types of lights available in the market. Read on to learn how dynamo systems work, and why they are so dependable and environmentally-friendly.
-
The Importance of Visibility Doesn’t End When the Sun Comes Up
Being visible to others while riding your bike is the key to avoiding accidents. While most people focus on night time visibility, far more hours on the bike are spent under the sun. Here are a few tips to keep you safe and visible all day.
-
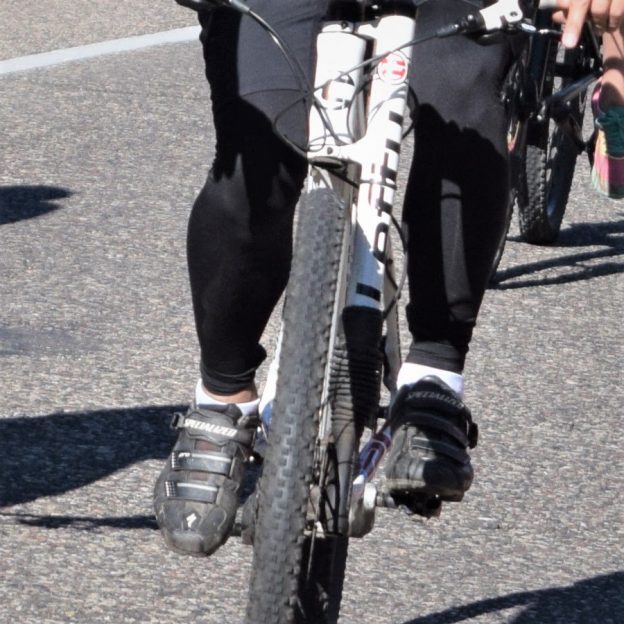
Tips and Tricks to Pick the Right Clipless Pedal for Your Riding Style
There is a simple equation that always holds true: control = comfort. By securing your feet in place with a clipless pedal you can use muscles more efficiently, relieve excessive strain on your feet, and be connected to your bicycle more directly. Read on to see how easy it is to learn to ride “clipless”.
-

Trying Clipless Pedals, A Beginner’s Guide That Equals Comfort
When riding a bicycle, there is a simple equation that always holds true – control = comfort. In the quest for more control of your bicycle, few things are as effective as clipless pedals and cycling shoes. Read on to see how easy it is to learn to ride “clipless.”
-
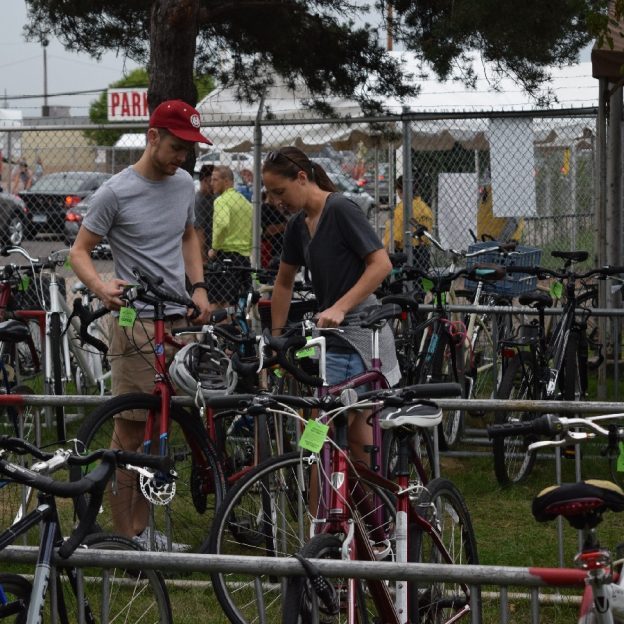
Bike Locks: Keep Your Bike Safe While They Are Left Unattended
Here’s some information on the different kinds of locks, and other tips to ensure your bike’s safety, Here a couple are locking up their bicycles to attend the Minnesota State Fair.
-
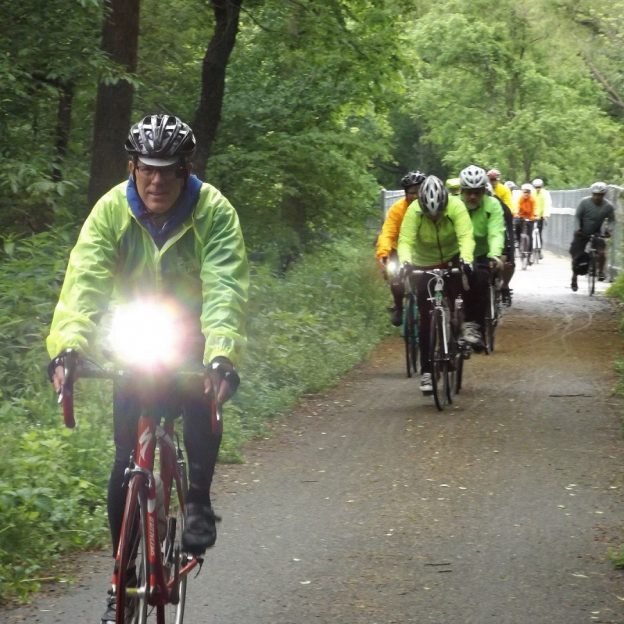
Lights are Essential for Bicycle Visibility: Check Out These Tips for a Safe Ride
by John Brown, HaveFunBiking.com Lights, no matter your level of bike riding skill, are essential to make sure you have the safest ride possible. And sometimes when you’re riding in conditions without optimal visibility, you need a little added illumination. Plus, most states require bike lights to ride on a roadway (here is Minnesota’s law). That’s…