Tag: Riding in snow
-
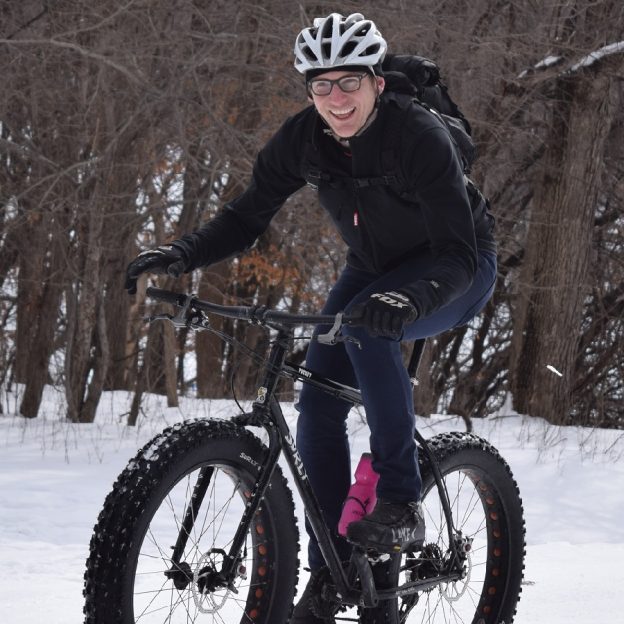
Remember your fat bike etiquette as the winter season progresses
Winter fat bike season is upon us again as the snow and temps drop. As with a regular mountain bike, there is a certain etiquette to follow on the trail. Everyone on the trail wants to have a good time outdoors and make memories in the crisp, clean air. Whether biking, hiking, skiing, or snowshoeing,…
-

Gaiters may be an added bonus to winter riding warmth
Cold, snow, sleet, and ice are normal conditions for my winter bike commute to work here in Minnesota. With the elements being so unfriendly, I am excited to try commuting with a pair of gaiters for added warmth. With that direction in mind, I was excited to try the Hillsound Armadillo LT gaiters. For those…
-
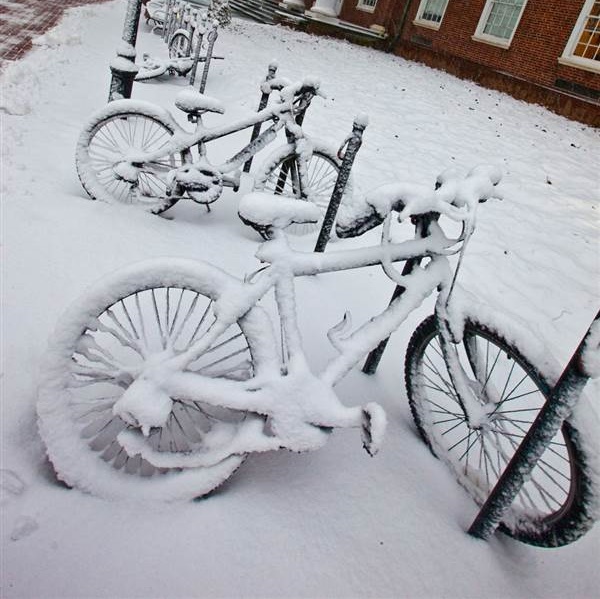
Outside Bike Storage: Preserving its Condition While Battling Mother Nature
If you’re like the many people who ride bikes, you may have selected or been forced to use outside bike storage where your bicycle has to fend for itself in all the weather elements. It’s nothing to be ashamed of, especially since many people don’t have a place to store their bikes inside.