Tag: hybrid bike
-

Standard hybrid bikes are still popular for casual riding
If e-bikes are out of your price range, or you just want a low-tech ride, let’s look at the basics. Trail bikes, fitness bikes, hybrid bikes, and dual-sport bikes all fall into the same category of bicycles. Although these bikes all occupy the same category, they have very different uses. Read on to find out…
-
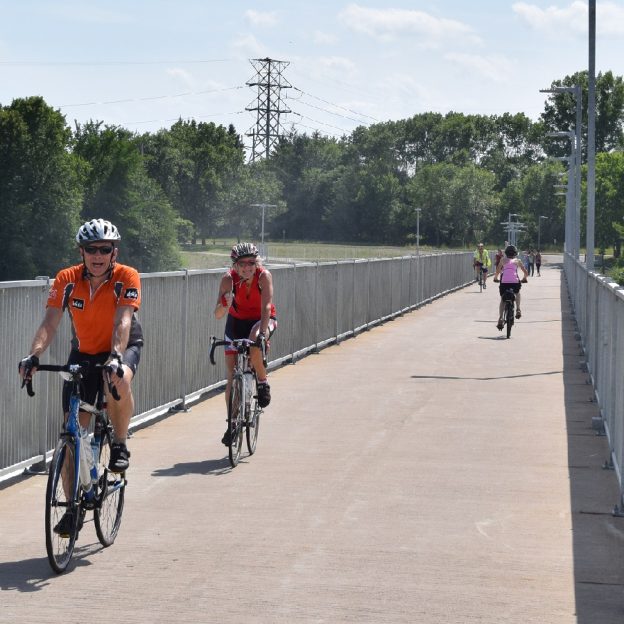
A guide to planning a safe and fun mid-summer bike trip
Now that summer is just about here, for fun in the sun, let’s plan a bike trip adventure. While hundreds of people flock to the lakes and local pools to cool down. Many, like myself, will find refreshing the soul on two wheels the best way to go. Please take a look below at how…
-

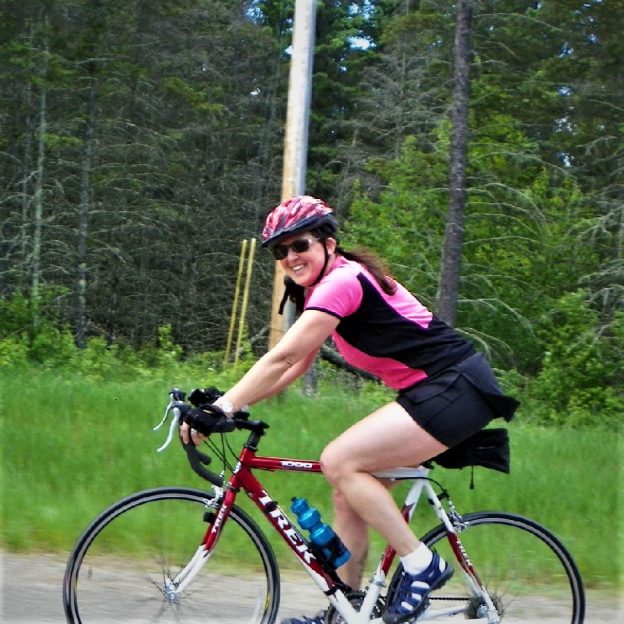
How to choose the right cycling gloves for miles of pain free riding!
A pair of cycling gloves are one of the few pieces of apparel that make direct contact with both your body and the bicycle. They help you maintain proper grip on the bars when things get hot and sweaty, they protect your skin in the case of an accidental dismount, and they can help alleviate…
-
Recreational or competitive what is the right bike for your riding pleasure?
How do you figure out what is the right bike for you? Like everything else in the world today, there are no shortages of choices when it comes to bikes. With that said, please read on for several helpful tips!
-
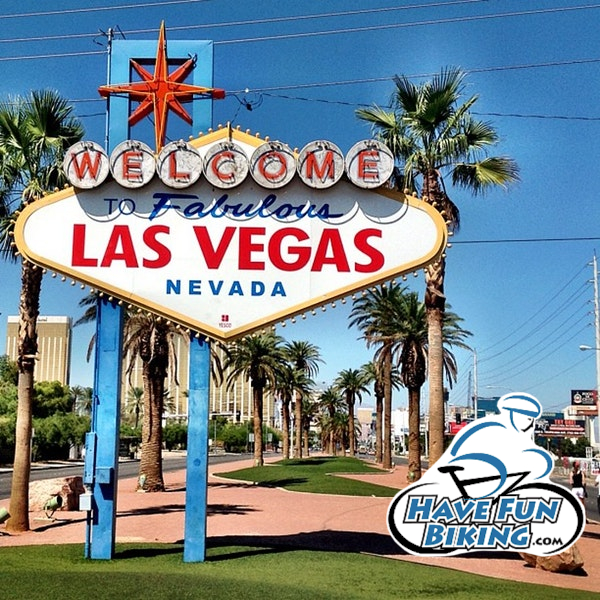
HaveFunBiking will share many new bike products from Interbike
Show season is at hand in the cycling industry and HaveFunBiking.com is on the show floor. We are excited to try the newest product and deliver to our readers the most curated list of great new products. On Monday September 18th , before dawn, we embark to Las Vegas to try countless bikes at Interbike’s Dirt…
-

Don’t be Afraid of Removing Wheels with Disc Brakes
Disc brakes are taking over the cycling world. It is now difficult to find any bike in a bike shop without them and that’s for good reason. Disc brakes are more powerful, more consistent, and more durable than a standard brake. With any new product there are new things you need to learn and new…
-
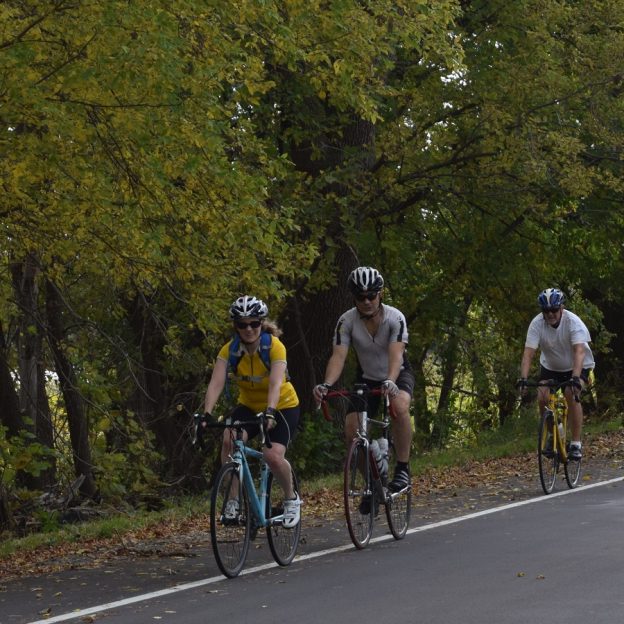
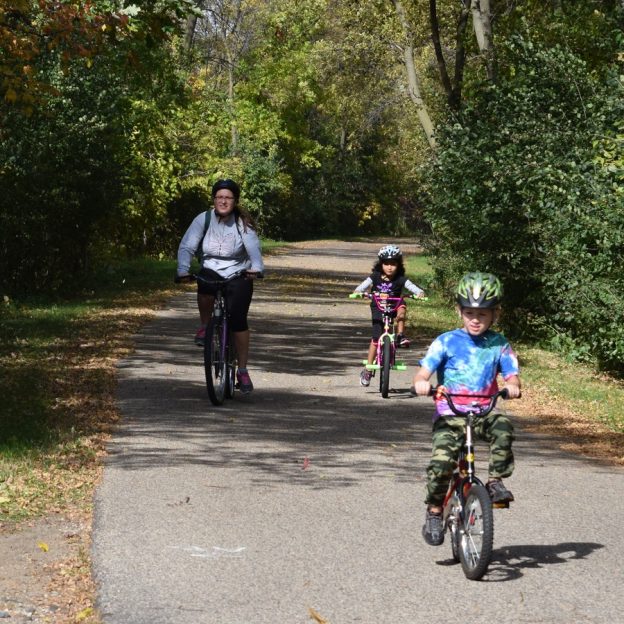
Finding fun and fitness in fall bike riding through the colorful foliage
Now that the kids have gone back to school, the days are getting shorter, and temperatures begin to drop is the best time of year to ride your bike. From a trail perspective, the dirt becomes softer as the fall rolls in because of lower temperatures and increased rainfall. Additionally, riding off road in the…
-
Enjoying the nearly endless possibilities of Hyland Park
In the western part of Bloomington Minnesota over 1,000 acres of parkland act as the Twin Cities best destination for active families, recreational riders, and beach goers. The Hyland Park Reserve encompasses over 8 miles of paved bike path, read on to learn about what possibilities you could explore.
-

Staying Safe by Assessing and Avoiding Road Hazards
Nothing spoils a great ride like a bad accident, but most accidents are avoidable. The easiest way to eliminate accidents is to assess road hazards in advance, and avoid them. Read on to learn about the most common road hazards and how to manage them.
-
Tips and Tricks to Adjust Your Bike’s Rear Derailleur
It goes by many names, the rear derailleur. It is also known as the “s,” the “hangdown,” or the mech. Here in the U.S. we refer to it as the derailleur. The device that moves your bike’s chain from gear to gear letting you traverse hills with ease. Even though derailleurs are sturdy and relatively…