Tag: Bicycle maintenance
-
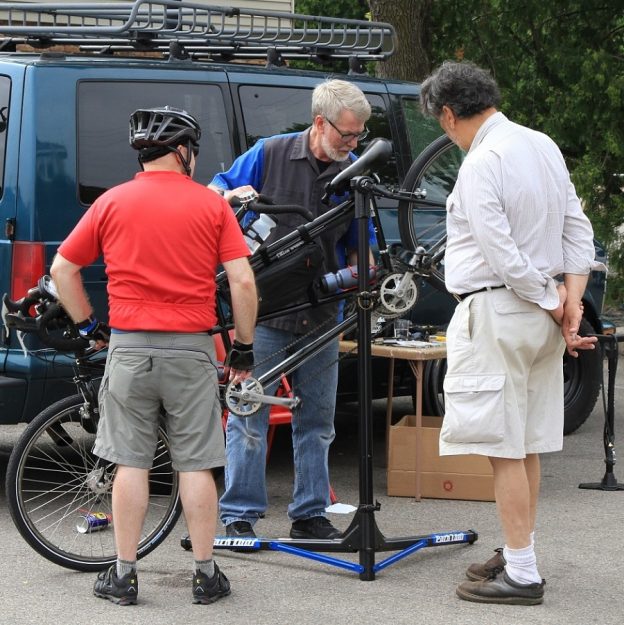
Bike Pic March 10, routine bike maintenance is critical
This Tuesday, with snow and rain in the forecast, consider some routine bike maintenance to prepare for the spring riding season, soon here.
-
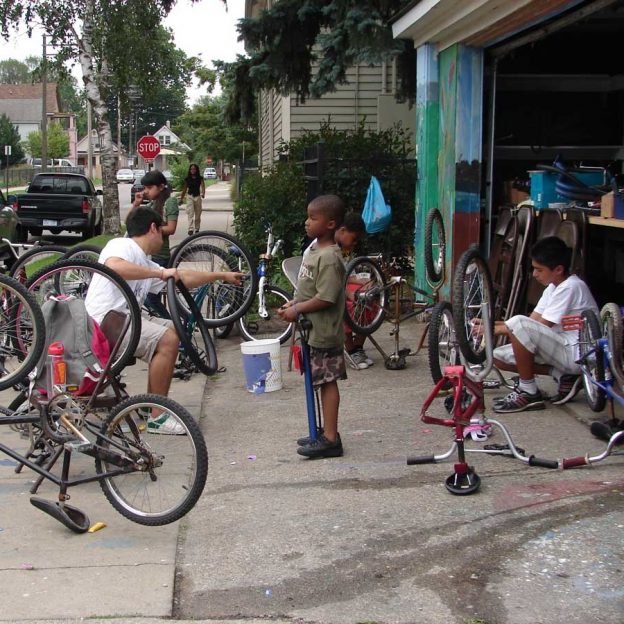
Teach your child the ancient art of bicycle maintenance
As a parent and tinkerer, one of the most fun activities I share with my two boys is teaching them how bike maintenance works. Now that my older son is riding more and helping me review a bike for HaveFunBiking, the time has come to teach him how a bicycle works. Almost everybody gets the…
-
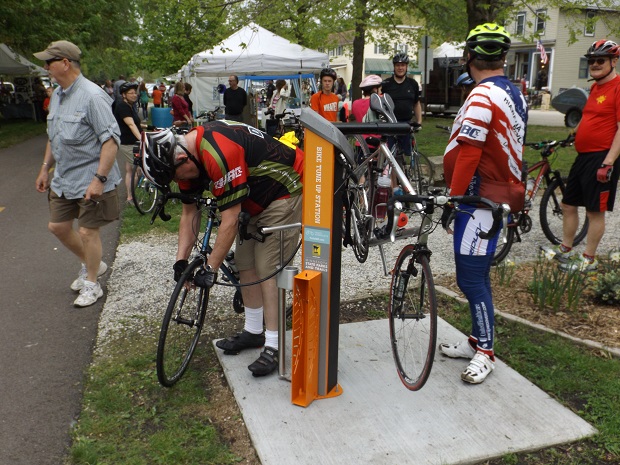
Bike tune-up tricks for better cycling performance
Do you want your bike to go faster, ride more effortlessly, and shift smoother after your annual bike shop check-up? Here are four relatively simple tune-up tasks that don’t require any special knowledge or tools, and you should see a long-lasting improvement in your bikes performance: