Tag Archives: Bike maintance tips

Preparing your bike for storage, a check list to protect your gear

by Bill Anderson

Bike- main-1a

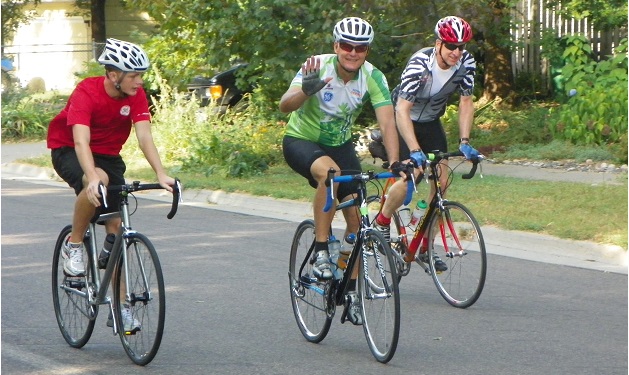
Cyclists enjoy a beautiful day riding with a flower garden in the background.

Having enjoyed another summer season of cycling with many great memories, it’s time to think about preparing your bike for winter storage. Unless you plan to pedal your two-wheel steed throughout the winter. If not, wouldn’t it be nice when the temperature warms next spring, you are ready to ride? And you are not cleaning and tuning up your bike when you should be riding next spring. Or even worse, waiting two to three weeks or more for your bike shop to get it ready for you.

Preparing your bike for storage

When putting your bike away for the winter, there are several things you will want to do to store it properly. Following the helpful tips listed below or taking it to your favorite bike shop will help you avoid future problems and ensure that it will be ready to ride next spring when the weather breaks.

These tips apply whether you’re putting your bike in your basement, garage, or storage unit. Many bike shops now offer winter storage if you don’t have a storage place at home and don’t want to rent an entire storage unit. Just don’t let your bike sit outside.

bike-main-8

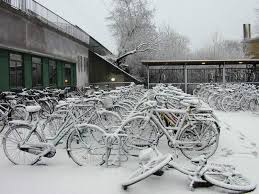
Bikes left outside over the winter

You would think this wouldn’t need to be mentioned, but visit any college campus in the upper Midwest in February and see dozens of beautiful high-end bikes out suffering in the cold and snow.

In any case, follow these pointers so you are ready to go when the weather warms up next spring:

1. Wipe down the frame and inspect it

bike-main-4

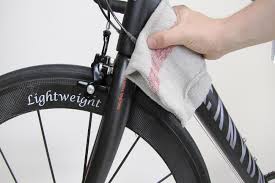
Inspecting the frame is important

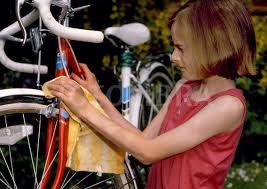
Use a dry rag and a spritzer bottle, with water or a lite detergent mix, to wipe it down while inspecting it. While I’m not a fan of wet washing a bike with a water hose. Which can create problems if water gets down into your components. Be sure to wipe the bike dry to ensure all metal parts don’t rust.

The best way to do this is to take a brush to knock away any chunks of dried-on mud on your frame or wheels. Then, take a damp rag to your bike, wiping it all over to remove any remaining dust or dirt. Also, remove any grease or grime accumulated around your drive train or other areas where lubrication can attract dirt.

2. Inspect your frame

bike-main-9

Look for cracks, signs of fatigue

Here’s a bonus hint. Wiping down your bike offers you a chance to inspect the frame thoroughly. While cleaning, look for cracks or metal fatigue, particularly near welded spots and on the bottom bracket, which supports much of your weight.

3. Cleaning your drivetrain

bike-main-5

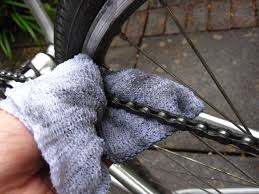
Wiping the chain is important

Now is an ideal time to clean and lube the cassette, chain, and crank to eliminate all the crud that may have accumulated over the riding season. Plus, a fresh coat of lubricant will help protect against rust. If you have several thousand miles on the chain or a lot of wear, this is the time to consider replacing it.

4. Lubricate the cables

bike-main-4a

Apply oil near cable housing and work in

To avoid problems that may pop up in the spring, with rusting or poor cable performance, take a few minutes to lubricate the cables that control your brakes and derailers. Apply a few drops of light lubricant on a rag and rub it on the exposed cable – lightly work through the cable housing. This will help keep your shifting mechanism in shape while eliminating stress on your cables.

5. Inspect tires, wheels, and brake pads

bike-main-2

Tires should be free of cracks

While wiping down your tires, check your wheels for loose or broken spokes by spinning them and looking that they still spin true. Ensure your wheels spin straight, with no wobbling from side to side and no rubbing against the brake pads. If your wheels don’t spin straight, it’s probably time to take your bike in for wheel truing.

At the same time, inspect your brake pads for proper alignment and any excessive wear in the pads.

6. Then inflate the tires

Before putting your bike away, be sure to inflate your tires fully, especially if you store your bike on its wheels. If your tires are flat, the bike’s weight presses down through the rims on one spot on the rubber. Over several months, that can cause deterioration of your tire as the rubber can end up distorted and/or the tire can develop a weak spot in the sidewall. If you hang your bike from the ceiling by its wheels, having the recommended pressure in the tires is still good.

7. Wipe-down the tires, saddle, and handgrips

bike-main-7

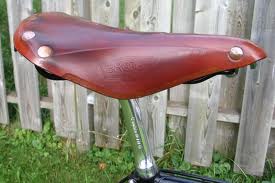
A conditioner will keep it soft

Now that you have cleaned and lubed your bike wipe down all the remaining components for any wear or misalignment. Take an optional step that mainly affects the appearance of the bike. Armor-All works well for your tires, rubber handgrips, and seat – if it has a leather, vinyl cover, or another smooth synthetic surface. Products like this are both a beautifier and protectant and will give a nice, clean, and shiny appearance while keeping the material soft. This only takes a few extra minutes and will be something you’ll be glad you did in the spring, as your bike will look sharp and ready to go.

8. Remove any batteries or charge to the recommended capacities

Remove any accessories with lead batteries, like front and rear lights, to avoid corrosion from battery acid leaking onto your bike while in storage. If the battery is hard to remove, as in the case of some Lithium Ion batteries on electric-assist bikes, charge it to the recommended capacity, normally around 85%. See “How to maintain an E-bike” for more information.

9. Clean out your panniers and trunk bags

If you choose to leave your bike bags on in storage, clean them and wipe them out. Ensure no food items are left inside, as you may find a family of rodents nesting there next spring.

 10. Empty water bottles and Camelbaks

bike-main-9a

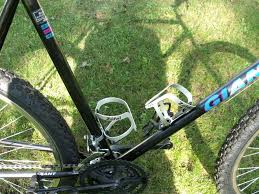
Clean and dry the insides of your bottles if you plan to store them on the bike

Take all your water bottles off your bike, or drain and give them with a light bleach rinse. Dumping out whatever is left in them since the last time you rode and running them through the dishwasher to get them nice and clean is best. When finished, leave the lids off to allow them to dry entirely inside.

If you have a Camelback or backpack canteen water carrier, flush the bladder with a very mild solution of vinegar and water, and then follow that up with several rinses of plain hot water, then leave the lid off to dry.

Now, as you sit in front of the window watching the snow fly, recalling all the memorable rides you had this year, you can rest assured that when the first opportunity to ride next spring comes, you are ready.

Take a look below at some of the most common and damaging cycling mistakes and solutions made by newbies and seasoned riders alike.

Easy ways to solve common cycling mistakes for more fun

by John Brown, Brown Cycles

Mistakes are something we as humans can’t escape, but nobody is perfect. That said,  what we can do is try to eliminate some of the simple errors we may make without ever realizing we are proceeding down the wrong path. Consider taking a look below at some of the most common and damaging cycling mistakes made by newbies and seasoned riders alike.

Cycling Mistakes #1 – Wear your helmet only when you think it’s needed

Many riders make the mistake of thinking “I don’t need to wear a helmet, I’m only going around the block with the kids”. This mentality is often responsible for catastrophes. The truth is you never know when an accident can happen, so you should always be prepared. As an example, the worst crash I have ever had was when riding from a campsite, down a straight gravel path to the washroom. Before I knew it, I was smack dab on the ground faster than I could get my hands up to catch myself. The moral of the story Is to wear your helmet any time you ride your bike.

mistakes

Helmets are always in style

#2 – Believing you have plenty of air in the tires without checking

Frequently, I see riders headed down the trail with tires so low you can hear the rim bouncing off the ground with each pedal stroke. Low tire pressure can lead to pinch flats, and more importantly, loss of control. The innertube that holds the air in your tire is naturally porous and loses air naturally over time. In fact, a tube can lose between 3-5 PSI a day. At its extreme, your tire could go from full pressure to less than half pressure in the span of one week. Be sure to protect your ride by checking tire pressure before each ride.

#3 – Lube the Chain After Every Ride

Believe it or not, an over-lubed chain is more damaging than an under-lubed chain. While I am not recommending that you ride around with a dry chain, knowing when to lube is important. Having a ton of lube on your chain will not protect it any better. In fact, too much lube will attract dirt and debris, creating a harsh slurry that covers and wears your drivetrain. The best way to lubricate your chain is to apply lube to the chain, allowing it to soak in for a minute, and then use a rag to wipe off as much excess as possible. When done, the chain should feel almost dry to the touch.
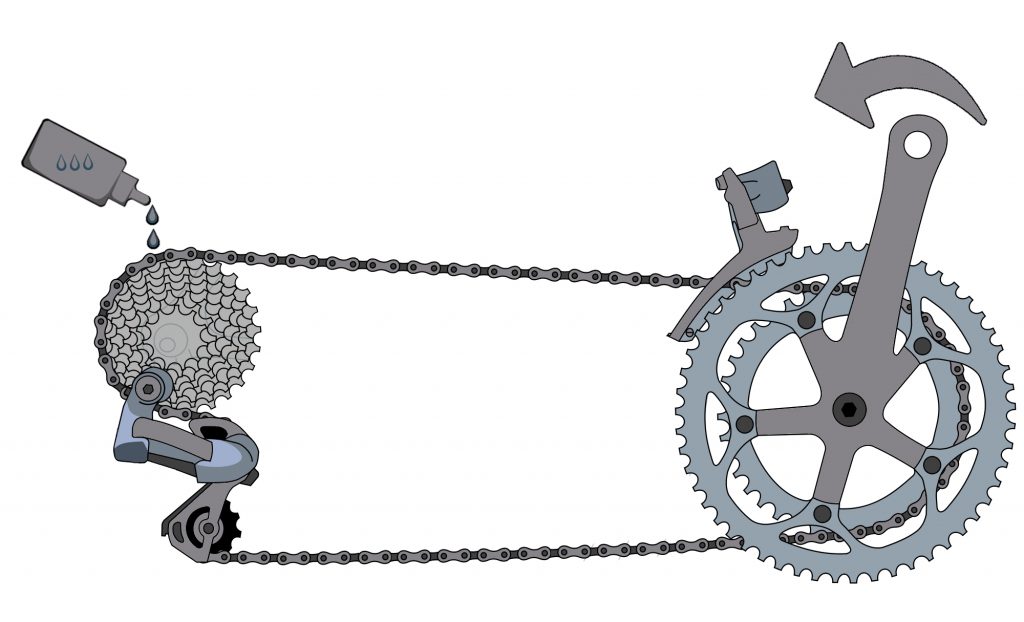
The right amount of lube is a great thing

#4 – Use the water hose to clean your bike

After a dusty or wet ride, many riders reach for the hose to spray dirt off the bike. Sadly, while the bike may look clean, the bike will be in worse shape than if it hadn’t been cleaned at all. Pressured water that comes from a hose, can displace grease and leave nothing behind. Now, with no grease, the bike wears out at an accelerated rate. Instead of using a hose, try instead a warm bucket of soapy water and a big sponge.

#5 – Bring water along only on some rides

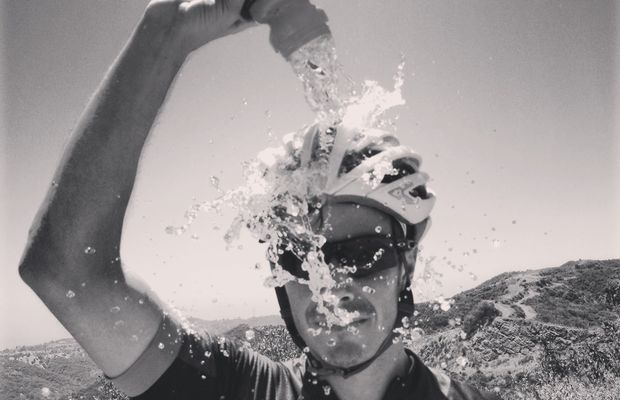
Many times, riders will assume that because the weather is cool, or a ride is short, they don’t need to bring water with them on a ride. Truth be told, the biggest drain on your energy while riding can be related to dehydration. Stay hydrated by bringing water or a sports drink along on all rides.
mistakes

Yay, Water!

#6 – Assume cycling shoes are only good for clipless pedals

If you don’t want to ride clipless pedals, I get that. There are tons of reasons clipless pedals are great, but at least as many reasons why they aren’t right for everybody. What you can do is use a cycling-specific shoe with your flat pedals. A cycling shoe has a stiff sole and additional arch support to disperse pedaling forces over the entire length of your foot. Therefore, you have more efficiency and less discomfort.

Mistakes in general

Overall, it is a good idea to think about what you are doing before you ride your bike. Make sure your bike is ready for the ride, be equipped to take care of yourself during the ride, and be sure you are prepared to reach out for help if needed. Once you go through that mental exercise you will see the common cycling mistakes melt away. Have Fun!
About John Brown, the author

As a lifelong cyclist and consummate tinkerer, John operates Browns Bicycle in Richfield, MN. It all started for him in grade school when the bike bug bit and that particular fever was still there. Now, and over the past thirty years, he has worked at every level in the bike industry. He is starting, like most, sweeping floors and learning anything he could about bikes. He eventually graduated as a service manager and then as a store manager. Through the years, he has spent extensive time designing and sourcing bicycles and parts for some of the largest bike companies in the world. All the while focusing on helping as many people as possible enjoy the love of riding a bike. In that pursuit, he has taught classes (both scheduled and impromptu) on all things bikes. John also believes in helping every rider attain their optimal fit on the cycle of their dreams. Please feel free to stop in any time and talk about bikes, fit, and parts, or share your latest ride. You can also see John’s tricks and tips on the Brown Bicycle Facebook Page.
Common cycling mistakes are something we as humans can't escape, but nobody is perfect. That said, consider taking a look below at some of the most common and damaging cycling mistakes

Common cycling mistakes and the ways you can easily solve them

by John Brown, HaveFunBiking.com

Mistakes are something we as humans can’t escape, but nobody is perfect. That said,  what we can do is try to eliminate some of the simple errors we may make without ever realizing we are proceeding down the wrong path. Consider taking a look below at some of the most common and damaging cycling mistakes made by both occasional and seasoned cyclists.

Cycling Mistakes #1 – Only wear a helmet when you think it’s needed

Many riders make the mistake of thinking “I don’t need to wear a helmet, I’m only going around the block with the kids”. This mentality is often responsible for the catastrophe. The truth is you never know when an accident can happen, so you should always be prepared. As an example, the worst crash I have ever had was when riding from a campsite, down a straight gravel path to the washroom. Before I knew it, I was smack dab on the ground faster than I could get my hands up to catch myself. Moral of the story Is to wear your helmet any time you ride your bike.

mistakes

Helmets are always in style

#2 – Believing you have plenty of air in the tires without checking

Frequently, I see riders headed down the trail with tires so low you can hear the rim bouncing off the ground with each pedal stroke. Low tire pressure can lead to pinch flats, and more importantly, loss of control. The inner tube that holds the air in your tire is naturally porous and lose air naturally over time. In fact, a tube can lose between 3-5 PSI a day. At its extreme, your tire could go from full pressure to less than half pressure in the span of one week. Be sure to protect your ride by checking tire pressure before each ride.

#3 – Lube the Chain After Every Ride

Believe it or not, an over lubed chain is more damaging than an under the lubed chain. While I am not recommending that you ride around with a dry chain, knowing when to lube is important. Having a ton of lube on your chain will not protect it any better. In fact, too much lube will attract dirt and debris, creating a harsh slurry that covers and wears your drivetrain. The best way to lubricate your chain is to apply lube to the chain, allowing it to soak in for a minute and then use a rag to wipe off as much excess as possible. When done, the chain should feel almost dry to the touch.

The right amount of lube is a great thing

#4 – Use the water hose to clean your bike

After a dusty or wet ride, many riders reach for the hose to spray dirt off the bike. Sadly, while the bike may look clean, the bike will be in worse shape than if it hadn’t been cleaned at all. Pressured water that comes from a hose, can displace grease and leave nothing behind. Now, with no grease, the bike wears out at an accelerated rate. Instead of using a hose, try instead a warm bucket of soapy water and a big sponge.

#5 – Bring water along only on some rides

Many times, riders will assume that because the weather is cool, or a ride is short, they don’t need to bring water with them on a ride. Truth be told, the biggest drain to your energy while riding can be related to dehydration. Stay hydrated by bringing water or a sports drink along on all rides.

mistakes

Yay Water!

#6 – Assume cycling shoes are only good for clipless pedals

If you don’t want to ride clipless pedals, I get that. There are tons of reasons clipless pedals are great, but at least as many reasons why they aren’t right for everybody. What you can do is use a cycling specific shoe with your flat pedals. A cycling shoe has a stiff sole and additional arch support to disperse pedaling forces over the entire length of your foot. Therefore, you have more efficiency and less discomfort.

Mistakes in general

Overall, it is a good idea to think about what you are doing before you ride your bike. Make sure your bike is ready for the ride, be equipped to take care of yourself during the ride and be sure you are prepared to reach out for help if needed. Once you go through that mental exercise you will see the common cycling mistakes melt away. Have Fun!
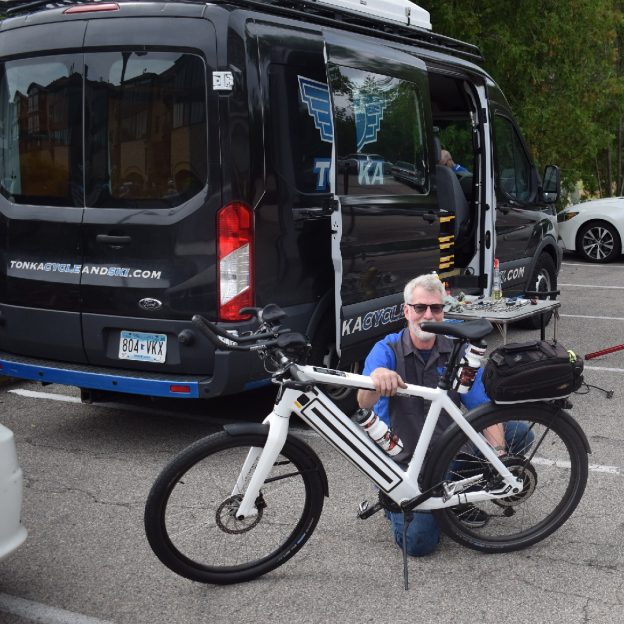
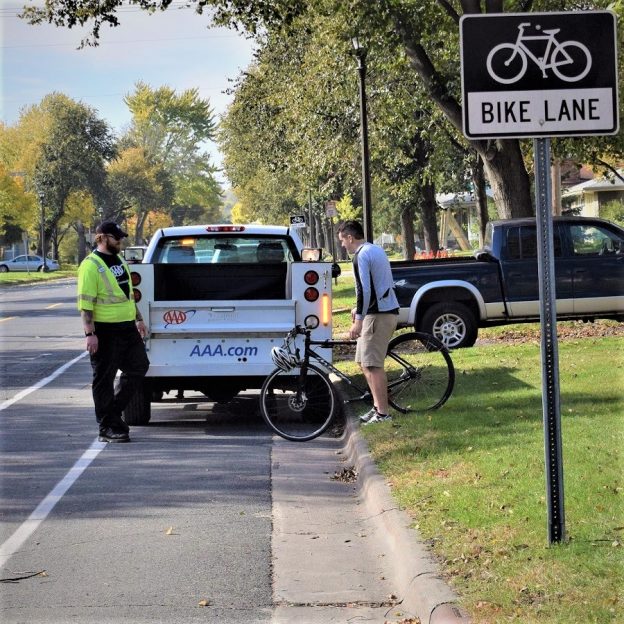
AAA announced that it was extending its popular AAA Roadside Service to include bicycles, offering cyclists and added peace of mind.

New AAA Roadside Service adds peace of mind for your next bike ride

by, Russ Lowthian, HaveFunBiking.com

As more people take to bicycling for recreation and transportation it is nice to know there is someone to come to rescue if a bike breaks down. In a move to support bicyclists, AAA is now offering support. Recently, the company announced that it was extending its popular automotive AAA Roadside Service to include bikes. Here at HaveFunBiking.com, hearing the news is exciting. This is a perfect service that will assure cyclist, someone will be there if they breakdown.

Any bike you are riding is covered by AAA Roadside Service

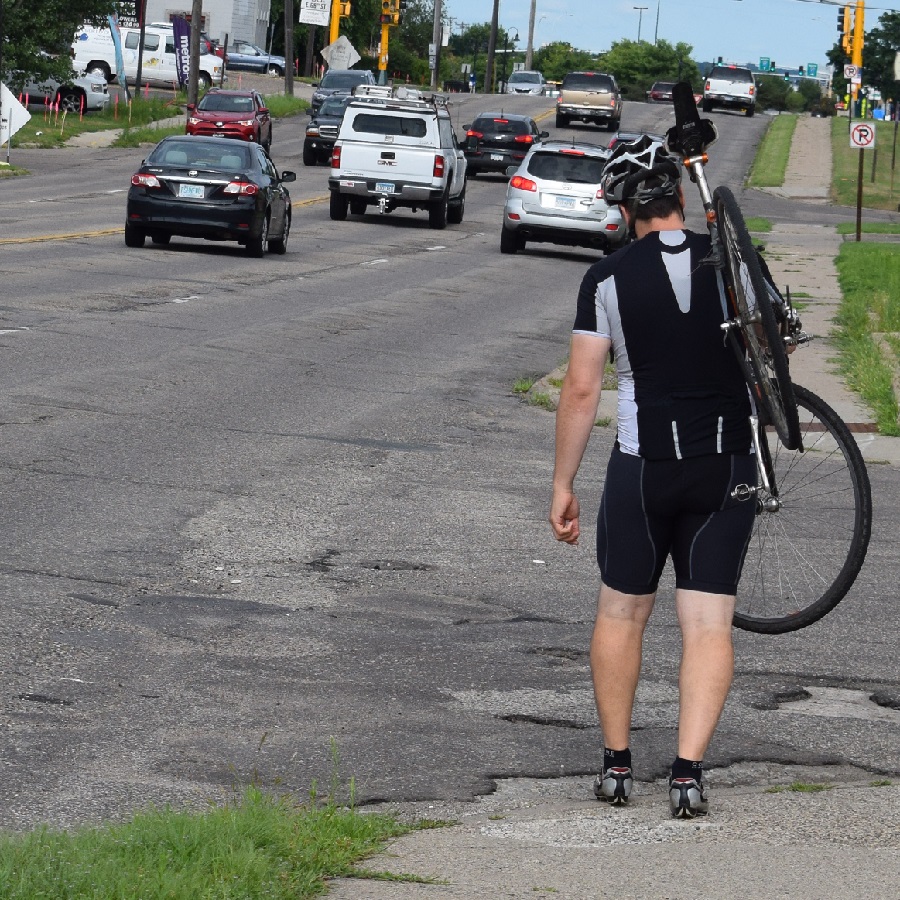
With wheel bearing going out this cyclist wouldn't be carrying his bike hope if he had a AAA Roadside Service membership?

If this rider had AAA Roadside Service, he wouldn’t be carrying his bike home because of a mechanical issue.

How the program works? For as little as $49 a year you can purchase a AAA membership that offers Roadside Service for both your car and bike. If you are already a member you are now covered when bicycling. Just call your roadside assistance number on the back of your membership card.

Like the automotive Roadside Assistance Program any bike you are riding (road, mountain, recumbent, e-bike, tandem bikes, bike rentals and bicycle trailers) is eligible. Coverage applies to any qualified bike a member is riding at the time the bicycle becomes disabled. A member should be with the bicycle and have their AAA Membership Card in hand at the time of service. Keep in mind, the Roadside Service is provided only for the rider whose bicycle has become disabled or inoperable. However, any accompanying minors of a member is covered.

When a quick fix isn’t an option, AAA Roadside Service is there

The second most common mechanical problem to a flat tire, is a broken chain. Read on to learn the causes of and quick remedies to fix your chain.

The second most common mechanical problem to a flat tire is a broken chain.


If a quick fix isn’t an option, (examples: you blew a tire; some spokes broke; or the chain busted) first call a family member or friend. Then, if no one is available to assist, AAA Roadside Service may be your best option.

It’s like “Having a SAG Wagon in your back pocket,” especially when you are touring away from home, on vacation, etc. This roadside service is something that will give a cyclist peace of mind.

Three levels of SAG (service and gear) support for you and your bike

Under the new terms of the roadside pickup service. AAA will transport you and your disabled bike to any point of safety within the limits of your coverage. This is based on three available levels of membership below:

  • The Classic: Gives you up to four transports of your bike or car, within a 5-mile radius of the breakdown per year
  • The Plus: Gives you up to four transports of your bike or car, within a 100-mile radius of the bicycle breakdown
  • The Premier: Gives you one transport of your bike or car, up to a 200-mile radius of the breakdown; remaining transports are 100 miles.

This is exciting news if you are a casual, touring cyclist or a bike commuter! Mary Miller, from South St. Paul was ecstatic to hear the news. She stated, ” now I feel comfortable riding my bike more often knowing that I can call AAA to come and get me if I breakdown.”

What You Don’t Get

The service is strictly a pickup and delivery service and does not offer any repair amenities or supplies. If you are capable of fixing a flat, repairing a broken chain or spoke and continuing your ride, please do so. The service is designed when you have run out of quick repair options. In fact, there is a laundry list of “services not included:

  • Airing or changing a flat tire
  • Pickup from anywhere not reachable from a paved, “regularly traveled” road
  • Parts, including tires
  • Pickup of bicyclists who are physical unable to continue with the ride
  • Locksmith services, in case you accidentally lock up your bike and lose the key or combination.

AAA Roadside Service is available in many states across the U.S.

“We are tremendously excited about this great new bike benefit program available to AAA members across most of the upper Midwest, Southeast and much of our country,” stated Gail Weinholzer, Director of Public Affairs, AAA – The Auto Club Group.

The new bicycle service is available throughout the entire territory served by AAA. The Auto Club Group which includes all of: Florida, Georgia, Iowa, Michigan, Nebraska, North Dakota, Tennessee and Wisconsin; most of Illinois and Minnesota; and a portion of Indiana.

For bicycle coverage outside the above states and for full details on AAA Roadside Membership visit AAA.com/Bicycle.