Category: Riding Tips
-
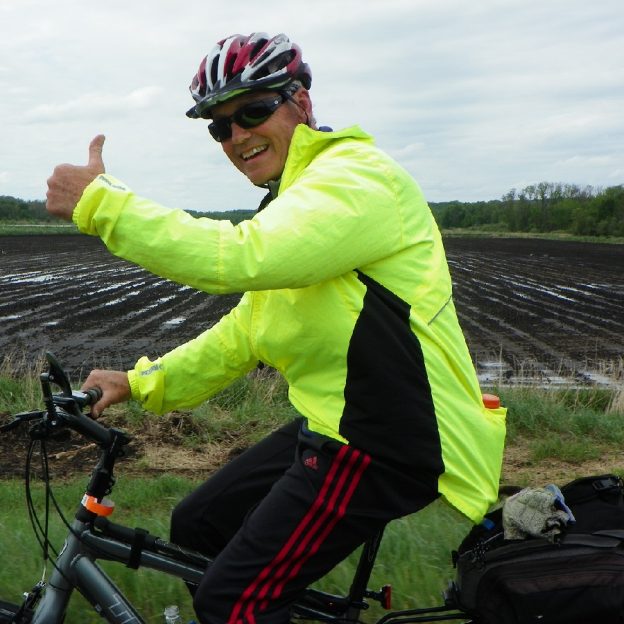
Clothing that is waterproofi a surefire way to stay comfortable
With spring approaching, staying dry is the most critical and challenging part of biking or hiking with rain and snow in the forecast. The best way to keep warm and dry is to wear waterproof clothing. While most synthetic fabrics still insulate when wet, being damp diminishes their ability to keep you warm. Therefore, a…
-
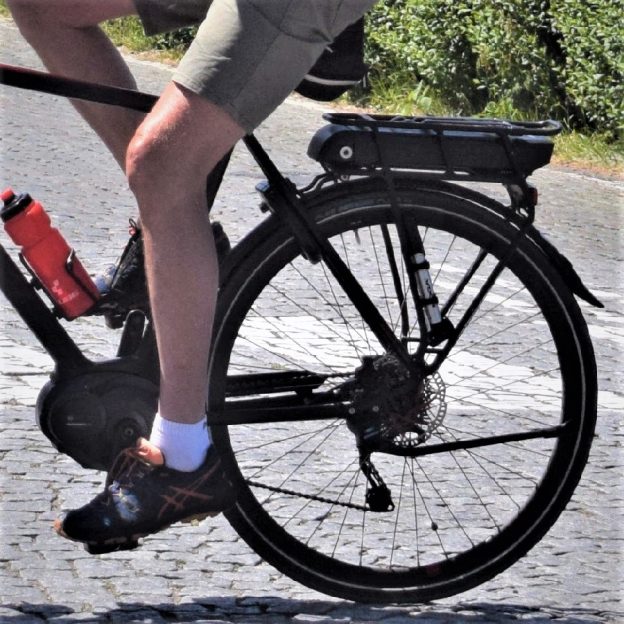
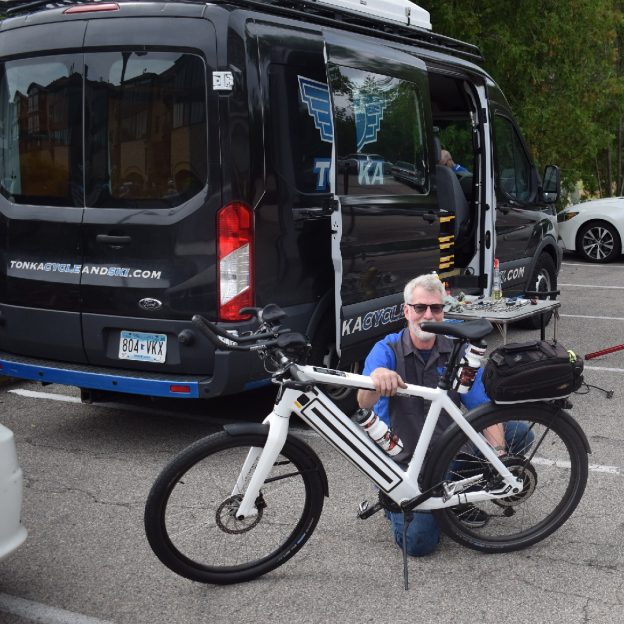
Helpful tips on charging your e-bike to maximize the batteries life
Having a fully charged battery is essential to an electric bike, with the most expensive components the battery and the motor. Today, most ready-to-go electric-assist bikes or e-bikes use a lithium-ion battery pack, and the size of the bike’s battery affects the price you pay.
-
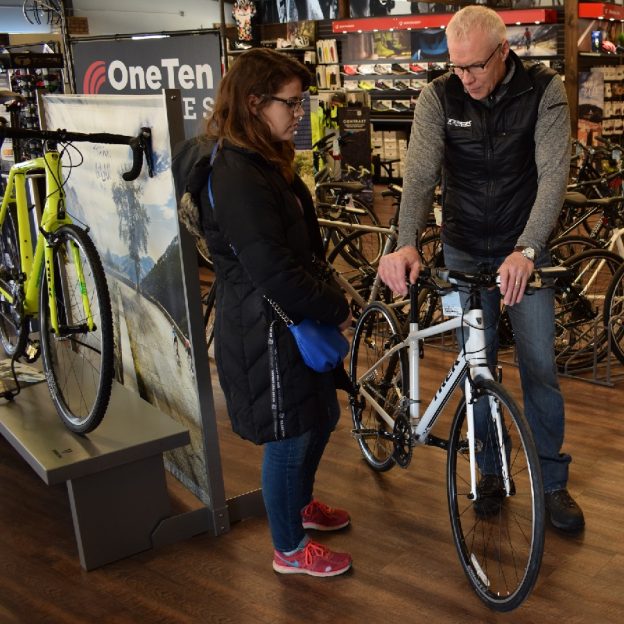
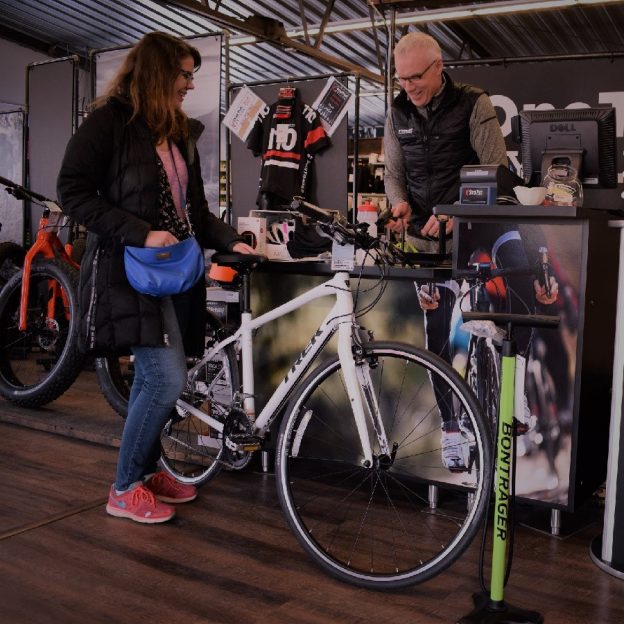
Winter in a bike shop is a great time to learn and save
The winter months are the perfect time to visit a bike shop and learn. Other than just enjoying bikes at a time when you may not be riding, there are many benefits to visiting your bike shop during the cooler months of the year. You can learn more about your bike in the slower winter…
-
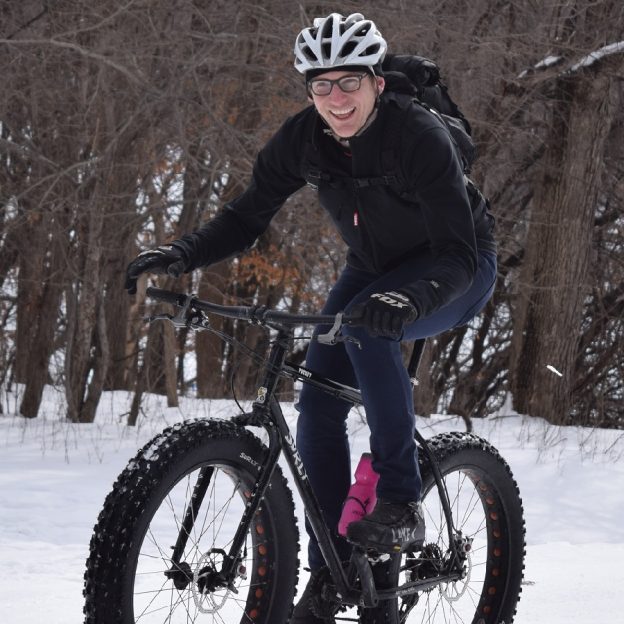
Staying fit when outdoor winter activities isn’t your thing
Snow, ice, and cold make for excellent conditions for fat biking, but how do you keep in shape when winter bike riding isn’t your thing? Luckily, many fun activities, exercises, drills, and products can help keep you in shape through the winter months.
-
Quick tips for renting a bicycle when traveling
Taking your bicycle when you travel is not always possible, but don’t give up on the idea of riding altogether. Renting a bike or e-bike is an easy way to experience new places. Plus, it lets you try a new bike you may want to buy when you get home. Before you travel, here are…
-
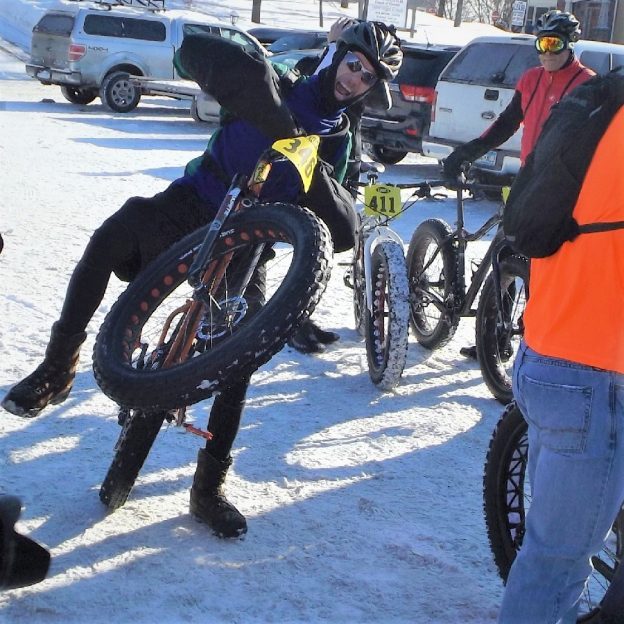
Remember your fat bike etiquette as the winter season progresses
Winter fat bike season is upon us again as the snow and temps drop. As with a regular mountain bike, there is a certain etiquette to follow on the trail. Everyone on the trail wants to have a good time outdoors and make memories in the crisp, clean air. Whether biking, hiking, skiing, or snowshoeing,…
-

A plow app for Minneapolis trails after it snows
Minnesota cyclists are a hardy bunch, but ice and snow-blocked trails can put the brakes on many commutes and rides. Again this year, ready for winter weather, the Minneapolis Trail Plowing Status Map App is live and worth checking when it snows. In the app’s fourth year, transponders mounted on the city’s snow removal equipment…
-
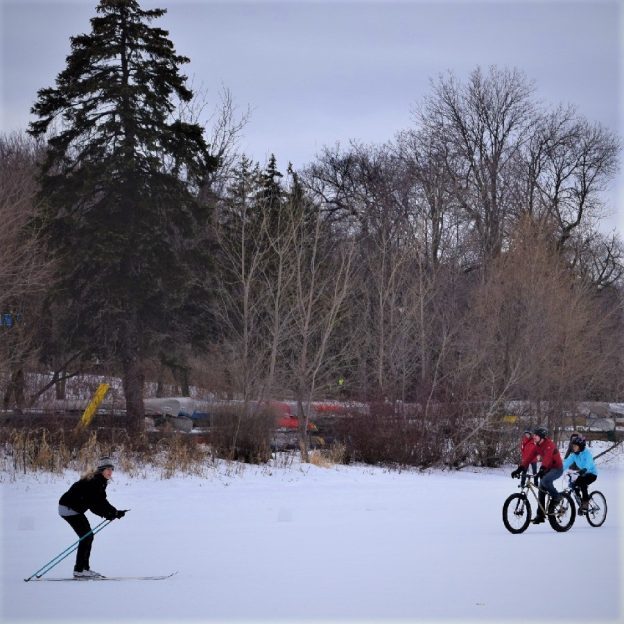
Stay healthy with fun outdoor winter activities
For many of us, being active and enjoying fun winter activities (fat biking, hiking, skiing, etc.) is what makes memories while contributing to good health. Despite lifestyle changes driven by new technology and evolving viruses, there’s still plenty of room to enjoy outdoor activities. Seeking out healthy activities may be even more critical now as…
-
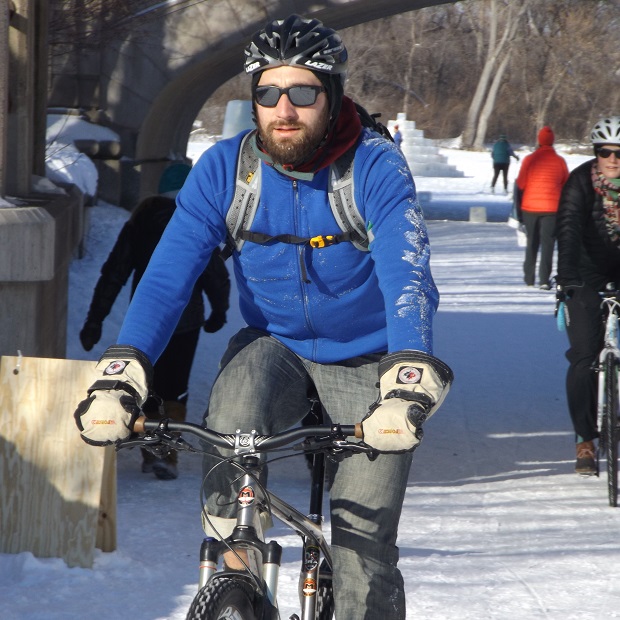
Ice tips to safely bike, ski, or walk on water
For anyone unfamiliar with the bold north. Biking, skiing, or walking on water are fun outdoor winter activities when a few ice safety tips are followed. Mother Nature’s temperature swings in the upper Midwest will determine when to venture onto a frozen body of water. Usually, from mid to late December through February, venturing across…
-
Preparing your bike for storage, a check list help protect your gear
Having enjoyed another summer season of cycling and many great memories, it’s time to prepare your bike for winter storage. Unless you plan to pedal your two-wheel steed throughout the winter. Regardless, wouldn’t it be nice to be ready to ride when the temperature warms next year?