Category: Riding Tips
-
Searching for back pain causes and finding a solution biking
Over the past quarter-century, I have helped many riders get going on their bikes without back pain. I’ve been fortunate enough to witness the life-changing power of proper posture while riding a bicycle. I have also seen riders walk away from cycling due to simple discomfort and a lack of understanding. No discomfort is as…
-
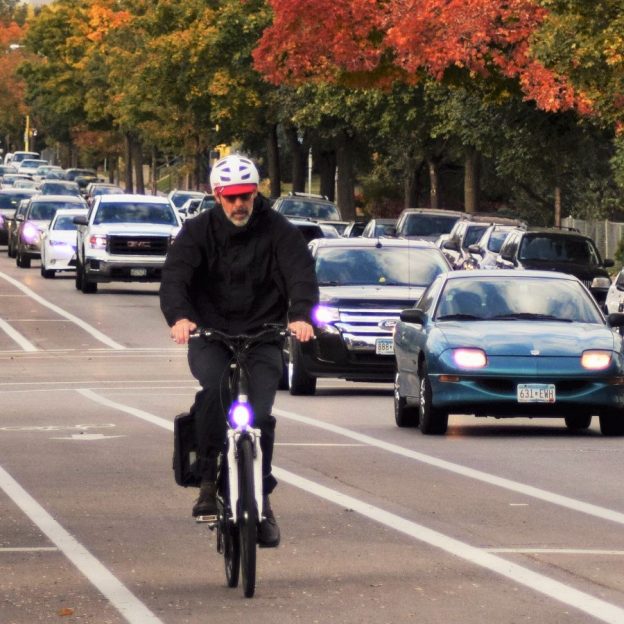
Added visibility for safety and fun in fall’s limited light
Now that fall is just around the corner and the days are getting shorter, we must consider visibility while staying active amongst the autumn colors. As the leaves change and then drop, we need to focus on passive and active visibility. Features like reflectors and bright colors are passive forms of visibility, whereas lights and blinkers are…
-
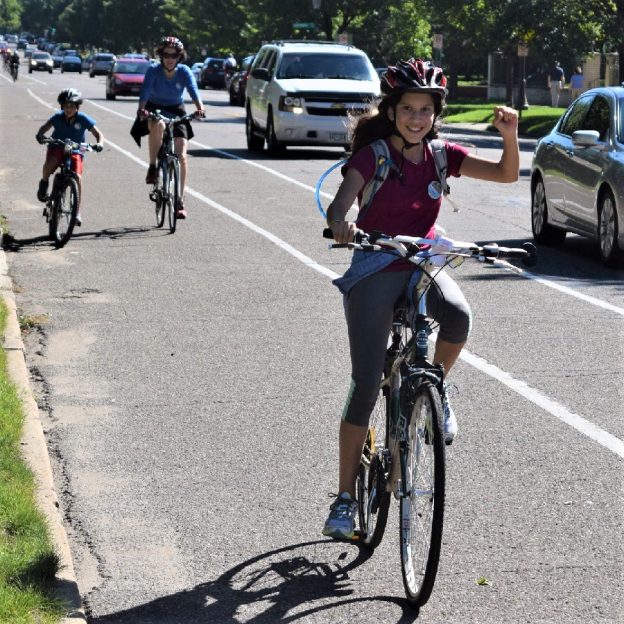
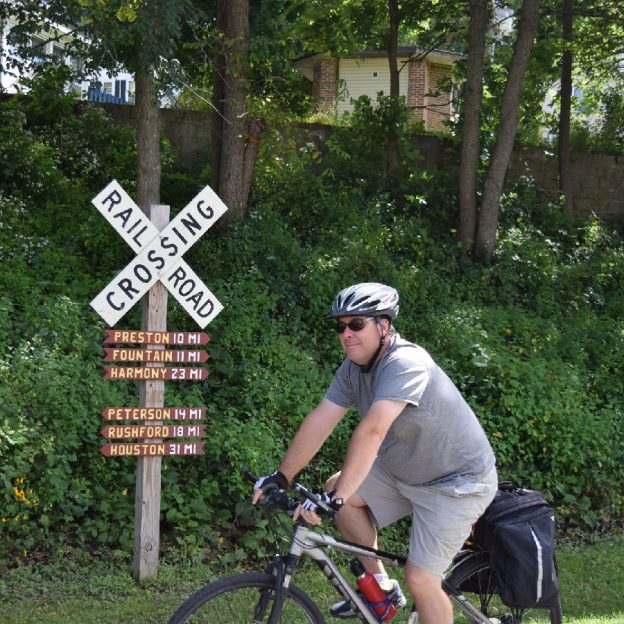
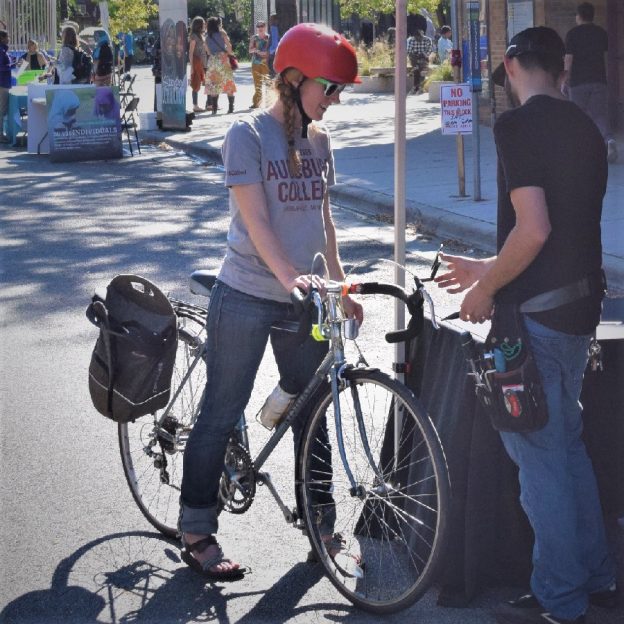
Tips and tricks to make riding to school fun, and safe
All around the country, bike paths are being built, and designated bike lanes are being established. So, riding to school can be an easy and safe option with all the colorful fall weather ahead. Many of these paths are routed from neighborhoods to nearby schools to get more kids energized by riding. To encourage your…
-
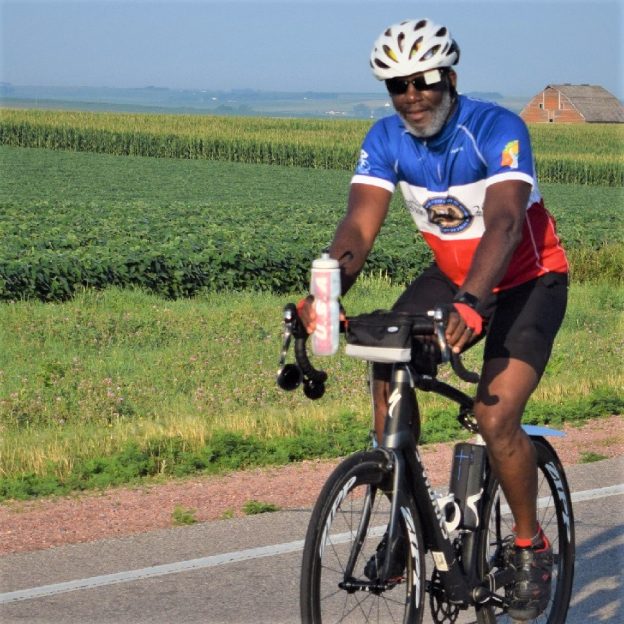
No matter the distance, bring plenty of water on your next ride
Regardless of the length of your bike ride or other outdoor activity, don’t forget to bring plenty of water (H20). Many times, riders will assume that because the weather is cool or a ride is a short distance, they don’t need to bring water. Truth be told, the most significant drain on your energy level…
-
Building the ultimate commuter bike with what’s in your garage
I have used a commuter bike almost exclusively for the past twenty years. In that time, I have seen many people put off commuting by bicycle because they felt they didn’t have the right bike. While the right gear is essential, many don’t realize that the right equipment is closer than they think. Please take…
-
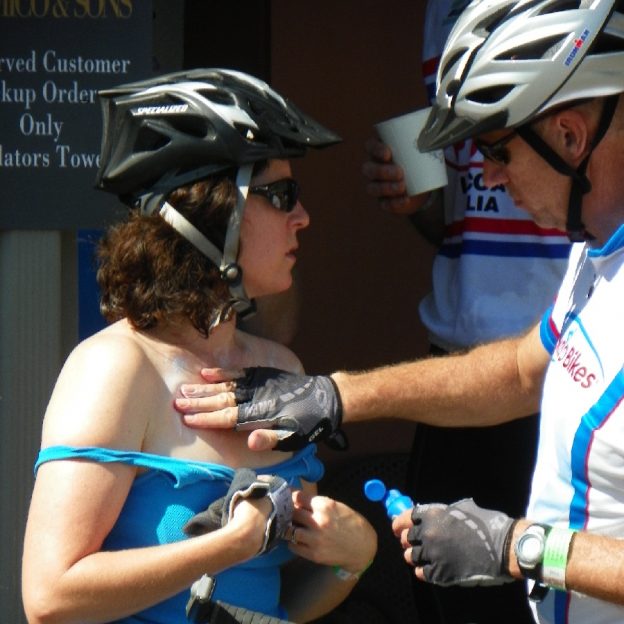
Use protection, it could save your skin….
Use protection, a reminder from the ’90s with Baz Luhrmann’s song, “Everybody is free to wear sunscreen.” A timeless reminder that many forget. We get so caught up in preparing for our races and rides. We check our equipment and focus on our nutrition. We check whether we have all our goodies and gear during…
-
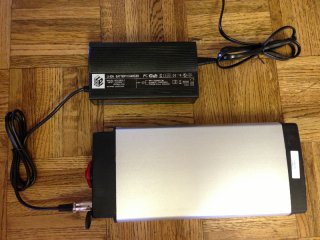
5-tips to extend a lithium battery life for e-bikes and other power tools
Electric bicycles and e-power tools are becoming increasingly common in most countries worldwide. Here are some tips to extend the lithium battery life.
-
Bike noises may be easy to fix with these tips
Bikes are fun, and any noise distraction from your two-wheeled steed can be annoying. One distraction that is easy to fix is noises your bike usually doesn’t make. The reason they are easy to eliminate is that each noise is telling you what’s wrong. Here are some of the most common noises, their causes, and…
-

Easy ways to pedal with your favorite music
Like nothing else, your favorite music keeps you pedaling in high spirits through the most challenging rides. So, how do you bring your favorite tunes along with limited space while riding a bike? Look at these tips below, and some of the most popular options.
-

How to Prepare for a bike tire flat in the winter
A flat bike tire is the last thing we want to deal with when riding out in the cold. Unfortunately, this annoyance happens and the best thing we can do is to prepare for it.