Category: Riding Tips
-
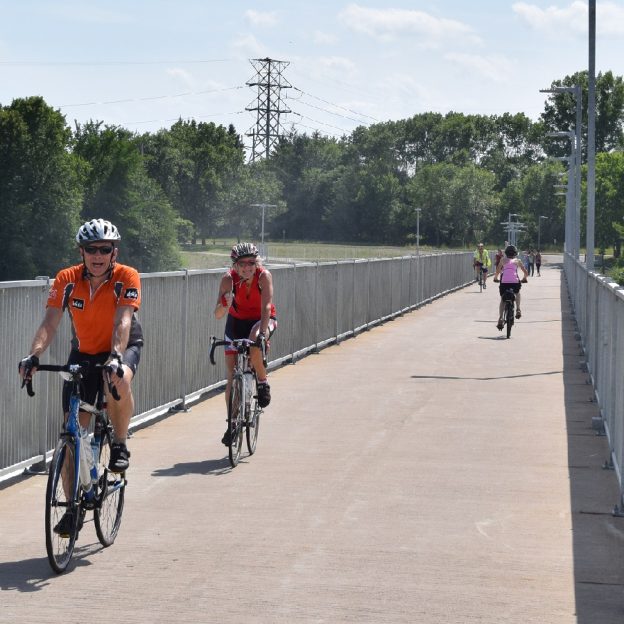
A guide to planning a safe and fun mid-summer bike trip
Now that summer is just about here, for fun in the sun, let’s plan a bike trip adventure. While hundreds of people flock to the lakes and local pools to cool down. Many, like myself, will find refreshing the soul on two wheels the best way to go. Please take a look below at how…
-
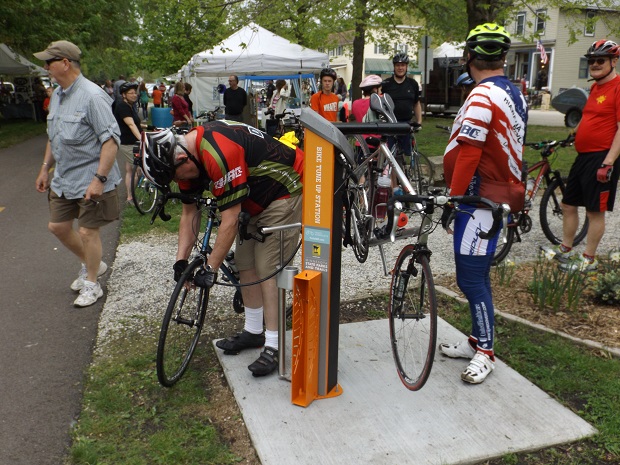
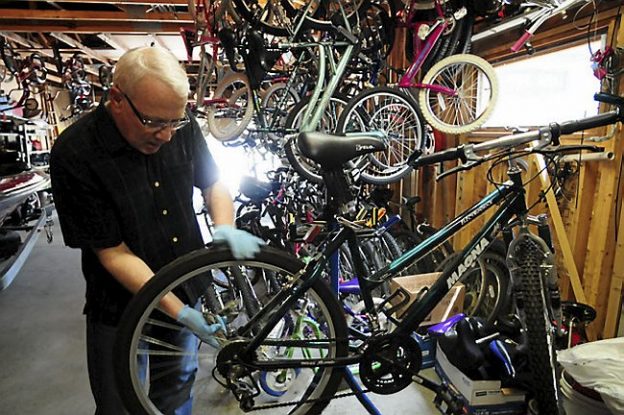
Bike tune-up tricks for better cycling performance
Do you want your bike to go faster, ride more effortlessly, and shift smoother after your annual bike shop check-up? Here are four relatively simple tune-up tasks that don’t require any special knowledge or tools, and you should see a long-lasting improvement in your bikes performance:
-
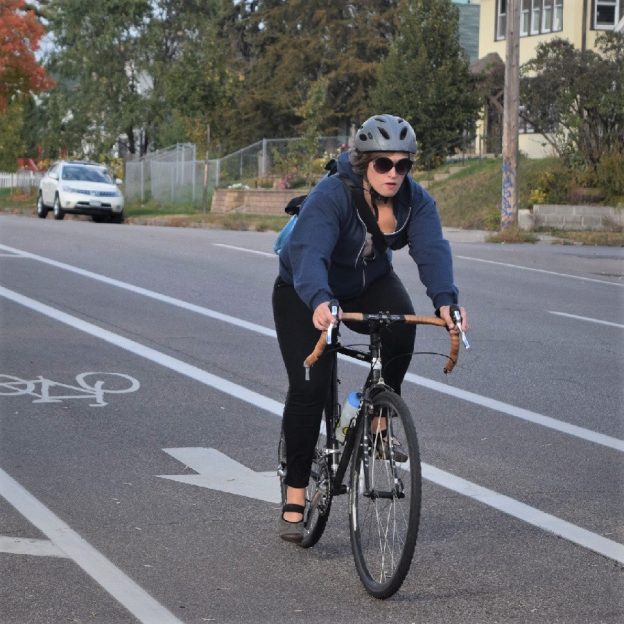
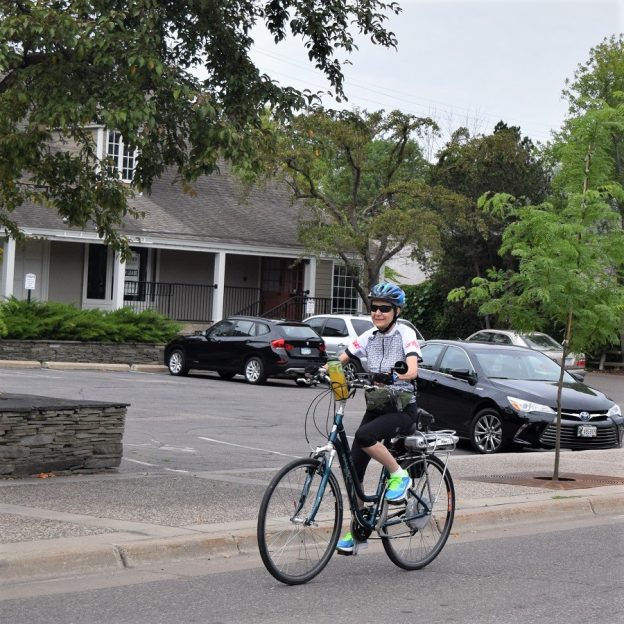
Bike commuting necessities and niceties to make your ride great
Bike commuting is an easy way to add miles, increase fitness, jump start your energy level for the day while enjoying nature, especially with warmer weather. Once you start commuting by bike, you will find the hassle factor lessens while your overall trip acts as your workout for the day. You are saving yourself hours…
-
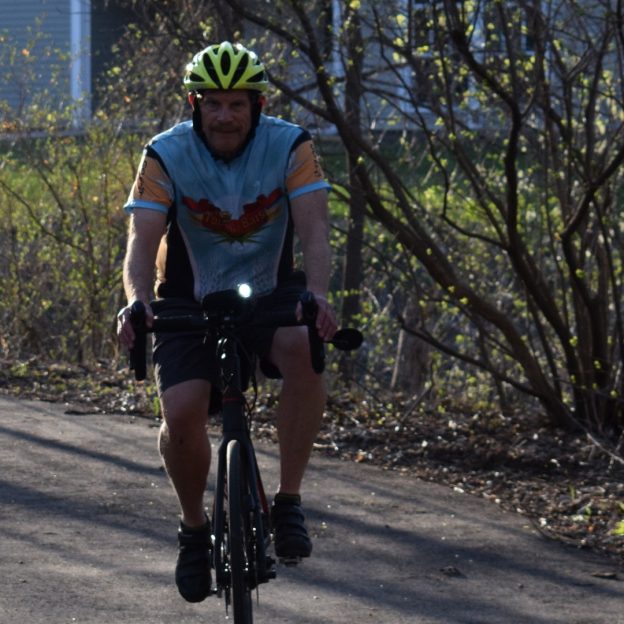
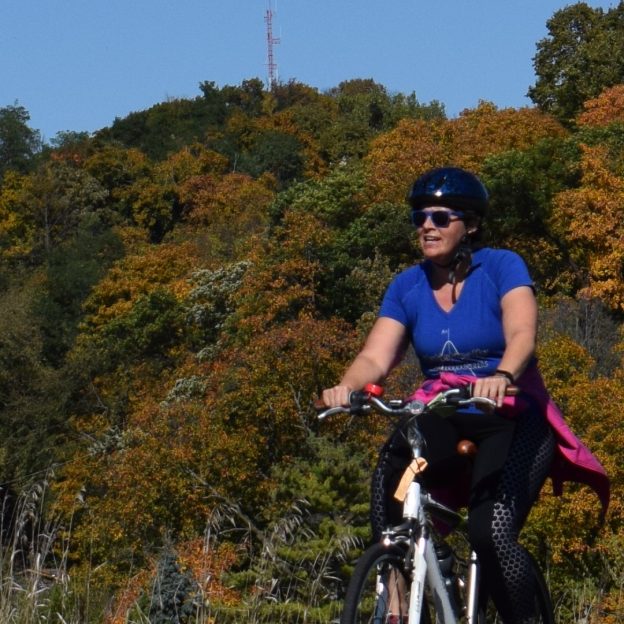
Add visibility in fall’s limited light for a memorable ride.
With fall session riding in full swing, using passively bright gear is a critical component to being better seen while riding our bikes. The two primary forms of visibility we need to focus on are passive and active visibility. Things like reflectors and bright colors are forms of passive visibility. In contrast, lights and blinkers…
-
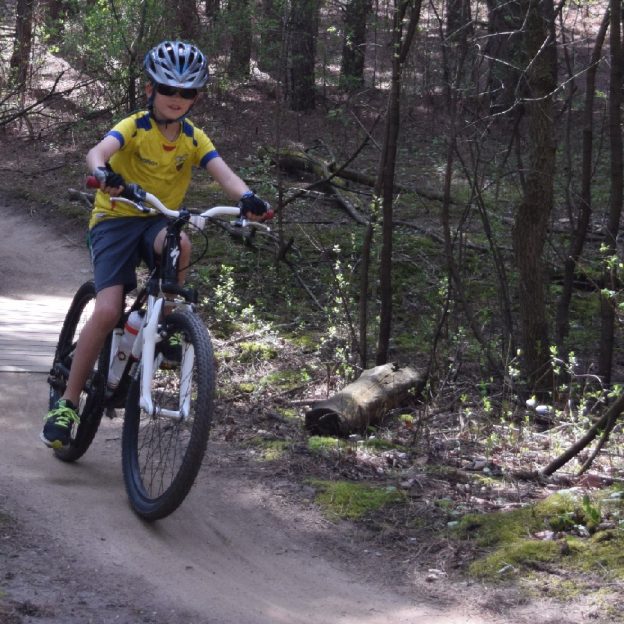
Kid’s mountain bikes: tips and tricks to get them on the trail
John Brown loves riding his mountain bike and enjoys sharing that passion with his boys. He dedicates weekends to teaching his kids the following exercises on mountain biking so they ’ love the sport as he does. Through their eyes, the sense of freedom and excitement is shown with enthusiasm giving his kids a fantastic…
-
Making yourself heard with a bicycle bell, vs voice command
With summer riding opportunities here, it may be time to look for a new bicycle bell for added safety. Personally, I prefer using a bell when approaching slower cyclists and people walking on the trail, just ahead of me. Rather than using my voice alone, with a tone that may vary. I find a bell…
-
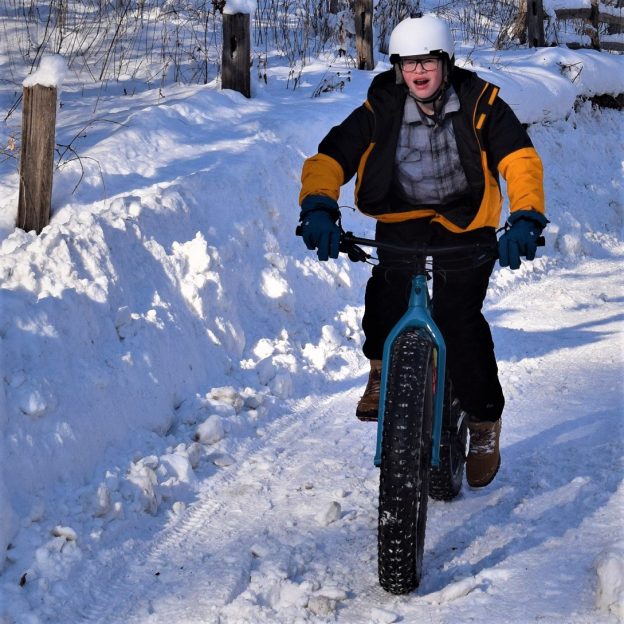
Bike Pic Mar 16, fond memories with more snow on the way
This Thursday, with more snow predicted, get out and shred those frozen elements on the trail
-

Good eating tips along Minnesota’s trails
Here are some tips for good eating along Minnesota’s trails. Maybe it’s to a new area you haven’t had the chance to explore yet. When visiting a new town, or one that you may not have been to in a while, where is the best place to eat, find that afternoon snack or a refreshing…
-
Helpful tips to considering before purchasing an electric bike
They are fun, but the real advantages of an electric bike includes their climbing efficiency, taking a bite out of wind resistance, and the ability to expand your range of travel. Before purchasing an e-bike, it is important to know how far you want to go and what type of terrain you will be riding…
-
Bicycle maintenance will keep your bike in optimal condition
Like any other mechanical device, routine bicycle maintenance and cleaning will keep your bike in optimal condition as the season progresses. Additionally, routine bicycle maintenance will make your bike safer to ride when you need it. Where do you start? What do you use? Well, here are a few tips to put you on the…