Tag: mountain bike
-
Quick and easy post bike maintenance tips after riding in the rain
Sadly, it is sometimes unavoidable to ride in the rain. In my experience, the rain actually waits for me to get as far from home as possible before starting. So, when you do get caught in the rain, how do you protect your bike from the damages of water? Read on for a few helpful…
-

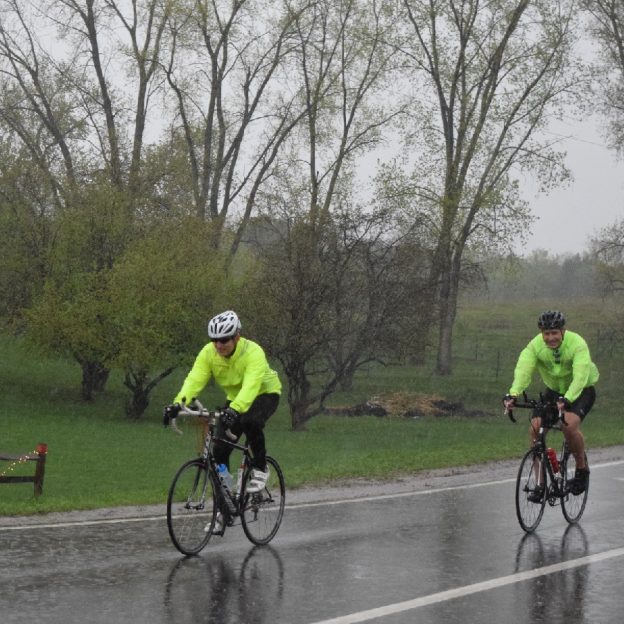
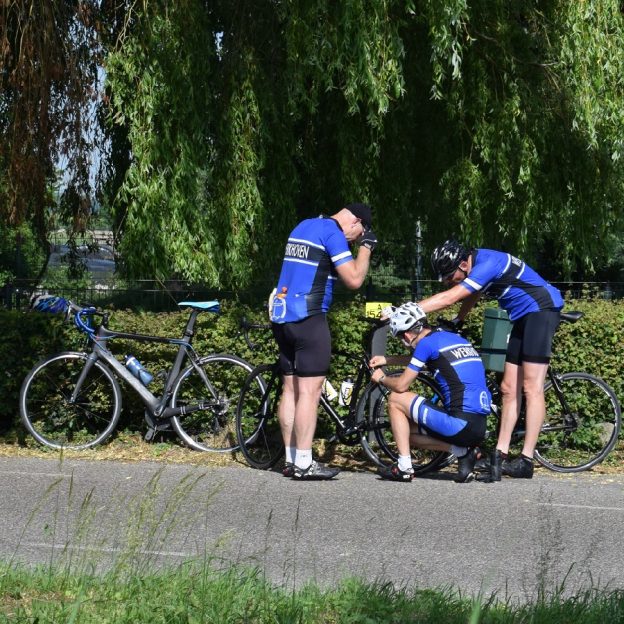
Bike Pic May 13, however you ride its time for a cold one
It’s Friday here in Minnesota and time for a cold one after your ride!
-
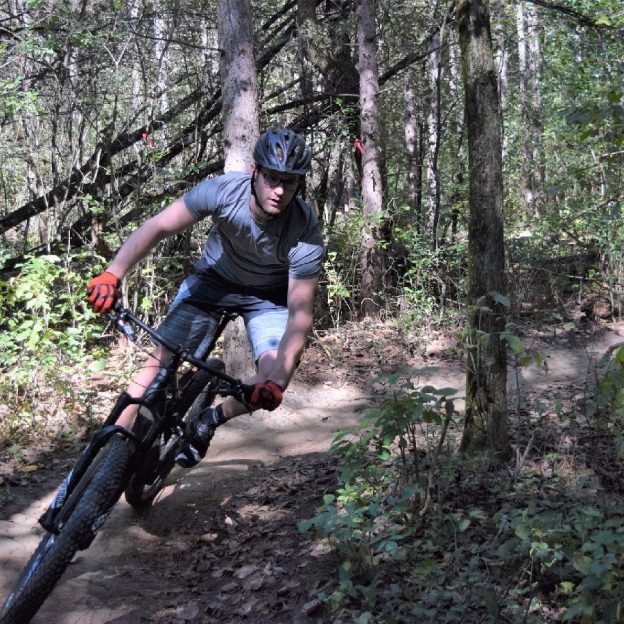
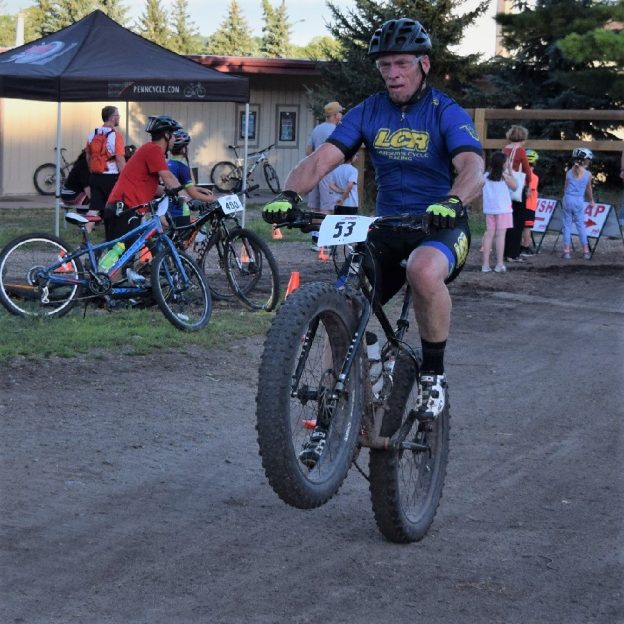
Bike Pic May 4, Its going to be a fun day to hit the trail
This Wednesday, it’s going to be a fun on the trail
-
Buying a new bike? Test ride tips to make the most of your time
The best way to find the right bike for you is to do some research on models you like. Then verify their size to your body and test riding your choices a lot. With so many choose, how do you make the best use of your time while test riding these bikes? Read on for…
-
Common cycling mistakes and the ways you can easily solve them
Common cycling mistakes are something we as humans can’t escape, but nobody is perfect. That said, consider taking a look below at some of the most common and damaging cycling mistakes made by both occasional and seasoned cyclists.
-
Causes of a broken chain and the quick and easy ways to fix it
The second most common trailside mechanical to a flat tire is a broken chain. While it could be the end of an otherwise great ride, with a little preparation, you can easily and quickly get if fixed and back on the road. Read on to learn the causes of and remedies to a broken chain.
-
Mountain bike wheel sizes: past, present and future explained
Once the 29er revolution took over, many companies started looking at even more sizes. Therefore, we now have: 24”, 26”, 27.5”, 29”, 27+ and 29+ wheel options, with another new dimension on the horizon. Take a look below to see the pros and cons of each size.
-

How to choose the right cycling gloves for miles of pain free riding!
A pair of cycling gloves are one of the few pieces of apparel that make direct contact with both your body and the bicycle. They help you maintain proper grip on the bars when things get hot and sweaty, they protect your skin in the case of an accidental dismount, and they can help alleviate…
-

Tips for planning a great bike adventure for lasting memories
Congratulations, if you have decided to take the leap and plan a great bike adventure. It could be a small charity ride, your first triathlon, a multi-day bike tour, or a fun filled trip for the whole family, whatever the bike adventure, there are a few things you should know before leaving your front door.
-
Recreational or competitive what is the right bike for your riding pleasure?
How do you figure out what is the right bike for you? Like everything else in the world today, there are no shortages of choices when it comes to bikes. With that said, please read on for several helpful tips!