Tag: #trek
-

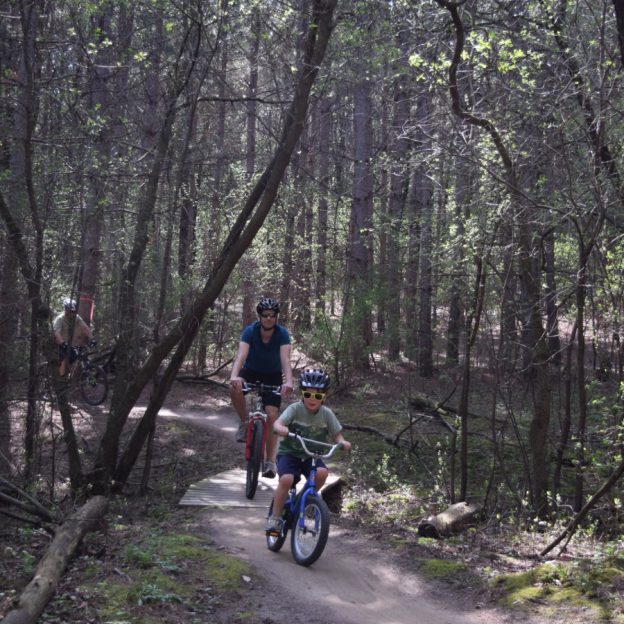
Bike Pic July 17, e-bikes make it easy for seniors to stay riding
This Thursday, stay active riding an e-bike
-
Bike Pic Dec 10, fond memories, winter is on its way
Fond memories this Tuesday, winter is on its way
-
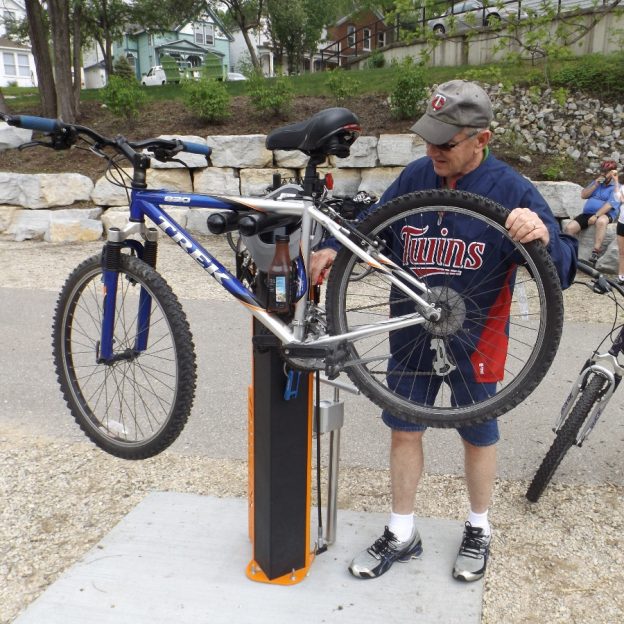
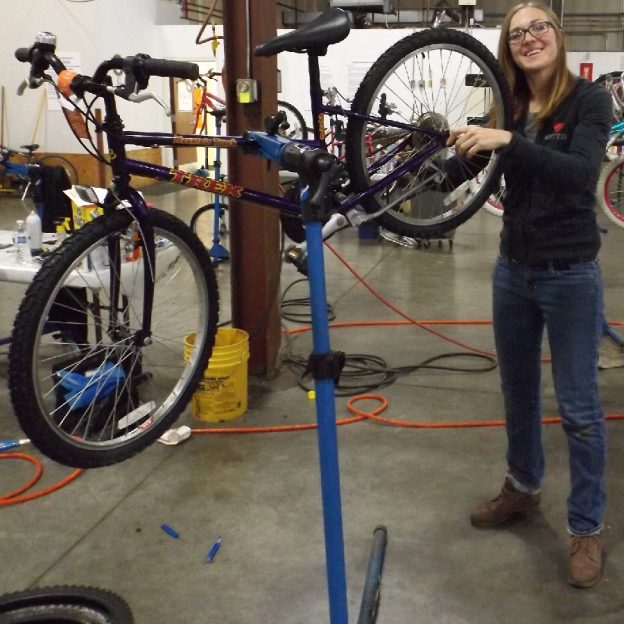
Bike Pic Dec 5, a bicycle repair reminder along the trail
This Thursday, maintenance and repair is crucial for a fun ride.
-

Bike Pic Dec 20, better safe than sorry – tire check tip
This Thursday, make it a habit to properly inflate your tires.
-
Buying a new bike? Test ride tips to make the most of your time
The best way to find the right bike for you is to do some research on models you like. Then verify their size to your body and test riding your choices a lot. With so many choose, how do you make the best use of your time while test riding these bikes? Read on for…
-

Mountain bike wheel sizes: past, present and future explained
Once the 29er revolution took over, many companies started looking at even more sizes. Therefore, we now have: 24”, 26”, 27.5”, 29”, 27+ and 29+ wheel options, with another new dimension on the horizon. Take a look below to see the pros and cons of each size.
-

Mountain bike hacks: fat bike tips and tricks for winter fun!
For many of us, riding off road through the winter is impossible without a fat bike. Our trails get covered with snow in December and don’t see the light of day again until April. Here are a few quick and easy hacks to riding fat bikes that will get you enjoying the snow in no…
-
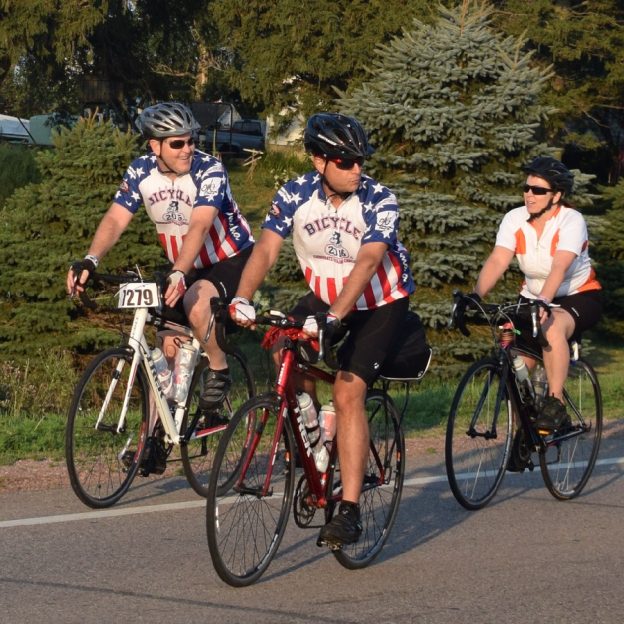
Bike Pic Oct 9, he said what about Columbus Day?
As cyclists around the country enjoyed a Sunday cruise, the chatter was pretty heavy on remarks that were broadcast and tweeted about Columbus Day.
-

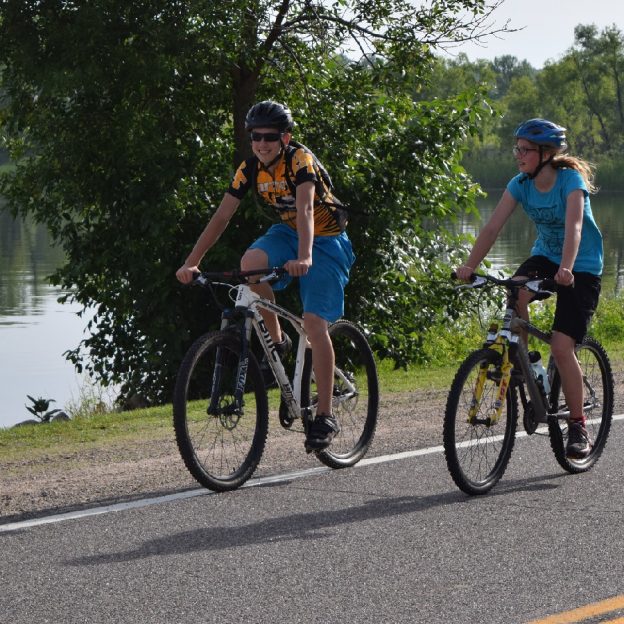
Bike Pic Sept 9, schools out for the week for this mountain biker
With the first week of school out of the way this young mountain biker is enjoying riding the trail. With temps in the mid-70’s we hope get an ride!
-
Tips and Tricks to Adjust Your Bike’s Rear Derailleur
It goes by many names, the rear derailleur. It is also known as the “s,” the “hangdown,” or the mech. Here in the U.S. we refer to it as the derailleur. The device that moves your bike’s chain from gear to gear letting you traverse hills with ease. Even though derailleurs are sturdy and relatively…