Tag: mountainbikes
-
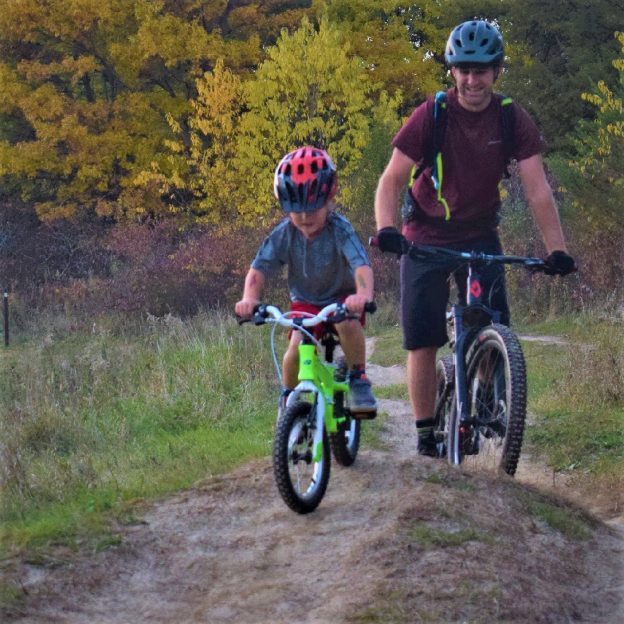
Kid’s bikes can be a gateway to a lifetime of fun.
Knowing the differences between kids’ bikes will make it easier when it’s time to get your child on a bicycle. Whether it’s the first bike or an upgrade to a bigger size. Here are some tips to help you decide what’s best for your young rider.
-
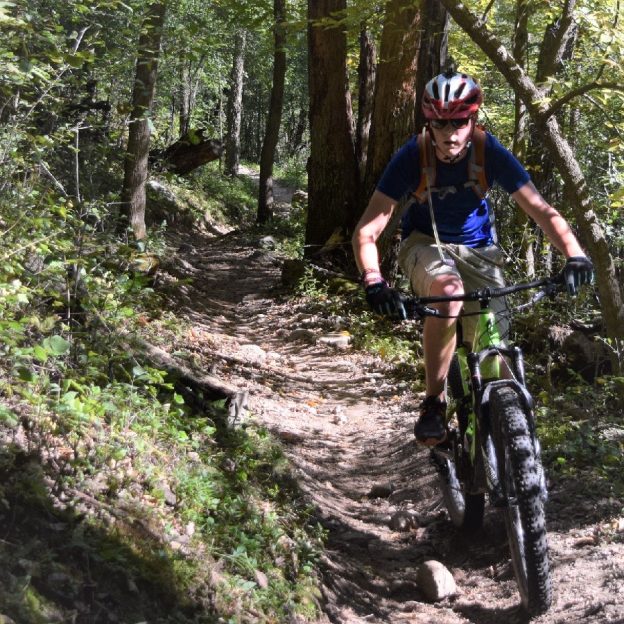
Mountain Bike Hacks: How to Descend with Speed and Confidence
For Many, the fun of mountain biking is going down hill. So how do you descend with speed and confidence? You will find it is as easy as controlling your weight, position and growing skills.