Tag: kids bikes
-
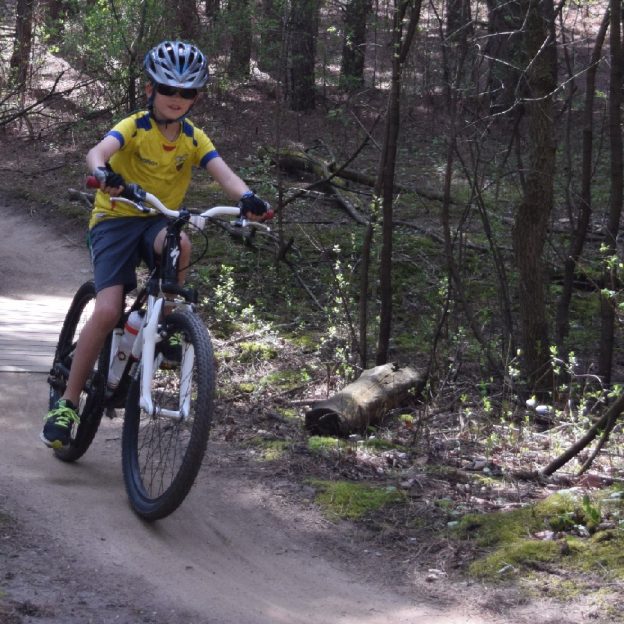
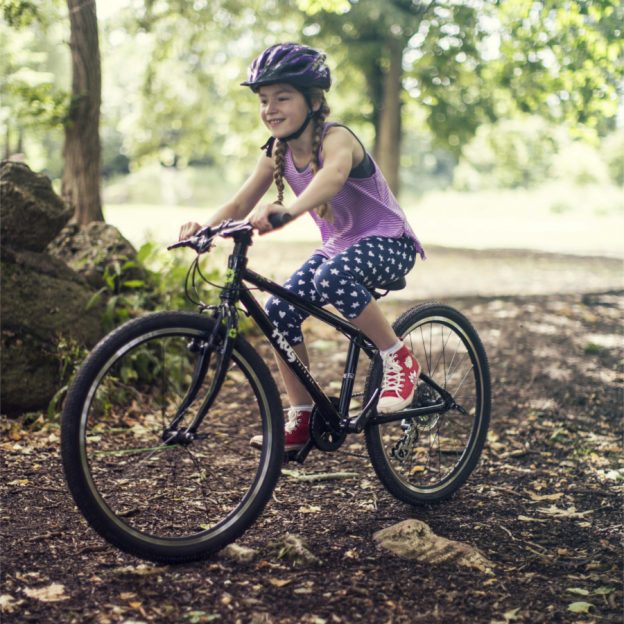
Kids’ mountain bikes: tips and tricks to get them on the trail
John Brown loves riding his mountain bike and enjoys sharing that passion with his two boys. He dedicates weekends to teaching his kids the following exercises on mountain biking so they ’love the sport’ as he does. Through their eyes, the sense of freedom and excitement is shown with enthusiasm giving his kids a fantastic…
-
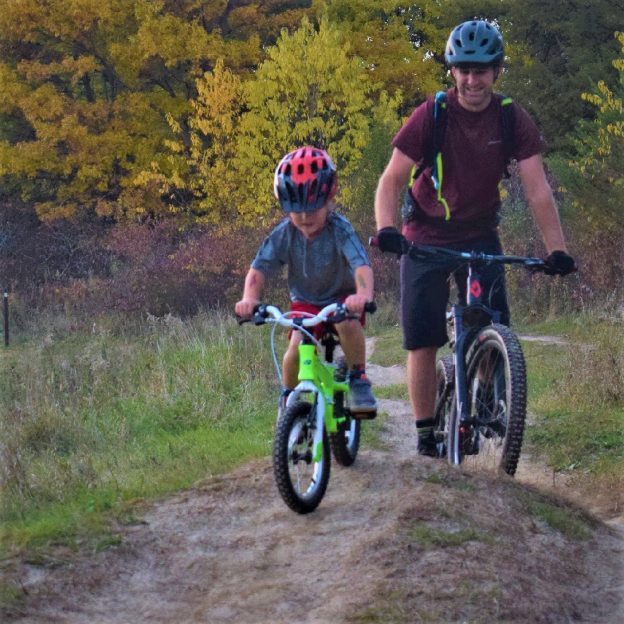
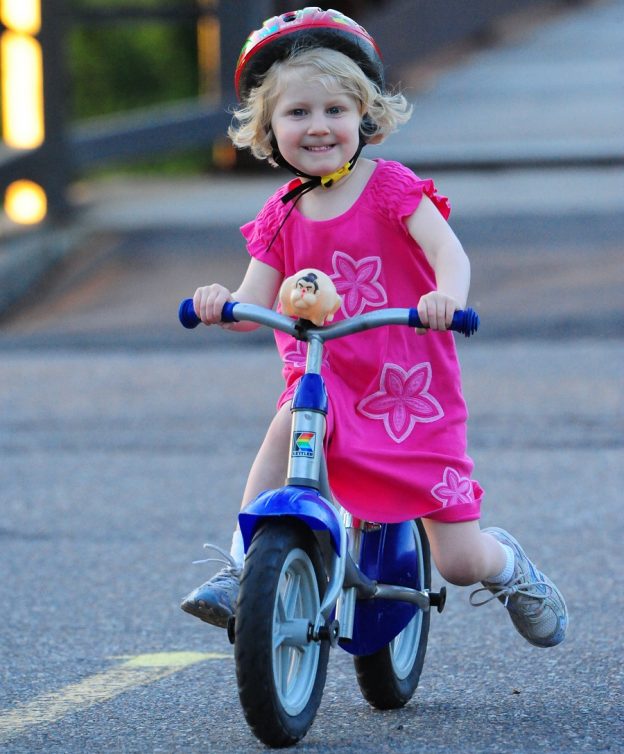
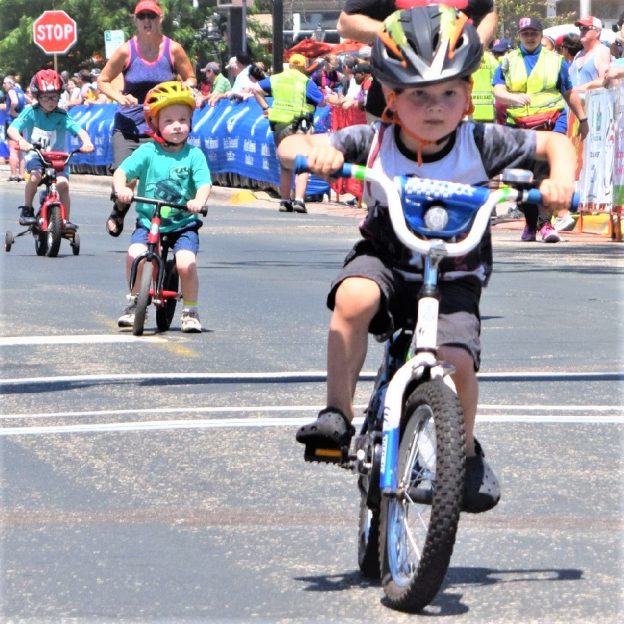
Kid’s bikes can be a gateway to a lifetime of fun.
Knowing the differences between kids’ bikes will make it easier when it’s time to get your child on a bicycle. Whether it’s the first bike or an upgrade to a bigger size. Here are some tips to help you decide what’s best for your young rider.
-
Buying a new bike? Test ride tips to make the most of your time
The best way to find the right bike for you is to do some research on models you like. Then verify their size to your body and test riding your choices a lot. With so many choose, how do you make the best use of your time while test riding these bikes? Read on for…
-
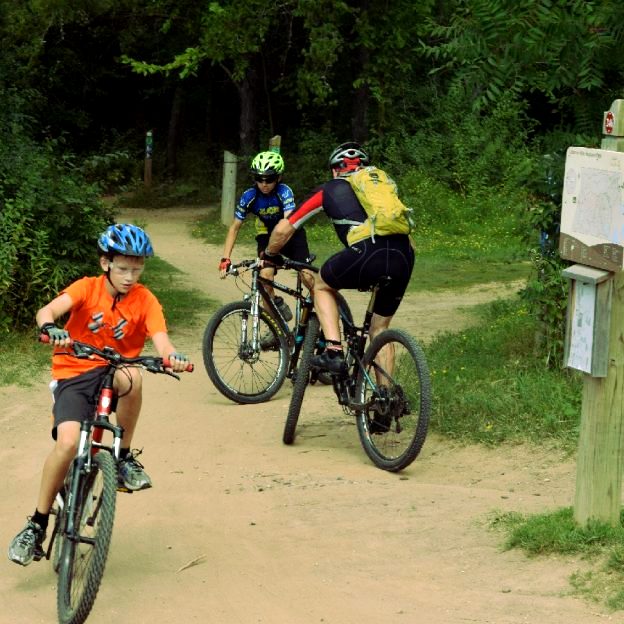
Tips and tricks for keeping your kid’s bike running smooth and safe
Summer fun for you and the kids is two wheels away. It is a time to bond and explore a new area of the neighborhood and maybe share some life lessons? Sadly, that fun can come to a premature end if the bike breaks down. Here are the best ways to keep your kid’s bike…
-
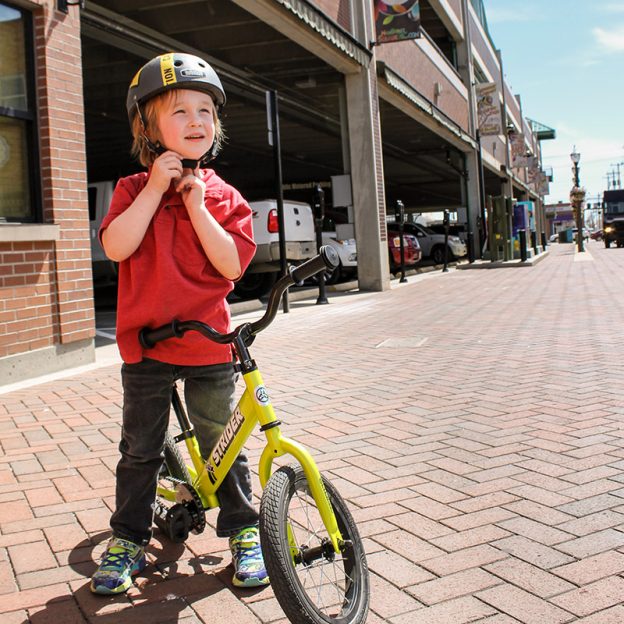
Balance bikes are a great way for kids to adapt to a life of riding
Balance bikes are sweeping the world as the best way to teach children to ride bikes. What is a balance bike and how does it work? Balance bikes look a lot like a normal bike with two wheels, frame, seat and handlebars. What you won’t see on a balance bike is a crank, chain or…
-
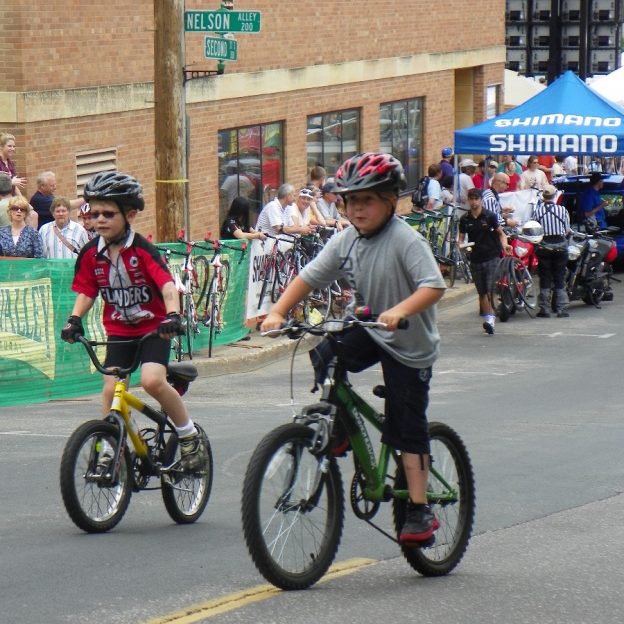
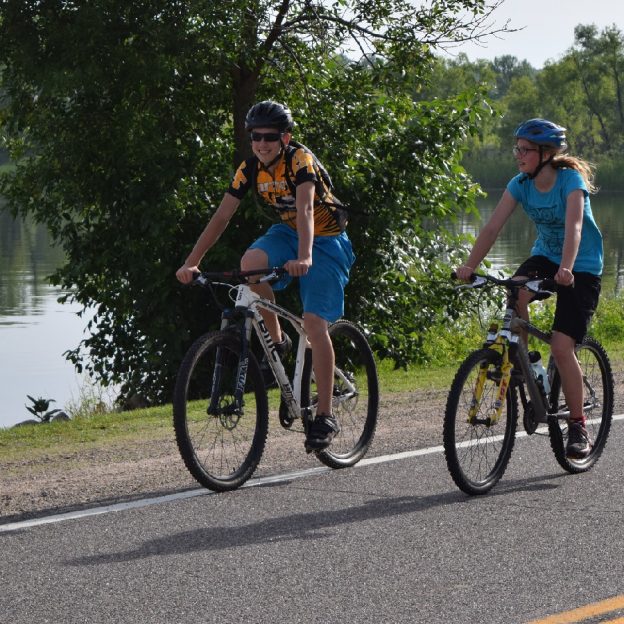
Demonstrating safe riding practices teaches kids valuable skills for life
The summer months ahead will play host to countless hours of family fun riding. During these rides is the perfect time to teach your kids about riding safely. All things considered, there are just a few topics to teach. Read below for the details.
-
The Frog 62 shows off a new approach in kid’s bike design
It almost feels like Christmas here at HaveFunBiking.com. Why such a great day?…..Because we have a new bike to review! The Frog 62 is special because, for the first time this writer won’t be the one reviewing it – more about that in a bit.
-
Strider’s 14x is a new breed of balance bikes and out of the box
We’ve talked a lot about balance bikes in the past, and with good reason. Balance bikes teach children the most difficult aspect of riding in a fun and easy way. By doing away with the pedals, a balance bike allows kids to scoot along sidewalks and paths with relative ease while learning how to balance…
-
Interbike’s Cascade of Clever Concepts for Children’s Bikes
If you look between the isles of Interbike (figuratively) you can see the future. I’m excited to say, when it comes to bicycles, the Children are the future. Interbike had loads of unique and exciting bikes, accessories and programs for all the little riders out there.