Tag: Mountain Biike
-
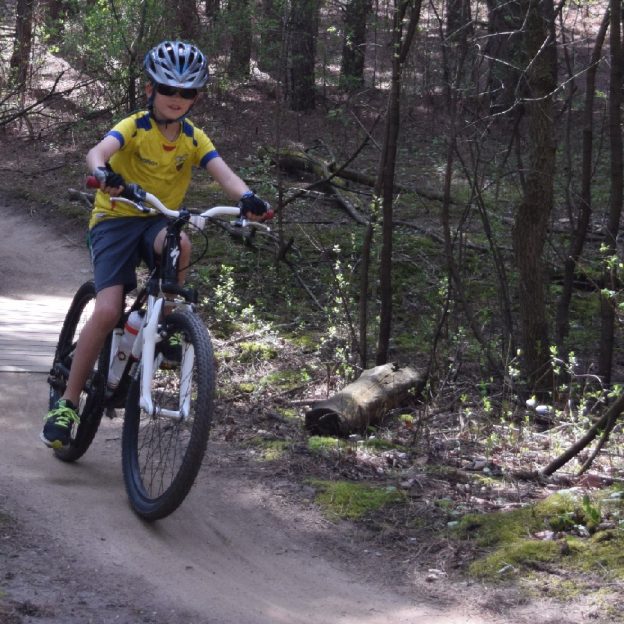
Kids’ mountain bikes: tips and tricks to get them on the trail
John Brown loves riding his mountain bike and enjoys sharing that passion with his two boys. He dedicates weekends to teaching his kids the following exercises on mountain biking so they ’love the sport’ as he does. Through their eyes, the sense of freedom and excitement is shown with enthusiasm giving his kids a fantastic…
-
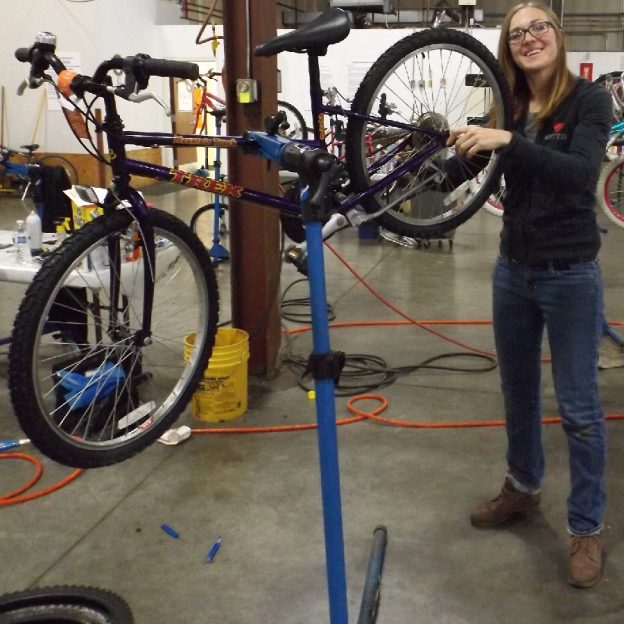
Tips and Tricks to Adjust Your Bike’s Rear Derailleur
It goes by many names, the rear derailleur. It is also known as the “s,” the “hangdown,” or the mech. Here in the U.S. we refer to it as the derailleur. The device that moves your bike’s chain from gear to gear letting you traverse hills with ease. Even though derailleurs are sturdy and relatively…