Author: John Brown
-
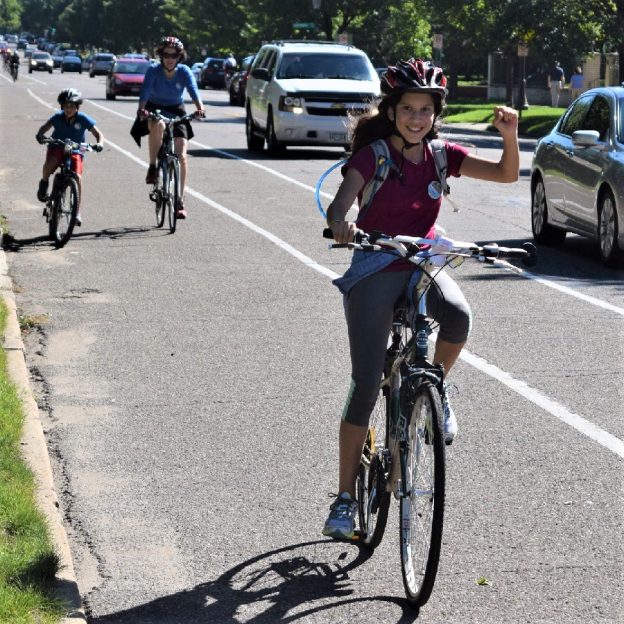
Tips and tricks to make riding to school fun, and safe
All around the country, bike paths are being built, and designated bike lanes are being established. So, riding to school can be an easy and safe option with all the colorful fall weather ahead. Many of these paths are routed from neighborhoods to nearby schools to get more kids energized by riding. To encourage your…
-
Building the ultimate commuter bike with what’s in your garage
I have used a commuter bike almost exclusively for the past twenty years. In that time, I have seen many people put off commuting by bicycle because they felt they didn’t have the right bike. While the right gear is essential, many don’t realize that the right equipment is closer than they think. Please take…
-
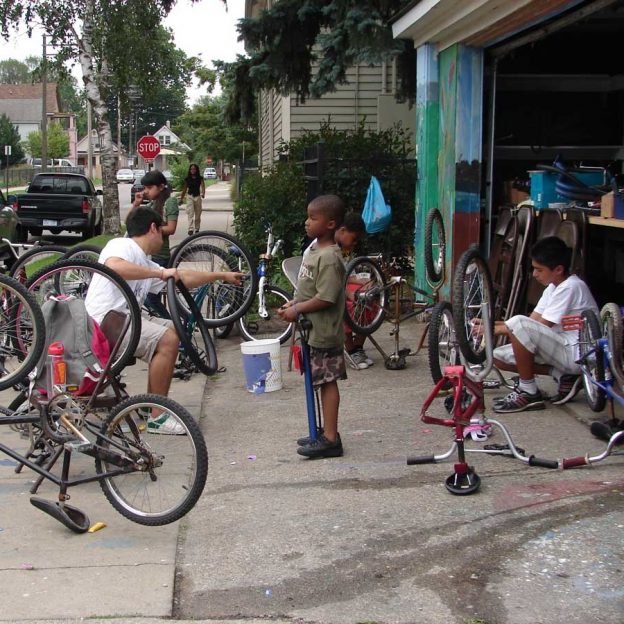
Teach your child the ancient art of bicycle maintenance
As a parent and tinkerer, one of the most fun activities I share with my two boys is teaching them how bike maintenance works. Now that my older son is riding more and helping me review a bike for HaveFunBiking, the time has come to teach him how a bicycle works. Almost everybody gets the…
-

Easy ways to pedal with your favorite music
Like nothing else, your favorite music keeps you pedaling in high spirits through the most challenging rides. So, how do you bring your favorite tunes along with limited space while riding a bike? Look at these tips below, and some of the most popular options.
-
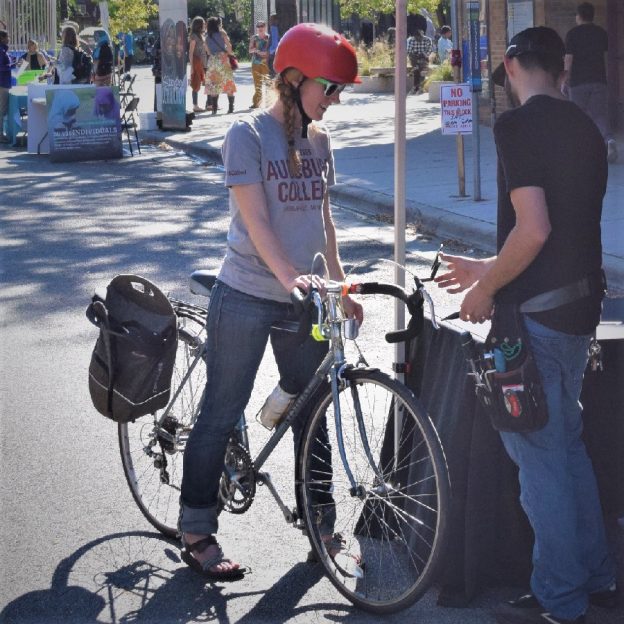
Bike accessories to make you more comfortable, efficient and informed
by John Brown, HaveFunBiking.com Congratulations, you bought a new bike! Few things are as fun as “new bike day” but don’t let all that excitement get the best of you. For every new bike there are bike accessories you should consider getting. While all you really need to get out there and be safe is…
-

Gaiters may be an added bonus to winter riding warmth
Cold, snow, sleet, and ice are normal conditions for my winter bike commute to work here in Minnesota. With the elements being so unfriendly, I am excited to try commuting with a pair of gaiters for added warmth. With that direction in mind, I was excited to try the Hillsound Armadillo LT gaiters. For those…
-
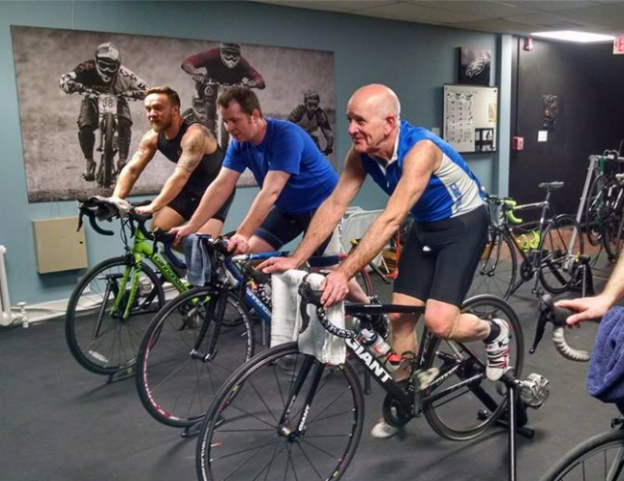
Indoor biking is fun and effective training through the winter
No matter how brave you are, sometimes weather conditions keep you from conquering those trails with indoor biking. This is especially true as the mercury drops and turns our beloved Earth into something reminiscent of the Russian front. Luckily, there are plenty of ways to have fun with indoor biking. Maybe with a spin class?
-
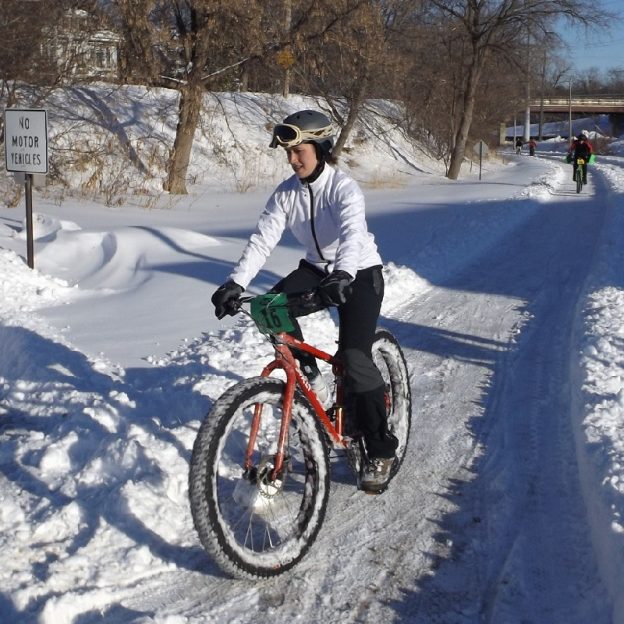
The winter biking experience can be great with these tips
The first snowfall keeps many inside by a warm fireplace. But a growing number of cyclists find winter biking an excellent opportunity to be more environmentally friendly while earning bragging rights!
-
Standard hybrid bikes are still popular for casual riding
If e-bikes are out of your price range, or you just want a low-tech ride, let’s look at the basics. Trail bikes, fitness bikes, hybrid bikes, and dual-sport bikes all fall into the same category of bicycles. Although these bikes all occupy the same category, they have very different uses. Read on to find out…
-
A guide to planning a safe and fun mid-summer bike trip
Now that summer is just about here, for fun in the sun, let’s plan a bike trip adventure. While hundreds of people flock to the lakes and local pools to cool down. Many, like myself, will find refreshing the soul on two wheels the best way to go. Please take a look below at how…