Author: John Brown
-
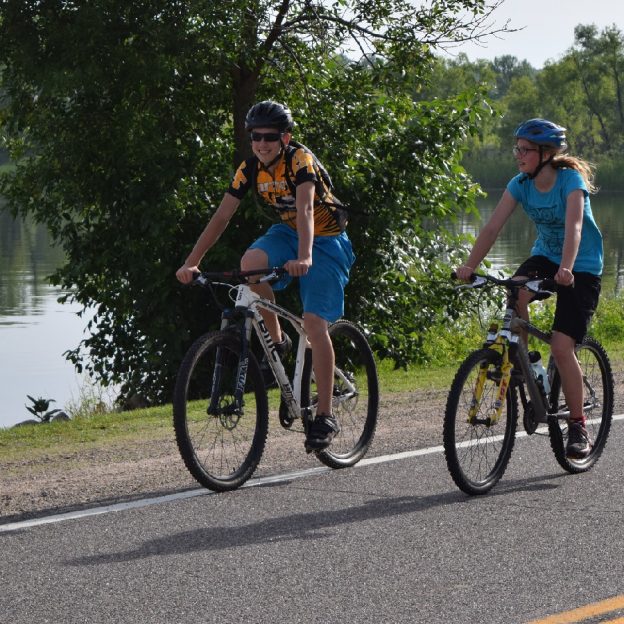
Buying a new bike? Test ride tips to make the most of your time
The best way to find the right bike for you is to do some research on models you like. Then verify their size to your body and test riding your choices a lot. With so many choose, how do you make the best use of your time while test riding these bikes? Read on for…
-
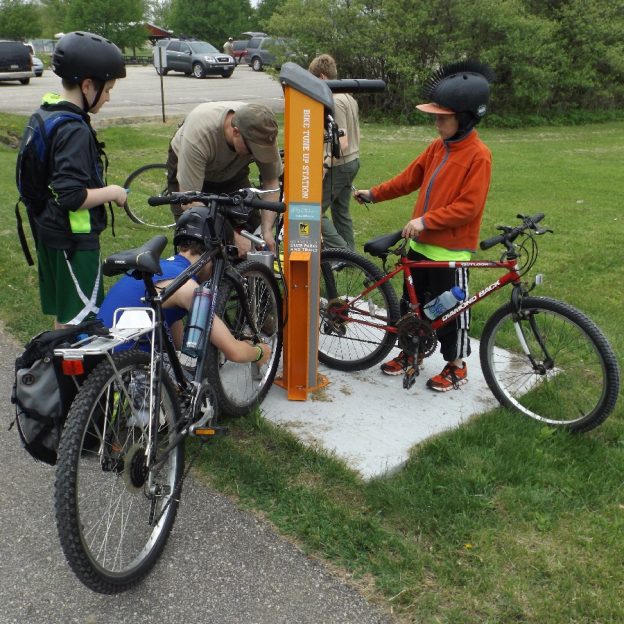
Tips and tricks for keeping your kid’s bike running smooth and safe
Summer fun for you and the kids is two wheels away. It is a time to bond and explore a new area of the neighborhood and maybe share some life lessons? Sadly, that fun can come to a premature end if the bike breaks down. Here are the best ways to keep your kid’s bike…
-
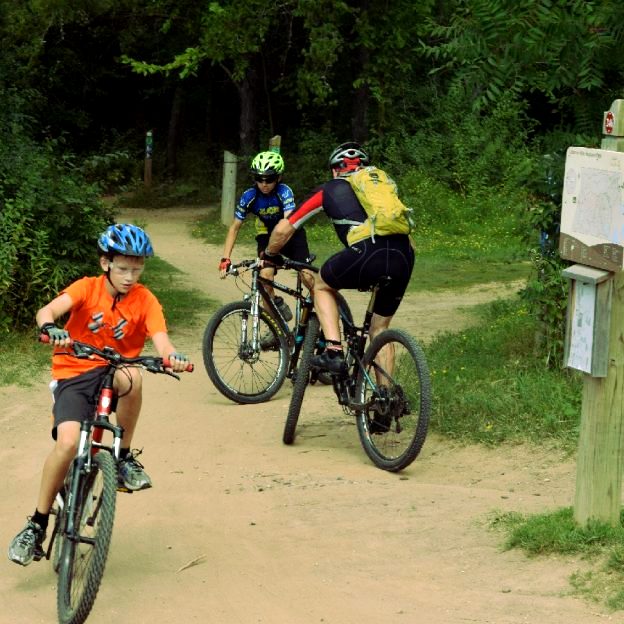
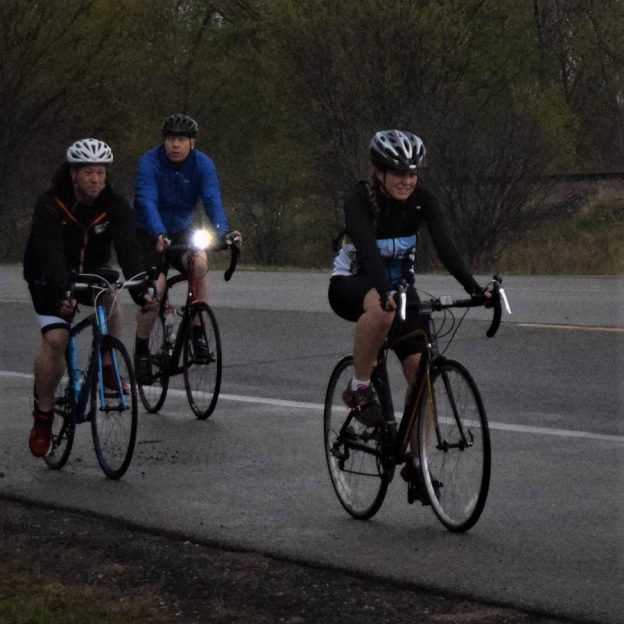
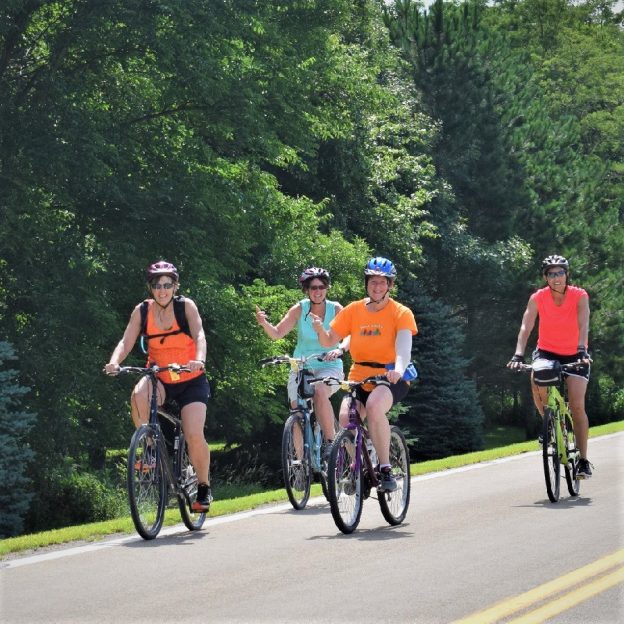
Making your next group ride fun and safe with these tips
As you get your bike ready for summer, before heading out on a group ride, it is a good idea to brush up on your local traffic laws. Bicycles are given the same rights and requirements as cars in most municipalities. This becomes even more important as you ride in a group.
-
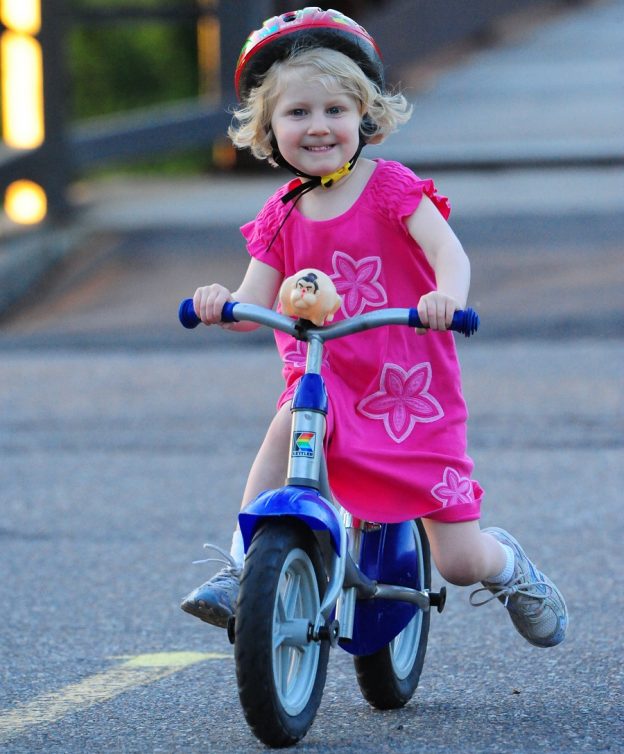
Balance bikes are a great way for kids to adapt to a life of riding
Balance bikes are sweeping the world as the best way to teach children to ride bikes. What is a balance bike and how does it work? Balance bikes look a lot like a normal bike with two wheels, frame, seat and handlebars. What you won’t see on a balance bike is a crank, chain or…
-
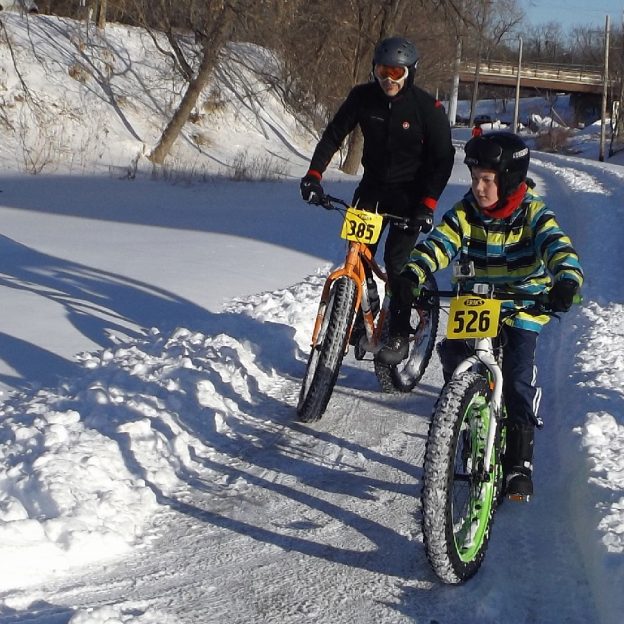
Tips and tricks for riding in the cold weather of zero degrees
We at HaveFunBiking are nearly experts at riding in cold weather. Being from Minnesota, it’s a bit of a necessity to manage the cold. For most places in the country, cold means down near freezing, but what do you do when it feels colder than a stare from your ex-girlfriend? I’m talking super cold, like…
-
A clipless pedal is a quick and easy upgrade to make your next ride better
There is a simple equation that always holds true why use clipless pedals: control = comfort. By securing your feet in place with a clipless pedal you can use muscles more efficiently, relieve excessive strain on your feet and be connected to your bicycle more directly. Depending on your riding style, read on to see…
-
A dynamo light is an upgrade you should consider for this fall!
Being visible is paramount to staying safe while riding and there are many different types of lights available to help with that pursuit. But, the king of them all is the Dynamo light. These lights use a bicycle mounted generator for power, staying lit while you ride. Read on to learn how Dynamo systems work and…
-
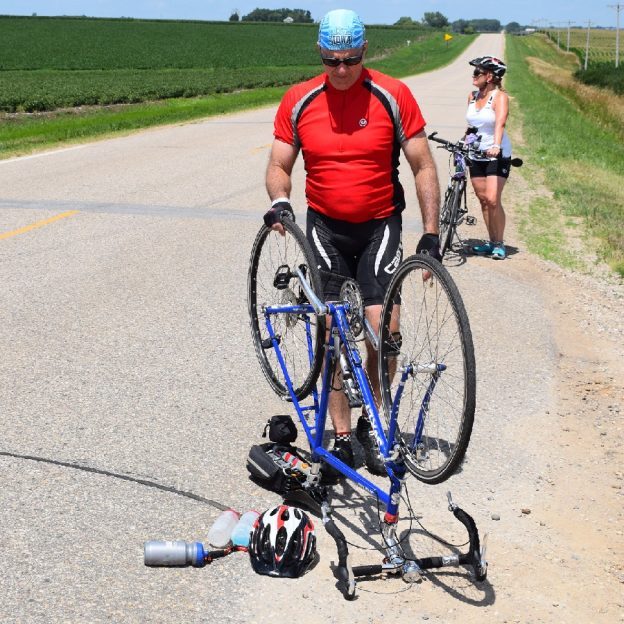
How to fix a flat tire on a bike is a skill every rider should have
One inevitability of riding a bicycle is that you will get a flat tire. With a little practice and planning, you will be able to fix a flat tire and finish your ride. To be prepared, you will need a few tools and to practice how to fix a flat on your bicycle a few…
-
Being a safer driver is easy with a few lessons learned on your bike
Riding a bike is both a fun sport and an environmentally friendly mode of transportation if done safely. One of the main concerns while riding your bicycle, when traffic is around you, is what to do? As a cyclist, you become aware of what drivers of cars are doing and how to keep yourself safe.…
-
Tips and tricks for setting up your tubeless tires on your bike
Tubeless tires are one of the best upgrades you can make to your bike. They are more resistant to flats, ride better, and are lighter. With all their benefits, the fear of setting them up keeps many riders from enjoying the tubeless world. If you are still refusing to take the leap for fear of…