by John Brown, HaveFunBiking.com
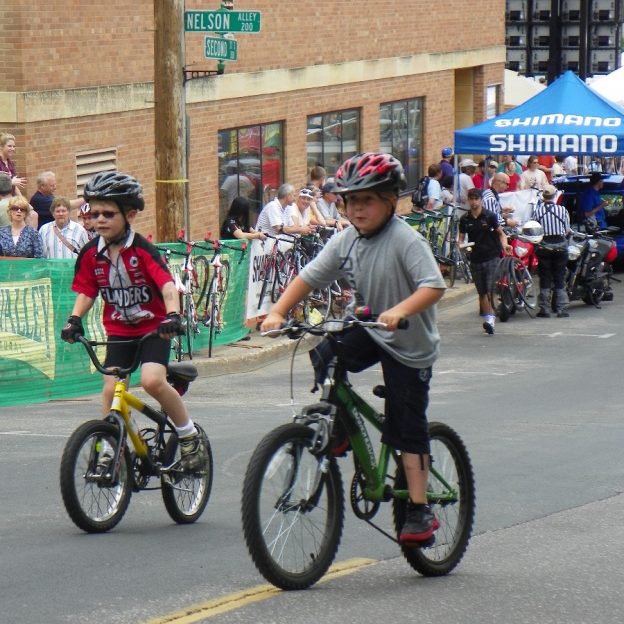
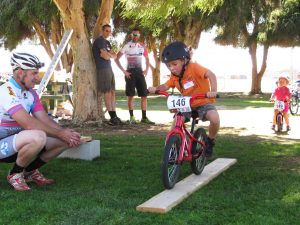
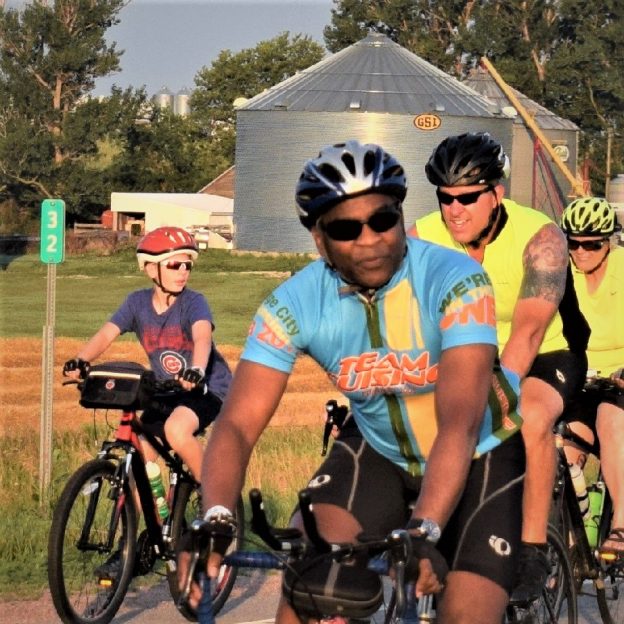
Spring has sprung and you may want to get out with your kids for a ride. For younger toddlers who aren’t riding yet or are still on tricycles, riding more than a few blocks is unfortunately not possible. Don’t be deterred though, there are many different ways to get out, ride and bring your young ones along.
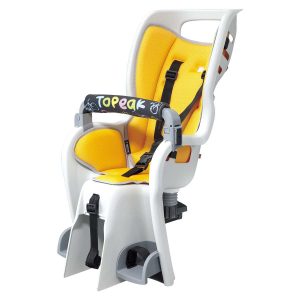
Rear mount baby seat for younger kids
Rear mount child seats have been around forever. They are mounted to the back of a bicycle, typically on a touring rack, over the rear wheel. They are great for kids between one year and up to 40 or 50lbs depending on brand. Thanks to the height of these seats, they offer a great view. Additionally, most of these seats can recline slightly to allow the child to be comfortable. They also have at least a three-point retention and a cross bar to hold the child in place. These seats offer safety by having a tall, ridged, back rest that wraps around the child protecting their head and body from the sides and back. When using these kids seats, remember, It can be tempting to allow the kickstand to hold your bike and child, but they don’t offer enough stability to be safe.
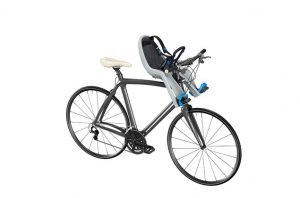
Front mount baby seat
Front mount baby seats attach to the handlebars of you bicycle. Because of that, they give your kid the very best view of what’s going on around them. Unlike the rear mount seat, front mount seats don’t have a tall protection around the child. Also, by being mounted to the handelbars, they have a more negative effect on control than the rear mount seat. Again, be sure to hold the bike rather than relying on a kickstand.
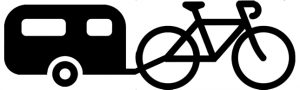
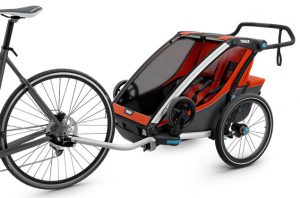
Kids trailers
Trailers are the top end as far as child carrying is concerned. They can hold up to two kids and a maximum of 100 pounds. Beyond just carrying the kids, trailers can carry a lot of stuff for the kids as well. They offer at least a 3-point harness and a ridged roll cage that goes around all the way around the children. Trailers offer tons of accessories that include, rain shields, sun screens, and attachments that can turn the trailer into a jogger when detached from the bike. They are usually fold-able and pack-able. Additionally, Trailers will stay upright even if the bicycle towing them falls over, another reason they are the safest.
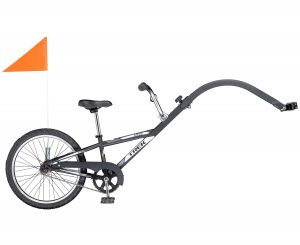
Tag-along bikes
Tag-Along bikes turn your standard bicycle into a tandem with your child following behind. They are attached to the seatpost of your bicycle and can be quickly removed if you are planning on doing a solo ride. Tag-Alongs are fit based on wheel size, with the 20” version being for smaller kids and the 24” being for the larger ones. Kids get comfortable with balance and speed of a tag along, and transfer that feeling into their own bikes. Consequently, these bikes help teach kids to ride their own bikes. If you are concerned about drag, know that they don’t have a brake (so your kids can’t squeeze a brake and act as an anchor).
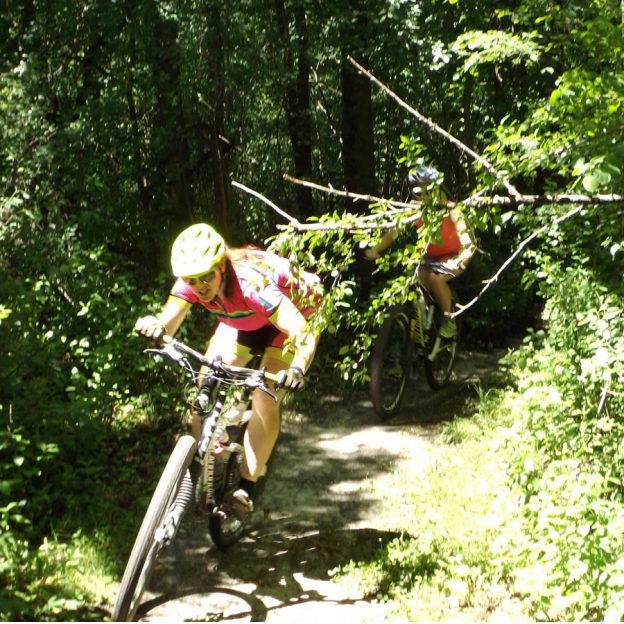
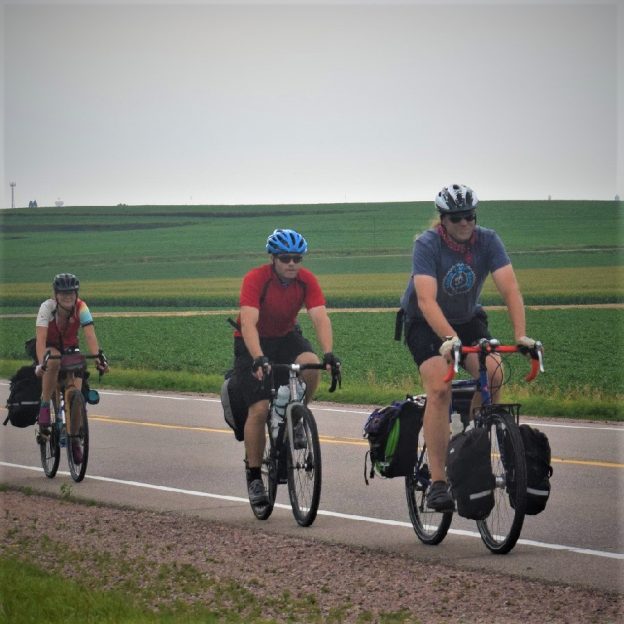
However you plan to get your kids out riding, remember to keep it fun. Pack lots of snacks, encourage them to explore, and try to choose a destination that interests them.