Author: John Brown
-
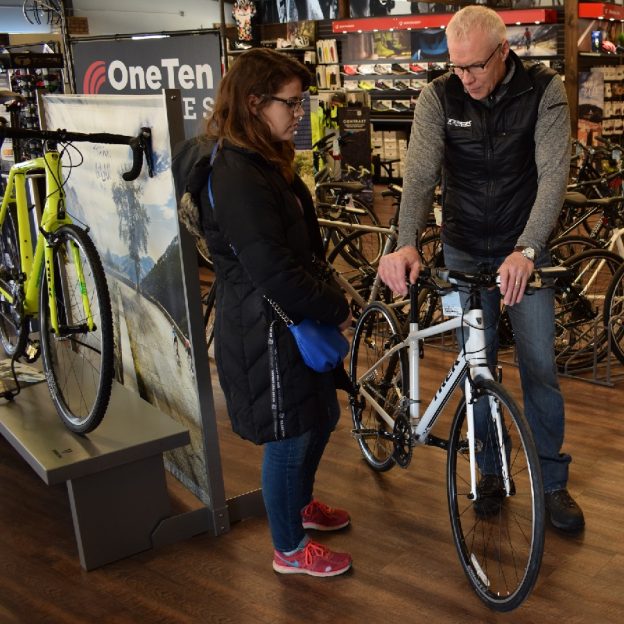
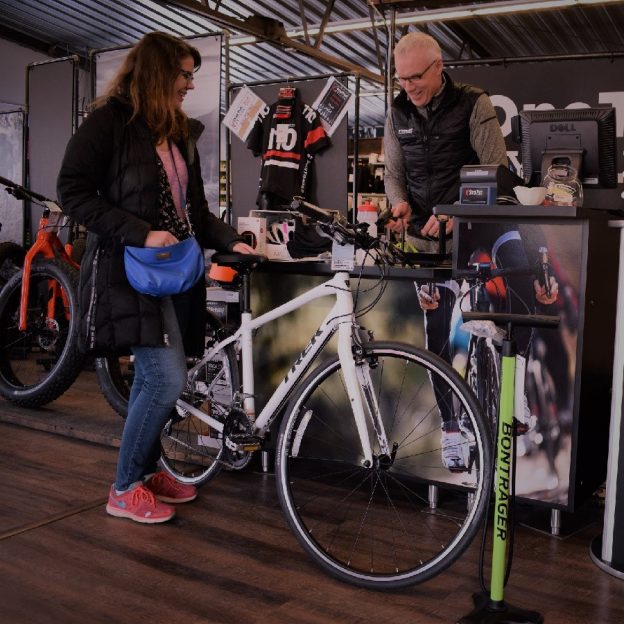
Winter in a bike shop is a great time to learn and save
The winter months are the perfect time to visit a bike shop and learn. Other than just enjoying bikes at a time when you may not be riding, there are many benefits to visiting your bike shop during the cooler months of the year. You can learn more about your bike in the slower winter…
-
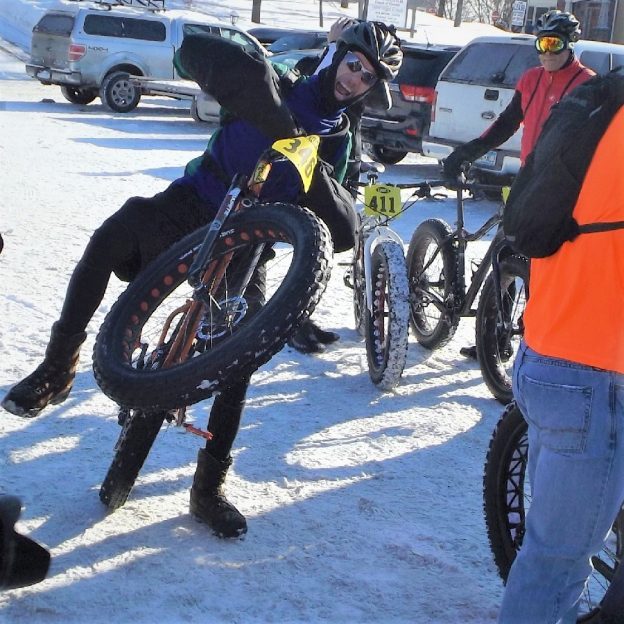
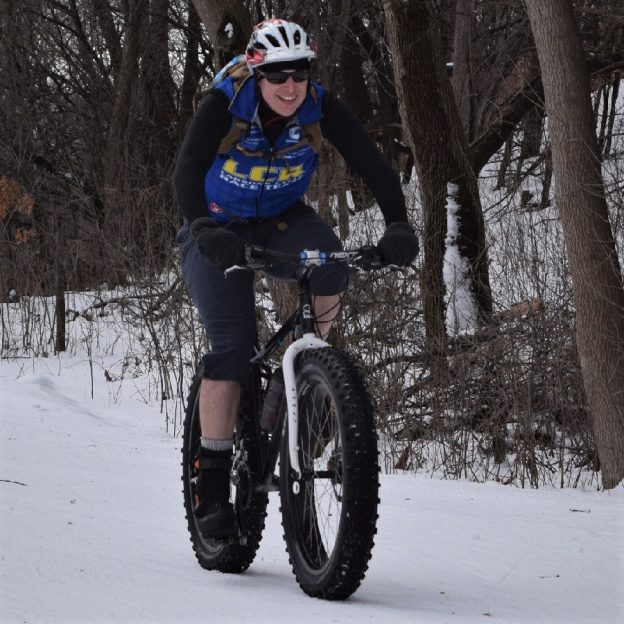
Staying fit when outdoor winter activities isn’t your thing
Snow, ice, and cold make for excellent conditions for fat biking, but how do you keep in shape when winter bike riding isn’t your thing? Luckily, many fun activities, exercises, drills, and products can help keep you in shape through the winter months.
-
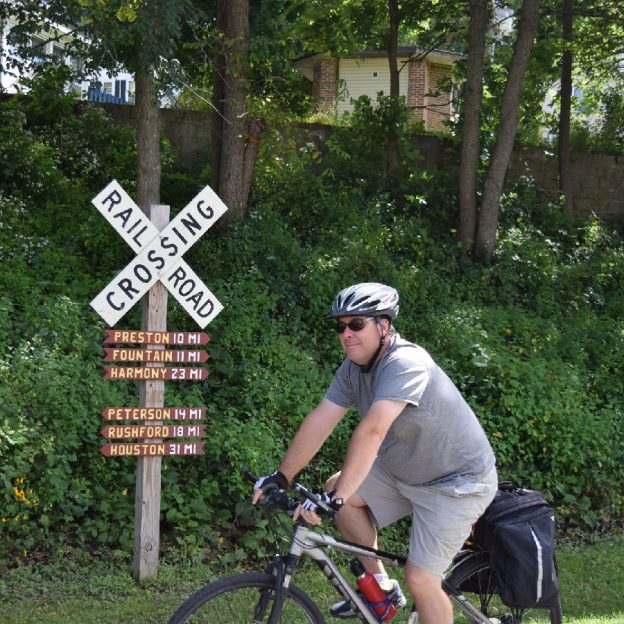
Quick tips for renting a bicycle when traveling
Taking your bicycle when you travel is not always possible, but don’t give up on the idea of riding altogether. Renting a bike or e-bike is an easy way to experience new places. Plus, it lets you try a new bike you may want to buy when you get home. Before you travel, here are…
-
Winter riding fun with these easy cold weather tips
I can’t fight it any longer; my powers of denial are only so strong. Despite my best efforts, a change is coming, and I can do nothing to stop it. That’s right, winter is here. We just experienced a real cold snap, and snow is coming. While I can’t stop the cold elements from hitting…
-
Make a resolution, 2026 could be your best bike year ever!
After all the presents are opened, and the last cookies disappear, many of us focus on the year ahead. More specifically, many of us begin the annual task of developing New Year’s resolutions for ourselves. Why not resolve to make this year your best year for bike riding by starting now?
-
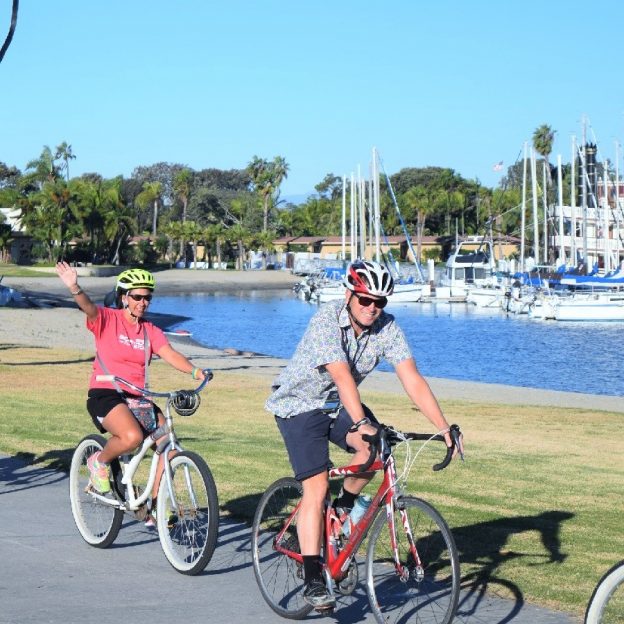
Chasing away those winter blues traveling to a warm destination
With cold temps with us for a few more months, it is not uncommon for cabin fever to set in. Many of us use this time of year to head off to a warm destination to get out of the cold and kick-start the spring season a little early. While the list of warm biking…
-
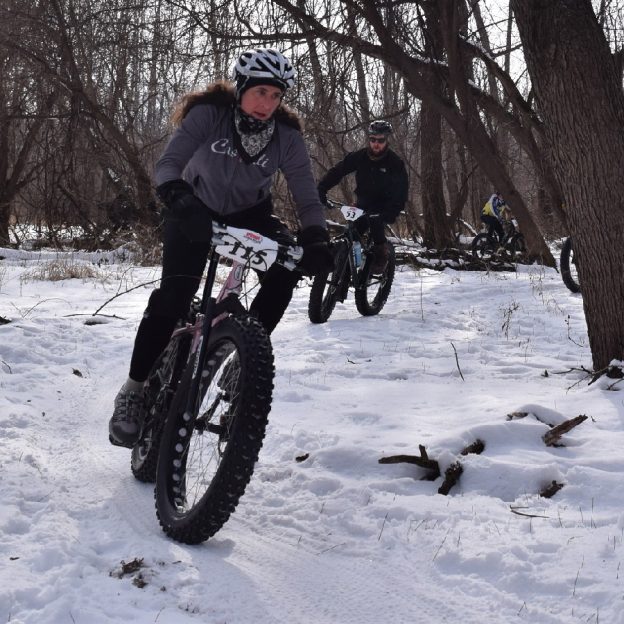
Minnesota River bottoms, a fun year-round trail network
Famous for mountain biking, hiking, fishing, and bird watching, the Minnesota River Bottoms in Bloomington, MN, offers some of the last natural trails in the Twin Cities metro. And it is an oasis for winter fat biking. At the Bloomington Ferry Bridge site, you will find one of three starting points for many outdoor adventures along…
-

Bike lights will improve your safety day and night!
No matter your bicycle riding skills, bike lights are essential to ensure a safe ride, day or night. Lights aren’t only needed when the sun goes down. In fact, lights are beneficial when riding in conditions where traffic may be present or visibility is limited. That’s where proper lighting can be a great asset. Additionally,…
-
Searching for back pain causes and finding a solution biking
Over the past quarter-century, I have helped many riders get going on their bikes without back pain. I’ve been fortunate enough to witness the life-changing power of proper posture while riding a bicycle. I have also seen riders walk away from cycling due to simple discomfort and a lack of understanding. No discomfort is as…
-
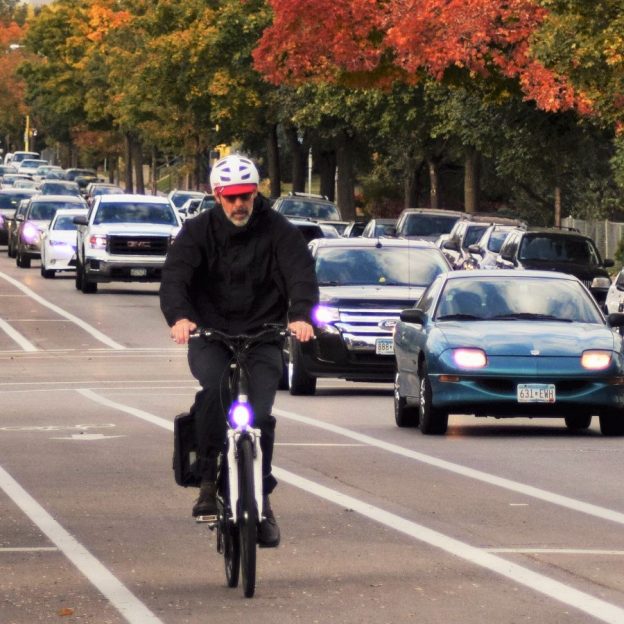
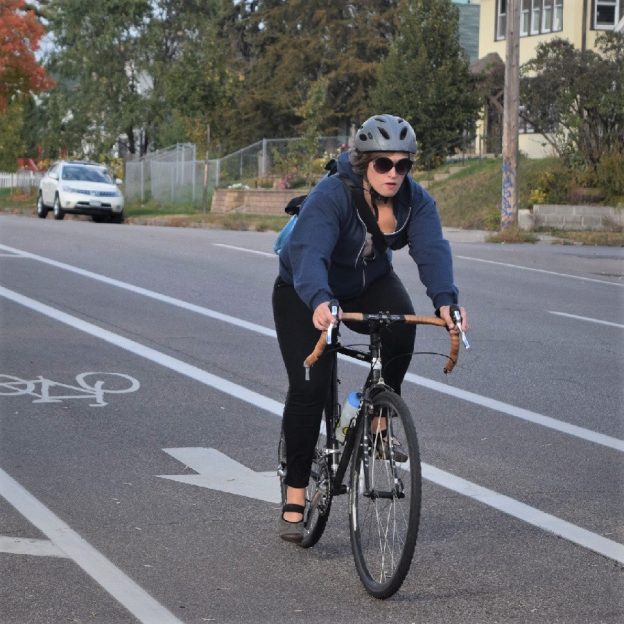
Added visibility for safety and fun in fall’s limited light
Now that fall is just around the corner and the days are getting shorter, we must consider visibility while staying active amongst the autumn colors. As the leaves change and then drop, we need to focus on passive and active visibility. Features like reflectors and bright colors are passive forms of visibility, whereas lights and blinkers are…