Tag Archives: group ride

No matter how brave you are sometimes weather conditions keep you from conquering those trails. Luckily, there are plenty of ways to have fun with indoor biking.

Indoor biking is fun and effective training through the winter

by John Brown

No matter how brave you are sometimes weather conditions keep you from conquering those trails with indoor biking. This is especially true as the mercury drops and turns our beloved Earth into something reminiscent of the Russian front. Luckily, there are plenty of ways to have fun with indoor biking.

Indoor Biking with a Spin Class

Most gyms offer spin classes. These classes use a stationary bicycle, music, and instructors to guide a class through about a 1-hour workout. Spin classes are a source of indoor biking, and it gets you out of the house.

There are, however, a few downsides with spin classes to keep in mind. One issue is that a spin bike won’t fit the same as your bike. To fix this, many riders will install their own saddle and pedals on a spin bike before each class. The other potential problem is that the classes are not tailored to your personal goals. The classes are usually high-tempo, high-effort workouts that might not fit with your training plan. Some riders find they like the community of spin class but not the specific ride, so they opt in or out of certain portions of the workout.
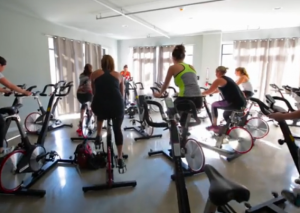
Riding your bike indoors spin class

Indoor biking with a spin class

Using an Indoor Trainer

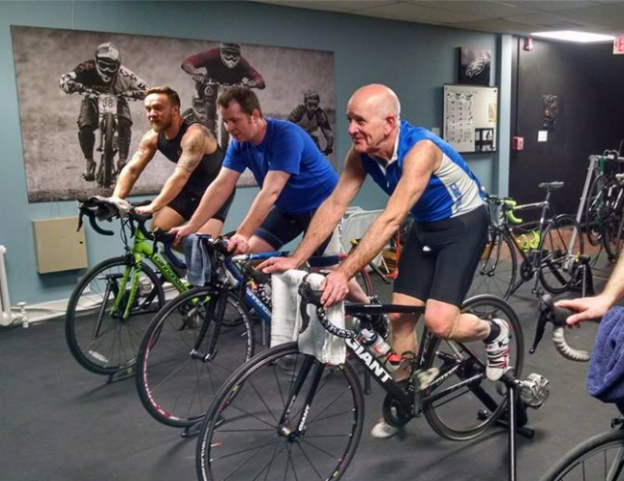
Riding an indoor trainer has gotten much more popular for riders of all ability levels, and it’s the kind of indoor biking where you can use your bike. A trainer is a device that holds your bicycle upright, creates resistance when pedaling, and simulates an outdoor ride while riding your bike indoors. Using an Indoor trainer, you can ride from the comfort of your home or in a group setting (most bike shops have trainer nights through the winter).
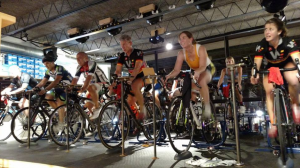
Riding you bike indoors trainer class

Indoor Trainer Group Ride

There is usually a leader when riding with a group, but if riding alone, you can still have fun. It’s best to start with a plan. If you intend to get on the trainer and ride for 60 minutes while watching TV, I hate to break it to you, but that quickly gets boring. So, how do you keep the ride fun? First, you must create intrigue because you cannot rely on terrain to supply stimulus. There are no hills, descents, turns, or beautiful vistas to keep you interested. But you can use your trainer to mimic the efforts of a great outdoor ride.

How to Build a Ride

For example, let’s describe a normal outdoor ride, then create a workout to mimic that ride on the trainer. The ride starts by carving through a neighborhood on our way to open roads. Snaking through our neighborhood would require some turning, braking, and acceleration (a great natural warm-up), so on the trainer, you would do something like:

  • Pedal in an easy gear for one minute
  • Then, for the two subsequent minutes, increase your pedaling speed (called Cadence)
  • Follow that by slowing that cadence down over the next two minutes.
  • Repeating that two or three times is a great way to get your legs moving

The next obstacle on our imaginary ride is a hilly section of the road. To mimic hilly terrain when riding your bike indoors, try the following:

  • Shift into a harder gear and pedal at 80% of your maximum effort for 2 or three minutes
  • Followed by one or two minutes of soft pedaling (hard effort for the climb, followed by no effort on the descent).
  • Repeat this type of interval in groups of three.

Finally, our ride concludes with city line sprints (earn bragging rights over your friends). To simulate this action, try the following:

  • Shift your bicycle into a difficult gear
  • Ride at 80% effort for one minute
  • Then, sprint all out (max effort) for fifteen to twenty seconds.
  • Follow each effort with some soft-pedaling.

Workout Example

A written cue sheet of this ride would look like the following:

5-Min. warm-up

1-Min. 50% effort low cadence                                                                                                                       1-Min. 50% effort medium cadence                                                                                                           1-1-Min. 50% effort High cadence                                                                                                                 1-1-Min. 50% effort Medium cadence                                                                                                               1-Min. 50% effort low cadence                                                                                                                                     Repeat 3x

4-Min, soft pedal

3-Min. 80% effort                                                                                                                                             2-Min. soft-pedal                                                                                                                                                          Repeat 3x                          

4-Min. soft-pedal

1-Min. 80 effort                                                                                                                                               15-Second sprint                                                                                                                                             45-Second soft-pedal                                                                                                                                                  Repeat 4x                           

9-min. cool down with drills

A ride like the one above takes one hour, keeps you moving and only involves hard effort for ¼ of the ride. By switching up different intervals of effort and rest, indoor biking can be beneficial and fun.

Trainer Pitfalls

Time on the trainer can be very beneficial to your riding. However, it can also be very hard on you if done improperly. When riding outdoors, you have natural portions of rest while coasting or descending, but on an indoor trainer, you cannot coast. People tend to pedal with effort on a trainer throughout the ride and overdo it. A good rule of thumb is to balance high effort with rest at a three-to-one ratio. If a ride calls for ten minutes at 80% effort, include 30 minutes of low-effort work.
riding your bike indoors tired

Too Tired!

Low Effort, High Benefit Drills

How do you keep the ride interesting without effort? Try including drills like one-leg drills, high cadence drills, spin-up drills, top-only drills, and toe touch drills. These require very little effort but build new skills.
bike indoors

One leg Drill

  • One-leg drills – As they sound, these drills are done with one leg (see above). Clip your right leg out of your pedal, hang it away from the bike, and pedal with only your left leg. Try to get the pedal stroke smooth as possible without any noise or bumps.
  • Spin-up drill – With your bike in an easy gear, spin the pedals as quickly as possible. Keep increasing your cadence until your upper body bounces, then taper back to a normal speed. Repeat, each time, trying to get faster while keeping your upper body still (this whole drill takes about 30 seconds per spin-up).
  • High-cadence drill – With your bike in an easy gear, spin at the fastest cadence you can without your upper body bouncing. Hold that cadence for one or two minutes.
  • Top-only drills – Try to pedal using light effort and attempt to keep the top of your foot in contact with the top of your shoe throughout the pedal rotation. You won’t actually be pressing down on the pedal during this drill, but instead pulling up.
  • Toe touch drills – While pedaling, attempt to touch your toe to the front of your shoe at the top of each pedal stroke. While this isn’t possible, it will help teach your body to begin the pedal stroke earlier in its rotation.

With some research and experimentation, indoor biking can keep you satisfied while you wait for the weather to get better.
About John Brown, the author

John operates Browns Bicycle in Richfield, MN, as a lifelong cyclist and consummate tinkerer. It all started for him in grade school when the bike bug bit and that particular fever is still there. Now, and over the past thirty years, he has worked at every level in the bike industry. Started, like most, sweeping floors and learning anything he could about bikes. He eventually graduated as a service manager and then a store manager. Through the years, he has spent extensive time designing and sourcing bicycles and parts for some of the largest bike companies in the world. All the while focusing on helping as many people as possible enjoy the love of riding a bike. In that pursuit, he has taught classes (both scheduled and impromptu) on all things bikes. John also believes in helping every rider attain their optimal fit on the bike of their dreams. Please feel free to stop in any time and talk about bikes, fit, and parts or share your latest ride. You can also see more of John’s tricks and tips on the Brown Bicycle Facebook Page.
The easiest way to eliminate accidents is to assess road hazards in advance.Read on to learn about the most common road hazards and how to manage them.

Staying Safe by Assessing and Avoiding Road Hazards

by John Brown, HaveFunBiking.com

Nothing spoils a great ride like a bad accident, but most accidents are avoidable. The easiest way to eliminate accidents is to assess road hazards in advance and avoid them. Read on to learn about the most common road hazards and how to manage them.

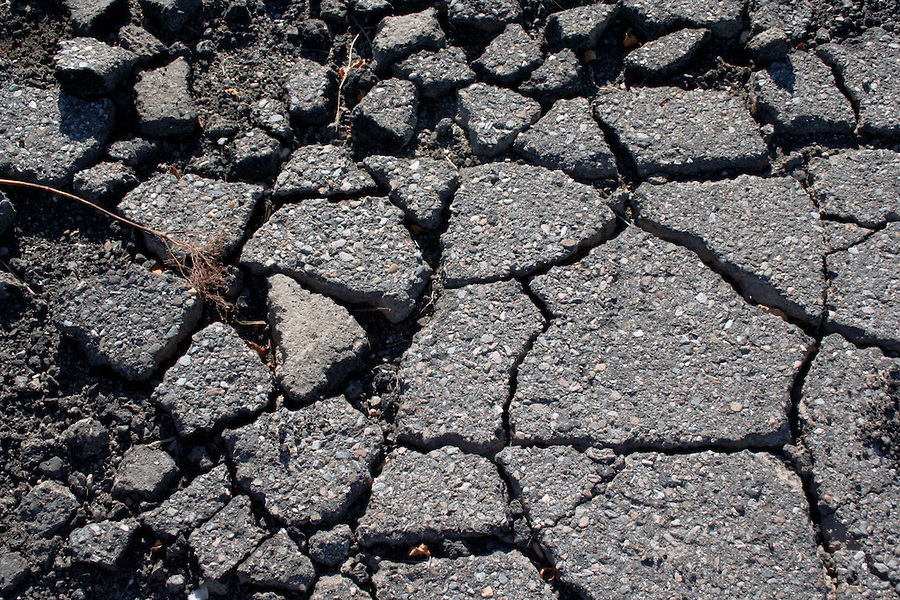
Road hazards broken and uneven pavement

The easiest road hazard to spot is broken or uneven pavement. Oftentimes starting at the roads edge (where many of us ride), pavement begins to break and crumble from annual hot/cold cycles. The first and best option is just avoid loose sections entirely, but anyone can tell you that’s not always possible. When you are riding through bad pavement, try to raise your body off your saddle by an inch or so and allow your legs and arms to absorb impact. Concentrate on being loose, allowing the bike to move around underneath you, and keeping your momentum directed to where you want to go. Focusing on where you want to go is the most important part, focusing on objects you don’t want to hit increases the chance of hitting them.

road hazards

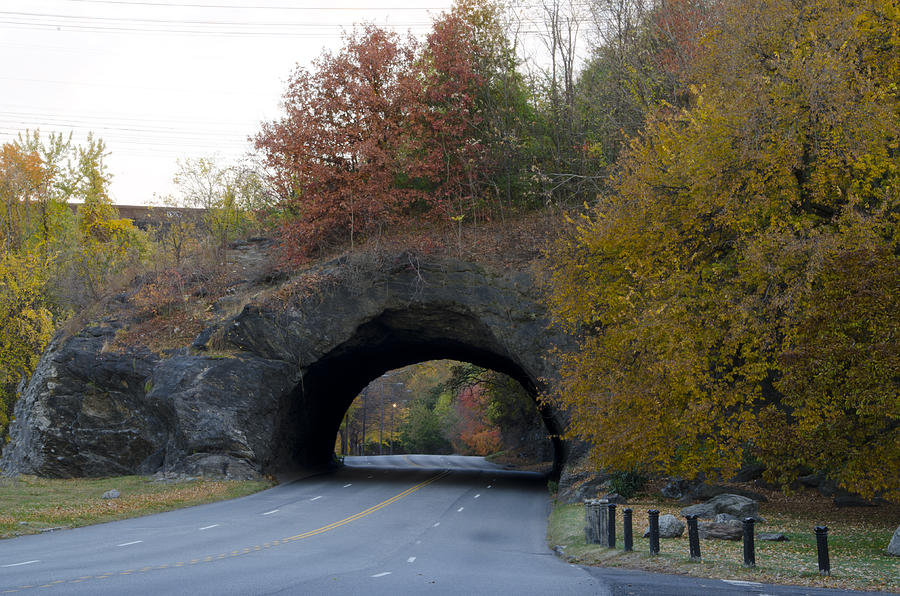
Narrow roadways

Sometimes the road narrows, and doesn’t allow for you and drivers to occupy the road together safely. In these situations, it is important to take control of your safety.  Do not try to be off to the side as far as possible, this will only encourage drivers to attempt to make an unwise pass. Instead, give yourself space on the road, and try to be as visible and deliberate as possible. Narrow roadways are the ideal place to use hand signals. Additionally, be aware of what is behind you by looking back more frequently than usual. Looking to see who is behind you will give you the information you need, and let drivers know that you see them. Oftentimes drivers will be more patient if they know you are aware of the situation.

road hazards

Blind turns, driveways, and alleys

You can’t easily avoid what you can’t see, especially if you are going fast. When approaching any blind road or path section, slow down and assume there is someone coming around the corner. Approach the corner with caution, and only accelerate once the coast is clear.

Loose debris on hard surfaces

Sand, Gravel and dirt on pavement can be a recipe for disaster. Any loose debris on the road robs you of the traction you need to ride confidently. Shy of vacuuming every road or trail before your ride, there is no way to avoid the inevitability of debris. What you can do however, is use good judgement when you do encounter it. First, don’t slam on the brakes. Braking shifts your weight forward onto the front wheel making you more unstable in loose conditions. Instead, apply your brakes gently and evenly while trying to remain loose on the bike in case your tires break free. Second, try to keep the bike as vertical as possible and turn only if necessary.

road hazards

Ice and water

Water and its colder cousin ice are a serious road hazard. You will find that roads and paths that are wet offer far less grip than when dry. Therefore, keep your overall speed down on wet days and brake before turning. If ice is in the forecast, the best measure is to avoid it. Start by ditching the polarized sunglasses that will make the ice difficult to see. Polarized glasses eliminate most glare, and glare is a prime means to identify ice. If you do find yourself on ice, be careful! It takes almost no side motion to put you on the ground when riding on ice. I find it best to do almost nothing until you make your way off the ice, that means no braking, no turning, no movement, Just coast.

road hazards

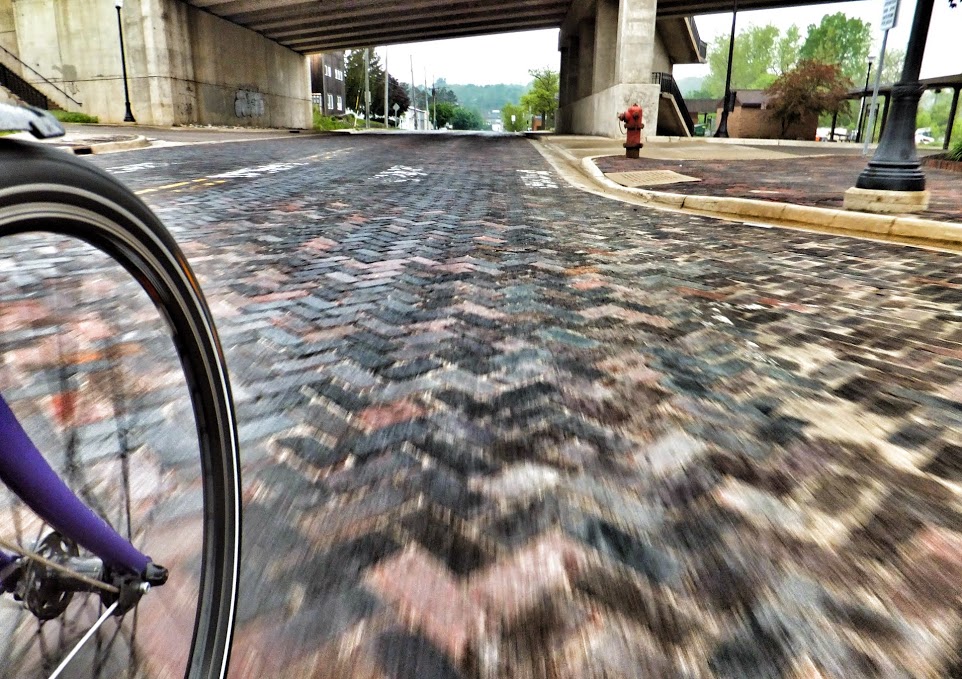
Paint and slippery surfaces (metal, marble, tile) train tracks

The last set of road hazards worth mentioning are slick surfaces. These surfaces include metal (train tracks, manholes, and sewer grates), painted pavement, and smooth aggregate (like marble or tile often found in industrial zones). For metal, try to avoid it when wet (it’s as slick as ice) and cross train tracks as perpendicularly as possible. Painted surfaces and smooth aggregate need to be avoided when wet as well. While they have more traction when dry, it’s still worth being careful.

road hazards

After reading this, you may feel like everything on the road is out to get you. Nothing could be further from the truth. In fact, you have probably encountered all these hazards on your last ride and survived. Overall, road hazards rarely cause an accident but are something to be cognizant of.