by John Brown, HaveFunBiking.com
When it is time to get your child on the bike for the first time, or upgrade to a bigger size, knowing the differences between kid’s bikes will make the job easier. Read below for more details.
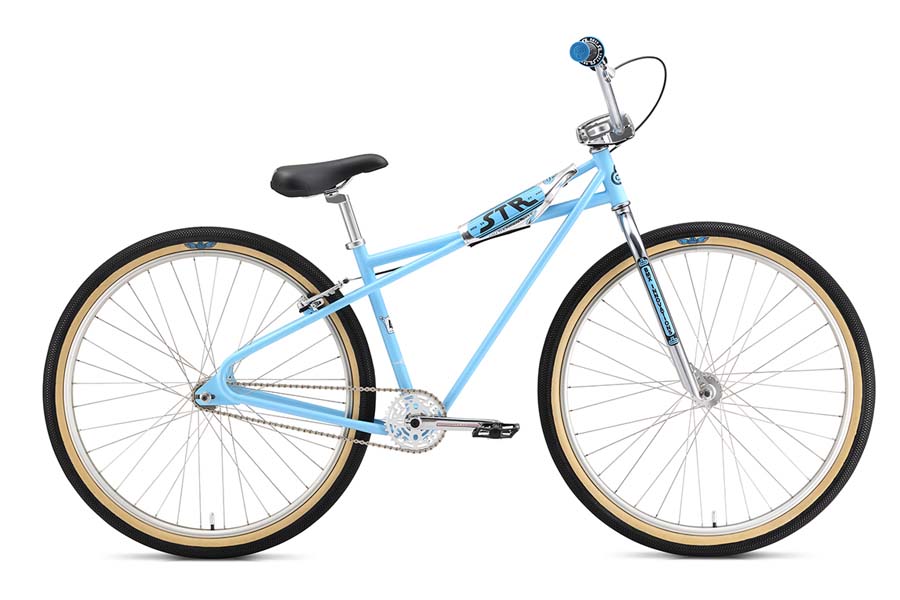
BMX
In the early 1970’s kids began racing their bicycles on the dirt tracks of southern California. This racing led to the national explosion of the BMX bike. Over the last few years the “Bikelife” movement has given BMX a renewed interest around the world and ushered many different frame and wheel sizes into the category of BMX. These bikes all share the similarities of one rear brake, single speed, high bars, and low saddle even though the wheel sizes are different.
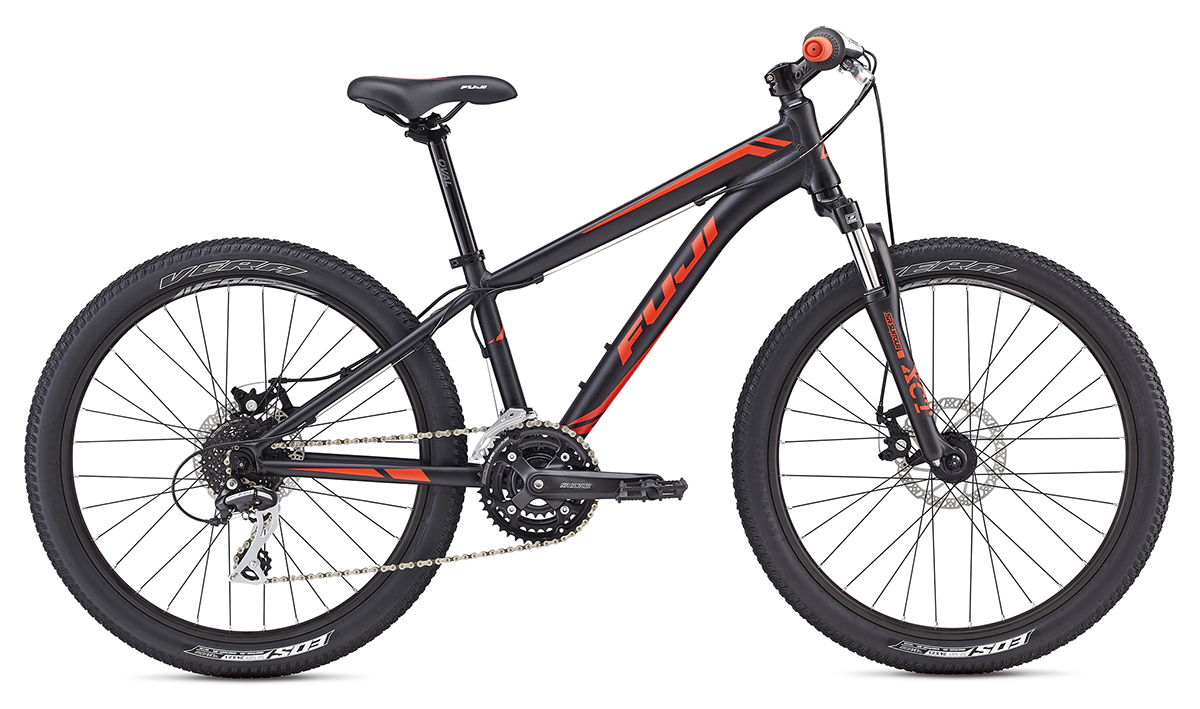
MTB
The Mountain Bike boom of the 90’s spread across the globe and included options for every size of rider. Today, kid’s mountain bikes live in two categories; “Off road” and On road”. The “Off road” mountain bikes have lower gearing to traverse loose trails, suspension designed for control, and lightweight components. “On road” mountain bikes are built to be ridden around the neighborhood rather than off road. They have higher gearing for smooth paths, suspension designed for ascetics rather than function and they typically weight a lot more than the “Off road” versions. Both come in 20”, 24” and 26” wheel sizes.
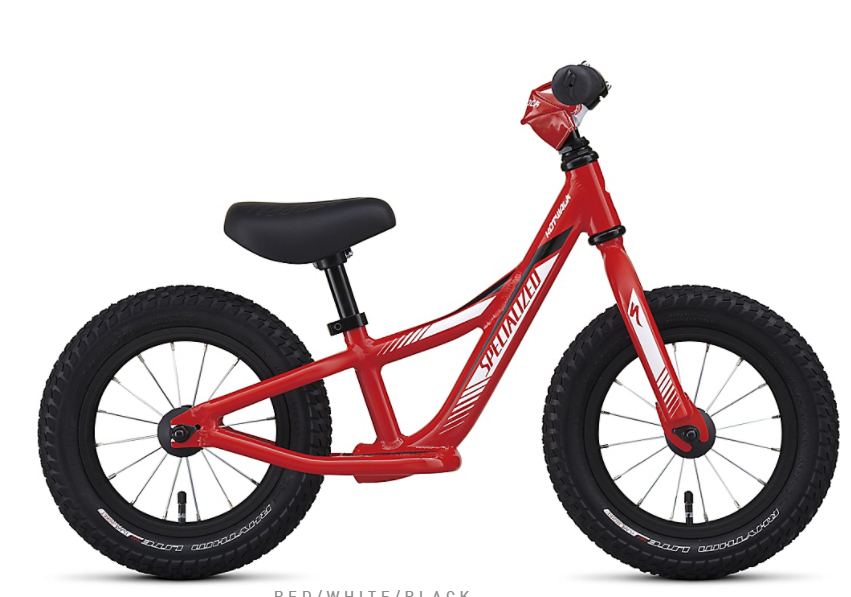
Balance
Balance bikes are sweeping the world as the best way to teach children to ride bikes. What is a balance bike and how does it work? These bikes look a lot like a normal bike with two wheels, frame, seat and handlebars. What you won’t see on a balance bike is a crank, chain and pedals. Balance bikes are designed to teach kids the most difficult portion of riding, balance, before incorporating pedals.
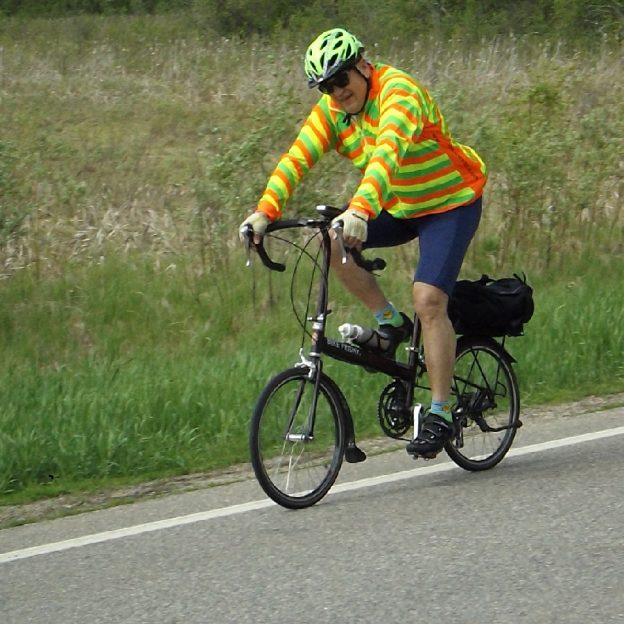
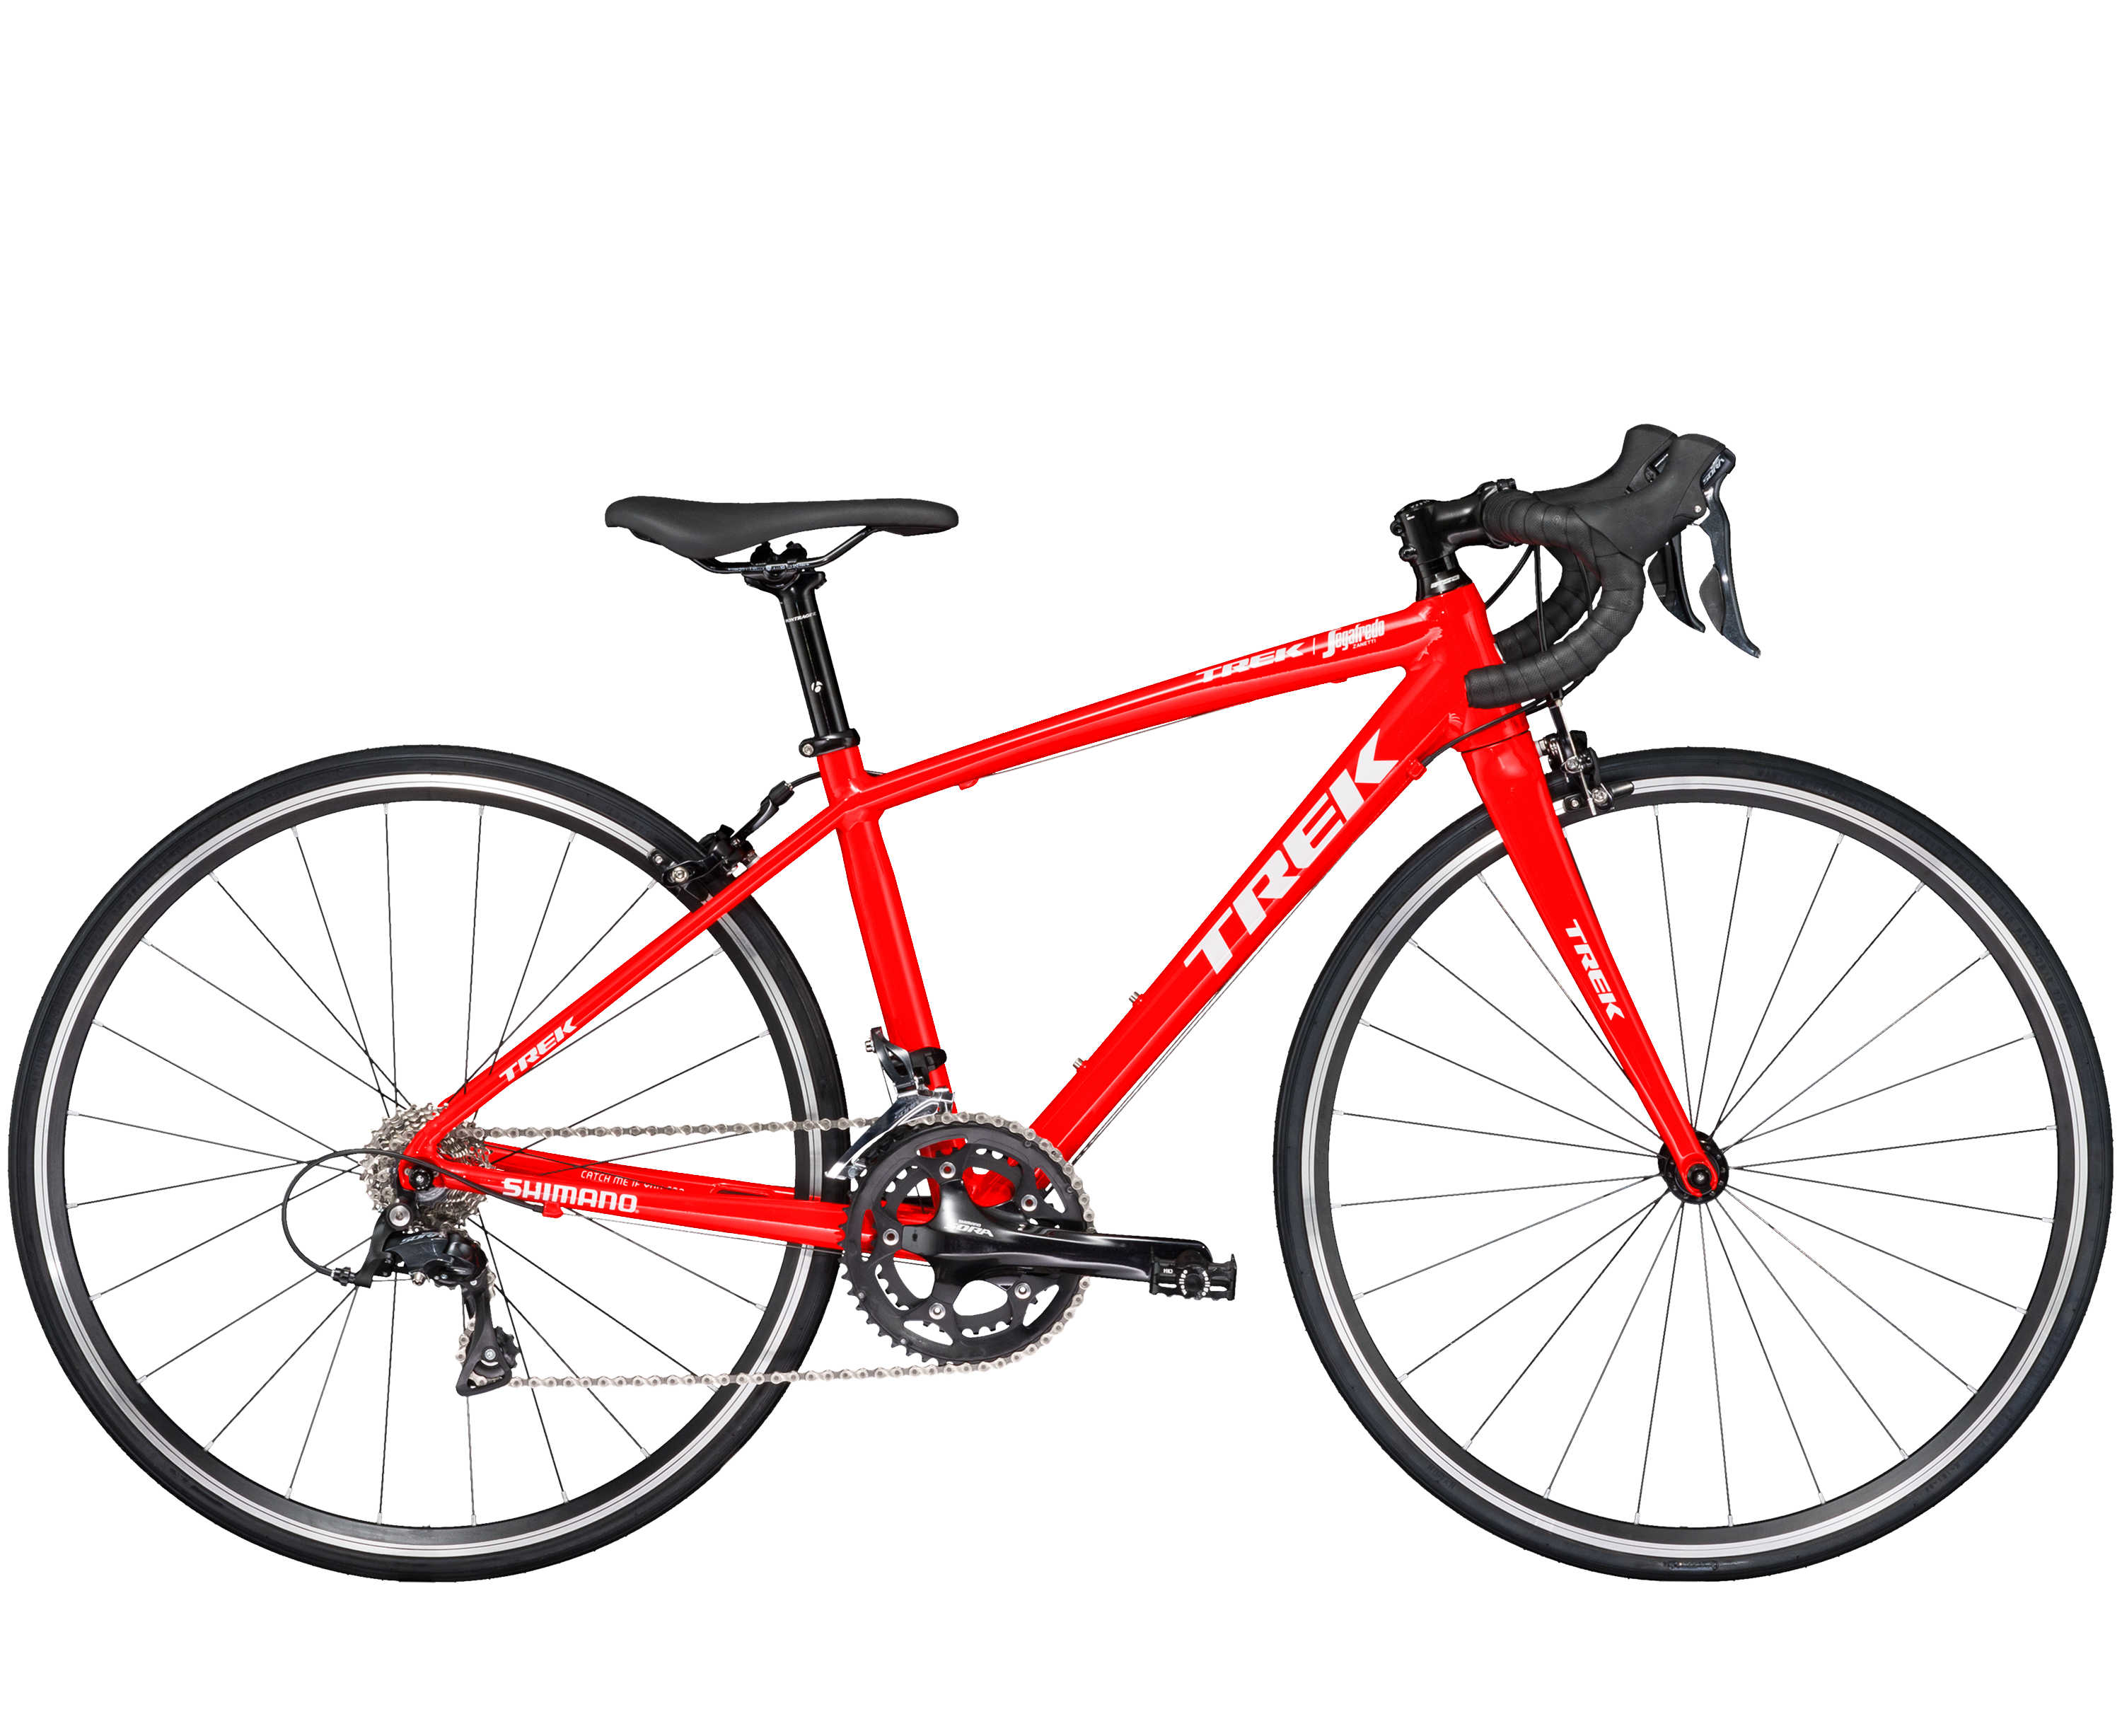
Road
This category is a bit newer to kid’s bikes, but has existed in cycling for over 100 years. More recently, parents who enjoy riding their road bikes wanted to share that experience with their young kids. Thanks to a few perceptive companies, kid’s road bikes came to the market with great acceptance. To find the size that fits your child best, try different brands to find something that fits your child well.
Sizes
Most kid’s bikes are sized by wheels size. As an example, a child from 32”-42” tall would ride a 16” wheeled kids bike. That does not mean that all 16” wheeled kids bikes are the same size. Where they differ is the overall height of the frame, and the distance from the seat to the handlebars. When getting a new bike, try a few brands to see which frame fits best.
Brakes
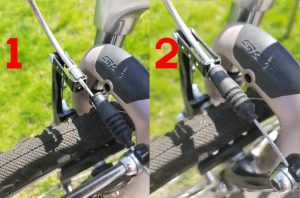
Smaller kid’s bikes (>16” wheels) usually use a pedal brake. Therefore, to have the child stop, they pedal backward. Once you grow into kid’s bikes with 20” wheels most manufactures use a hand brake and a pedal brake so that kids can get comfortable with hand brakes. At 24” wheels and above, bikes are almost exclusively built with hand brakes only.
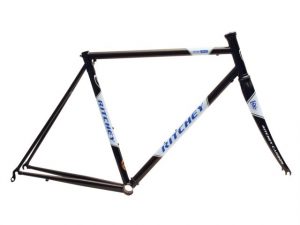
Materials
Thanks to the increase in aluminum production and costs for the material coming down, many kids bikes are now made out of aluminum. This is great news for kids of the world because aluminum frames are lighter than steel. Steel frames are not always a detriment to kids bike though. In the case of BMX bikes, Steel’s durability and strength end up being a huge benefit for riders doing more aggressive moves.
Attributes
-weight
Kids bikes typically weigh a lot in relation to the child. But that is not to say these bikes are heavy. As an example, a 25-pound bike is proportionally heavier to a child who weighs 40 pounds than to a 150-pound adult. Getting your child the lightest bicycle available, will go a long way to make it easier for them to ride.
-durability
Durability is a difficult metric to qualify when buying a bike for a child. Something that will be durable enough for path riding, might not hold up to the rigors of off road use. Durable things to look for are metals rather than plastics in the braking and shifting components, and aluminum rims rather than steel. Beyond everything else, take into consideration the child who will be riding the bike when determining how durable it needs to be. Some kids are gentle on their equipment while others are far more kinetic.
-gears
Gears are great for neighborhoods that have hills or for riding off road. Multiple gears give kids a mechanical advantage to ride steep grades or high speeds with relative ease. On the other hand, if your typical riding locations are completely flat and paved, gears will probably just add undue complexity to your child’s bike.
How to buy
Now that you know all about what makes a kid’s bike, let’s talk about how to buy one. I cannot recommend your local bike shop highly enough. A child’s enjoyment of riding a bike is hugely effected by the quality of the bike, fit of the bike, and function of the bike. For those reasons, no entity does a better job of getting your kid on the right bike than the local bike shop. It is not a secret that there are less expensive places to buy a bike than a bike shop. Even though others may sell bikes for less money they are not the same product in fit, function, or service.
Additional materials
When going to get your child a new bike, remember to look for a few other products as well. First and foremost is a Helmet. Helmets have limited lifespans and should be replaced frequently. Also consider the things that will go on your kid’s new bike like a bell or bottle. Round out the purchase with gloves or a jersey and your kid will be looking forward to mile after mile of great riding.