
by Russ Lowthian, HaveFunBiking.com
Unless you enter the annual Woodtick Races in Cuyuna, MN, on June 8th, these bloodthirsty wood ticks are annoying and could be hazardous to your health. Especially if you are biking or hiking on trails through the woods or in tall grass. Always take note as you enjoy your outdoor adventures. These little critters, especially if they are the deer tick species, can be nasty with disease. Like the wood tick, the deer tick also lurks in any natural wilderness setting. However, they are small as a freckle, have tiny black legs, and you may find them loaded with disease-causing pathogens or Lyme Disease.
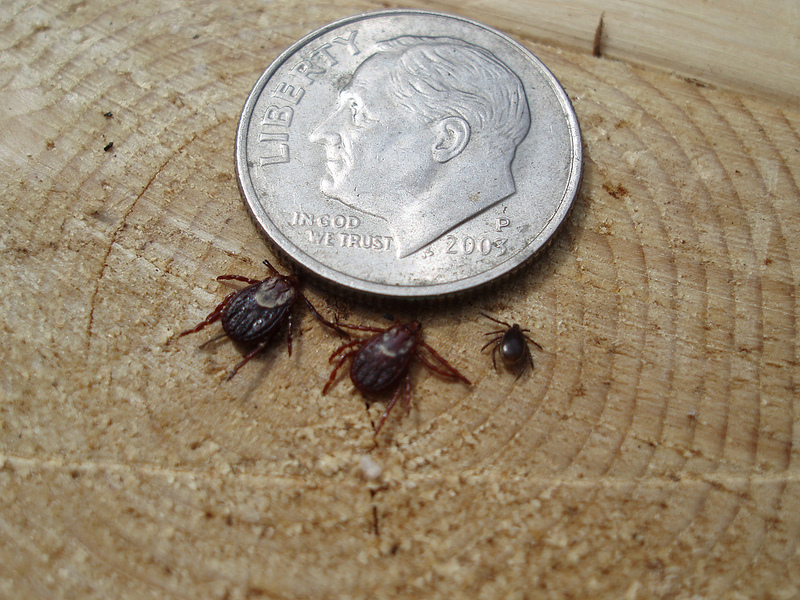
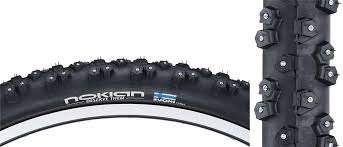
Two wood ticks on the left pose with a deer tick next to a Roosevelt dime for reference. Photo by David Bosshart
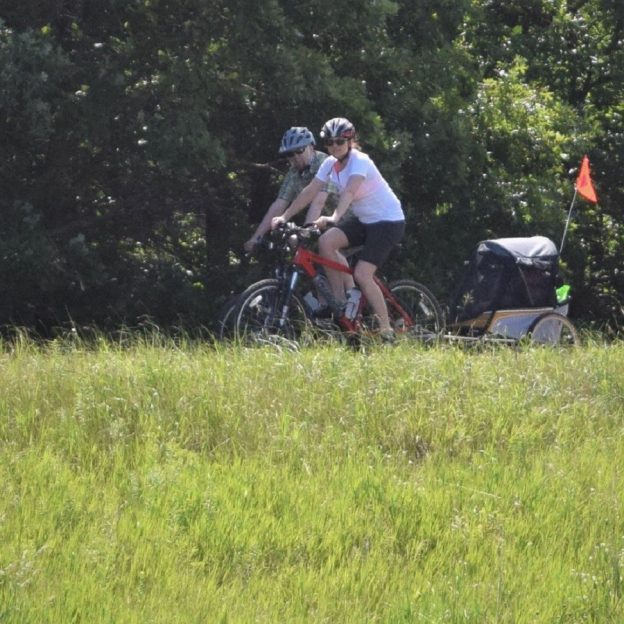
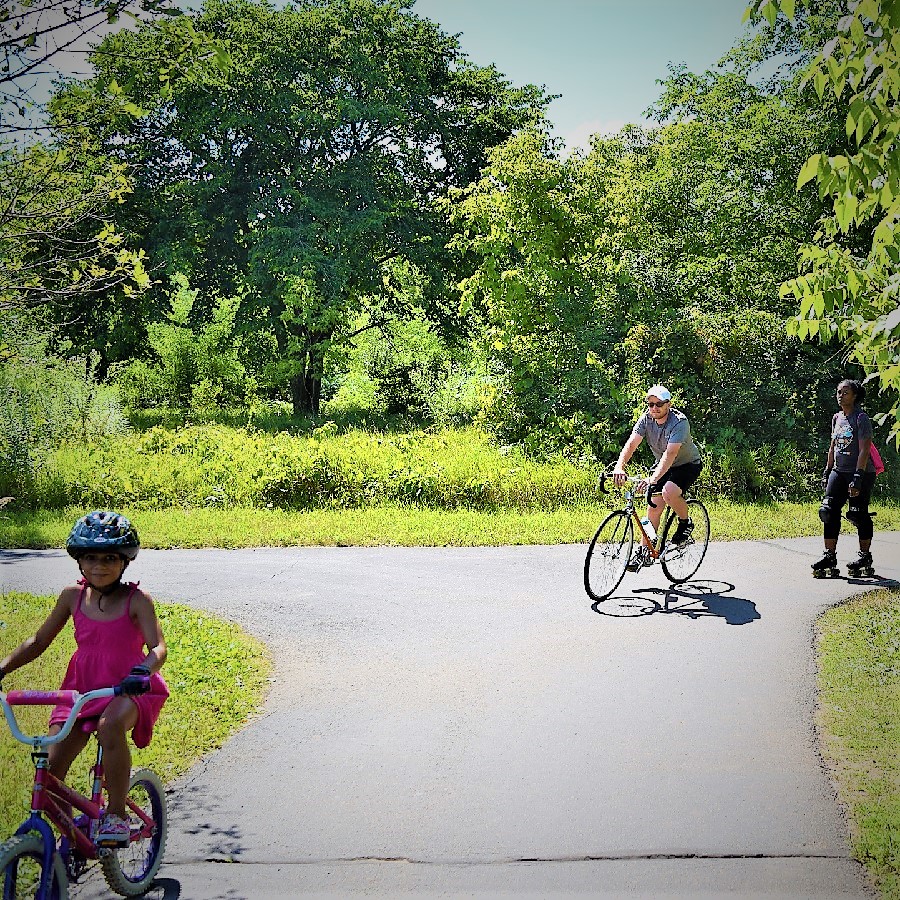
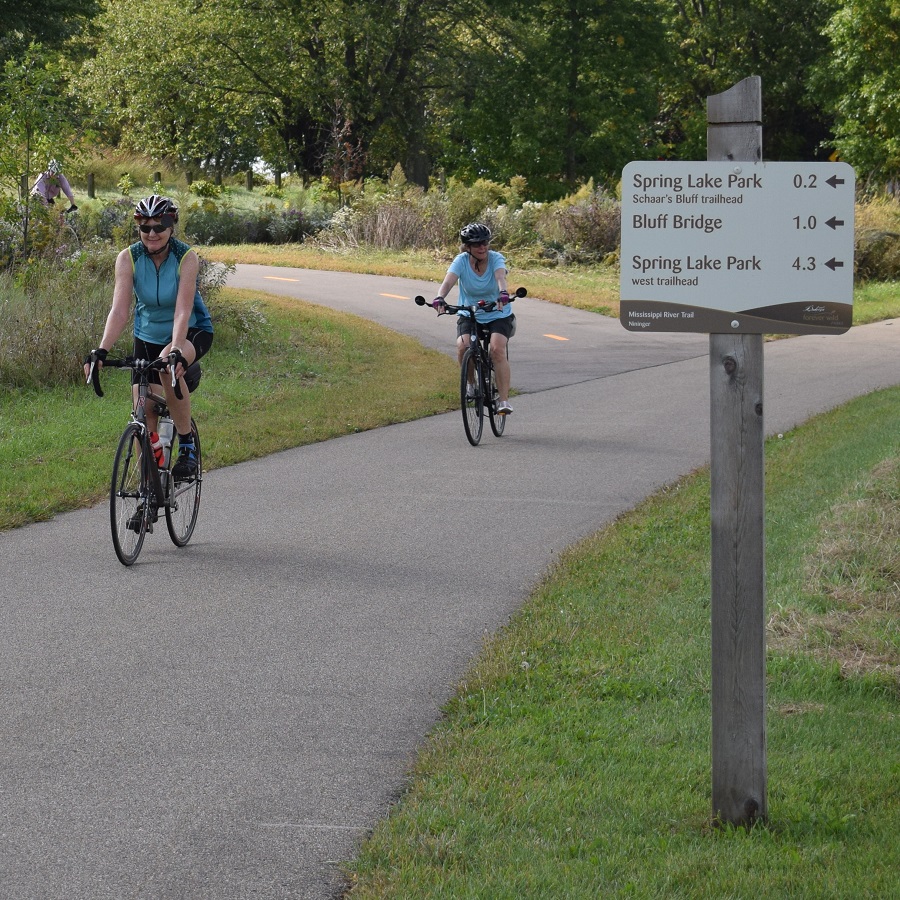
Getting a deer or wood tick in a city park or on a paved bicycle trail, but the probability is very low. Especially on paths with the grass mowed along the edges. Generally, these blood-sucking critters are only a problem if you are off the trail biking or walking through tall grass and brushy wooded areas. Ticks tend to crawl up on vegetation, tall grass, and wood and wait to grab onto a passing animal or human.
Once attached to people or pets, deer ticks can be hard to find. According to the Centers for Disease Control and Prevention (CDC), their numbers are on the rise and carry harmful pathogens. Thanks to the CDC’s website, there are several things everyone should know about ticks to stay disease-free.
Wood Tick Bite Prevention
Before You Go Outdoors
- Know where to expect ticks. Ticks live in grassy, brushy, wooded areas or even on animals. Spending time outside walking your dog, biking, camping, or hiking could bring you close contact with ticks. Many people get ticks in their yards or neighborhoods, in rain gardens, and in natural areas
- Treat clothing and gear with products containing 0.5% permethrin. Permethrin can be used to treat boots, clothing, and camping gear and remain protective through several cleanings
- Use Environmental Protection Agency (EPA)-registered insect repellents containing DEET, picaridin, IR3535, Oil of Lemon Eucalyptus (OLE), para-menthane-diol (PMD), or 2-undecanoate. EPA’s helpful search tool can help you find the product that best suits your needs. Always follow product instructions
- Another option is the Tickless Active we are testing. This rechargeable device emits a series of ultrasonic pulses undetectable to people, pets, or wildlife but interferes with the ability of ticks and fleas to orient themselves
- Do not use insect repellent on babies younger than two months old
- Do not use products containing OLE or PMD on children under three years old
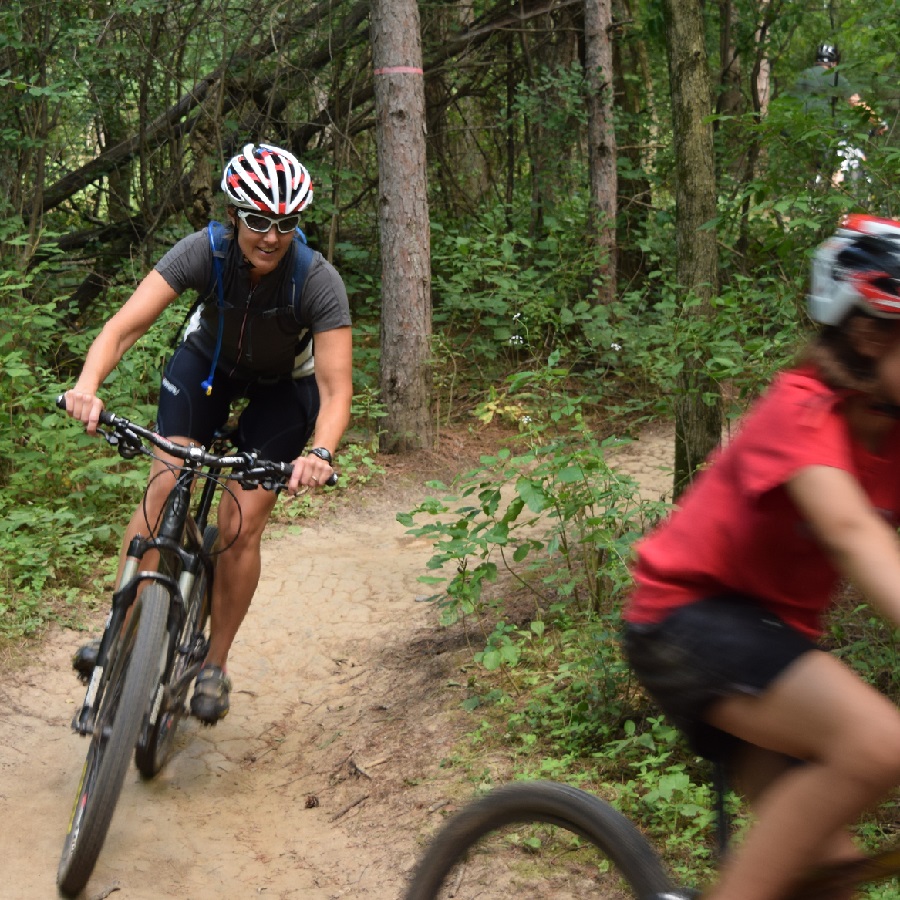
- Avoid contact with ticks, especially in wooded or brushy areas with high grass and leaf litter
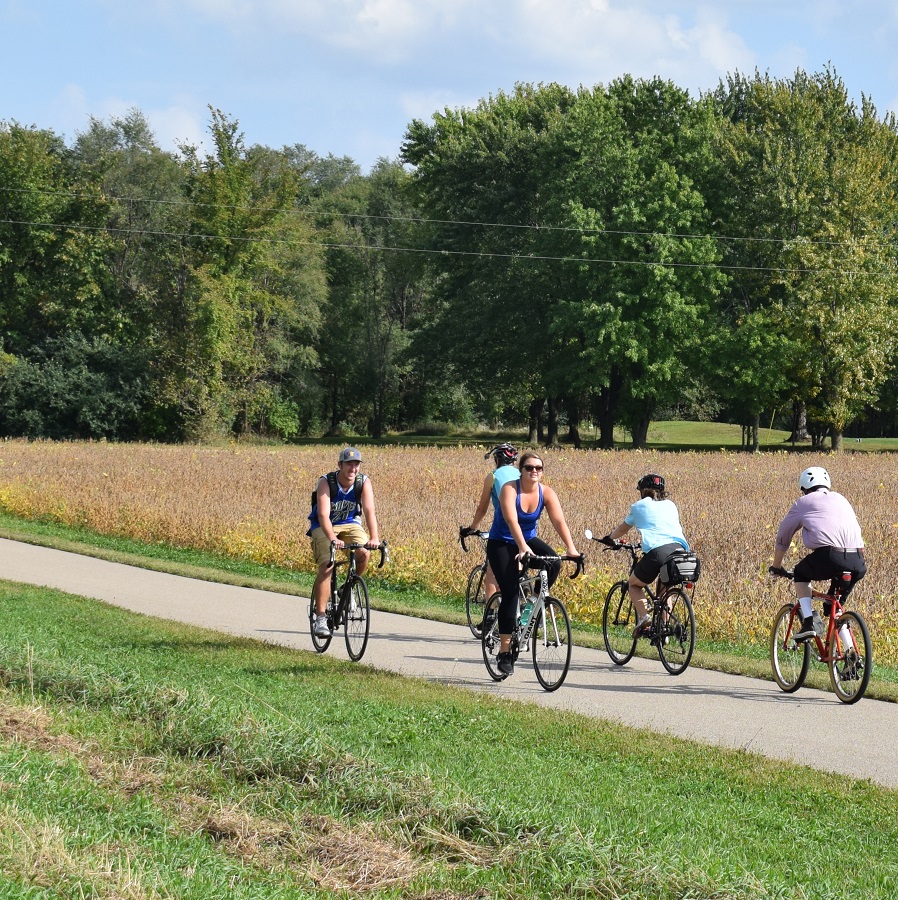
- Ride and walk in the center of the off-road trail.
After You Come Indoors
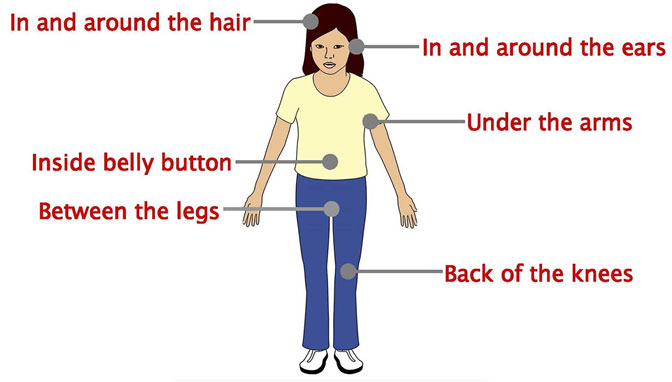
Diagram from the Center for Disease Control and Prevention (CDC)
- When out in the wilderness, check your clothing and gear for ticks. If not careful, they may be carried into the house, your car, or on clothing and gear. Any ticks that are found should be removed. At home, tumble dry clothes in a dryer on high heat for 10 minutes to kill ticks on dry clothing after you come indoors. If the clothes are damp, they may need additional drying time. If the clothes require washing first, hot water is recommended. Cold and medium-temperature water will not kill ticks
- Examine gear and pets. Ticks can ride into the home on clothing and pets, then attach to a person later, so carefully examine pets, coats, hydration saddle packs
- Shower soon after being outdoors. Showering within two hours of coming indoors has been shown to reduce your risk of getting Lyme disease and may effectively reduce the risk of other tickborne diseases. Showering may help wash off unattached ticks, and it is an excellent opportunity to do a tick check
- Check your body for ticks after being outdoors. Conduct a full-body assessment upon returning from potentially tick-infested areas, including your backyard. Use a hand-held or full-length mirror to view all parts of your body. If you are comfortable, another set of eyes to check is a good idea. Check these parts of your body and your child’s body for ticks:
- Under the arms
- In and around the ears
- Inside belly button
- Back of the knees
- In and around the hair
- Between the legs
- Around the waist
Now that you know more about these vampire-like blood-sucking parasites and how to avoid them, plan your #NextBikeAdventure and have some fun!


