Tag: #mountainbiking
-
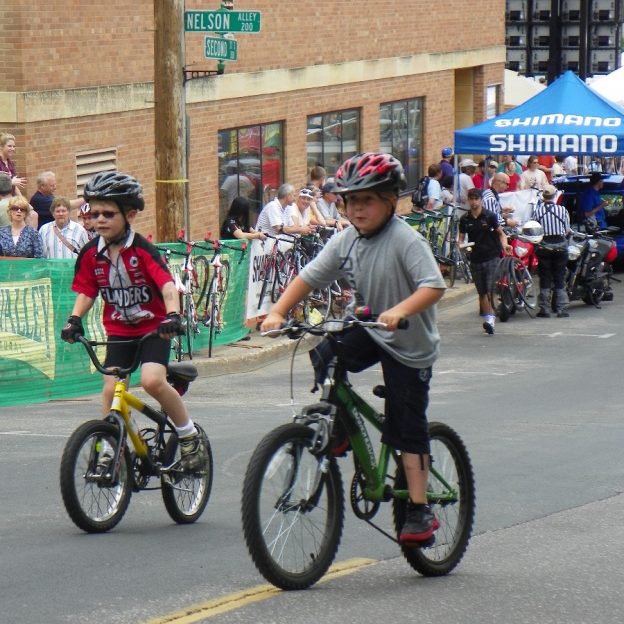
Demonstrating safe riding practices teaches kids valuable skills for life
The summer months ahead will play host to countless hours of family fun riding. During these rides is the perfect time to teach your kids about riding safely. All things considered, there are just a few topics to teach. Read below for the details.
-
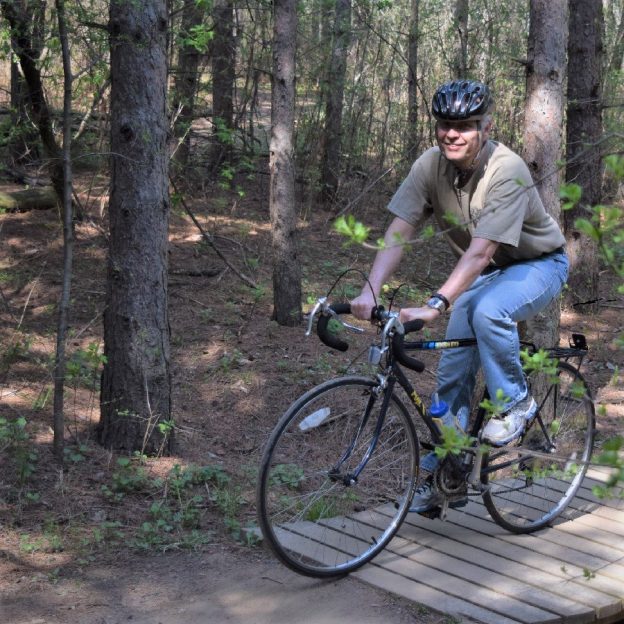
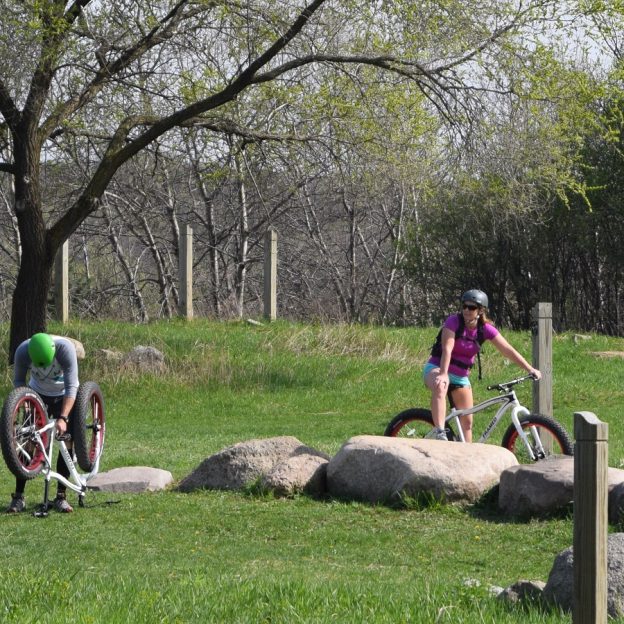
Bike Pic May 08, who says you need a special bike for off-road fun?
With skinny tires and a bike built for the road he did well trail riding
-
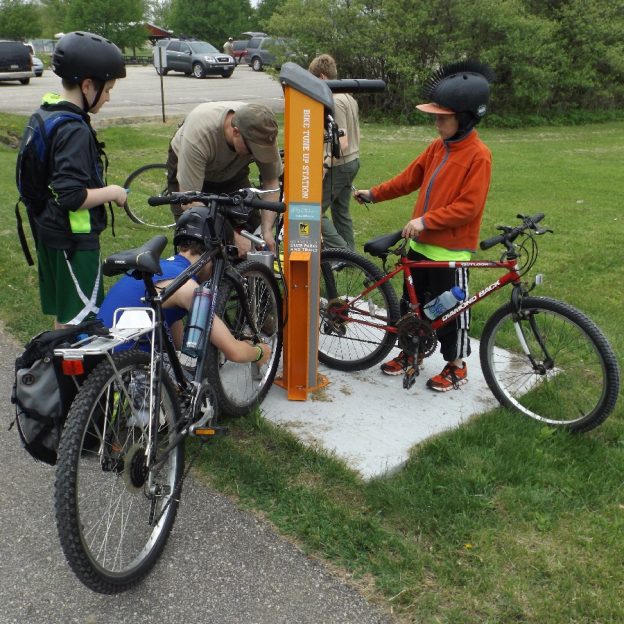
Do your part giving back to the cycling community you enjoy
Giving back to the trails, paths, roads and events you enjoy is a great way to stockpile some good karma and it’s fun! There are countless ways to give back to your cycling community. For example, you can volunteer to support rides, clean up a trail system, build a trail, support a high school cycling…
-
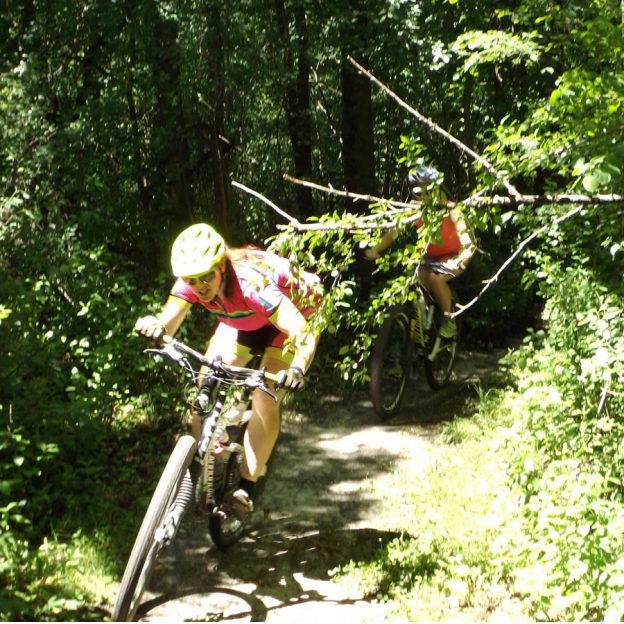
Get into Mountain Biking with these few tips!
Starting a new sport like Mountain Biking is a ton of fun. The experience of exploring local trails and challenging obstacles is exhilarating. Here are a few tips to get you riding faster and smoother.
-
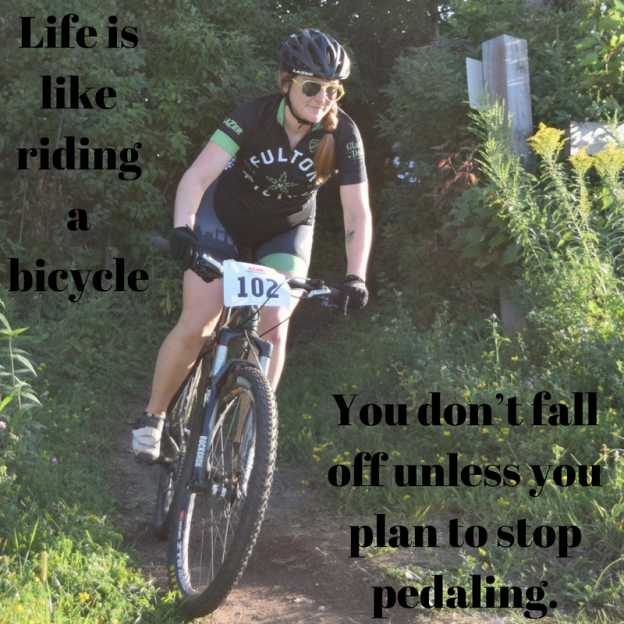
Bike Pic Dec 1, Pedaling Through Life, Reach That Destination
“Life is like riding a bicycle. You don’t fall off unless you plan to stop pedaling.” ~ Claude Pepper.
-
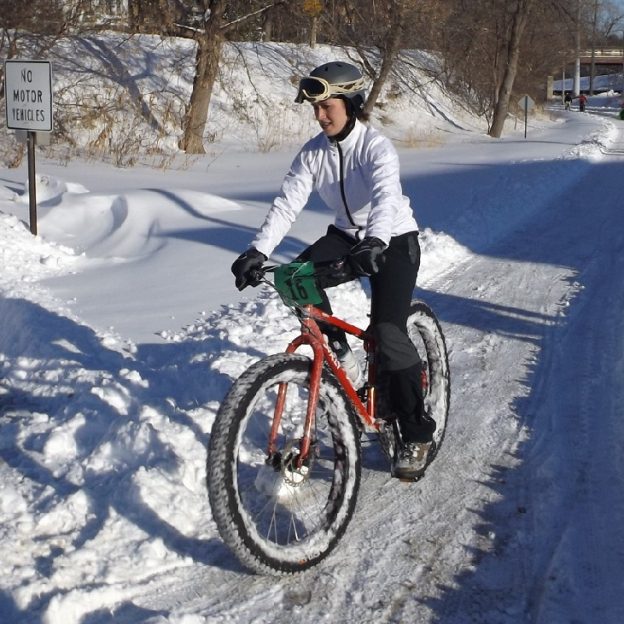
Learning to fatbike for fitness and fun as winter soon returns
As the winter winds begin to blow into our office here in Minnesota, thoughts turn toward the snow covered trails of the twin cities. We are lucky here to enjoy a massive amount of trails that are designed for winter riding. But if you are like me, and new to the whole Fatbiking thing, how…
-
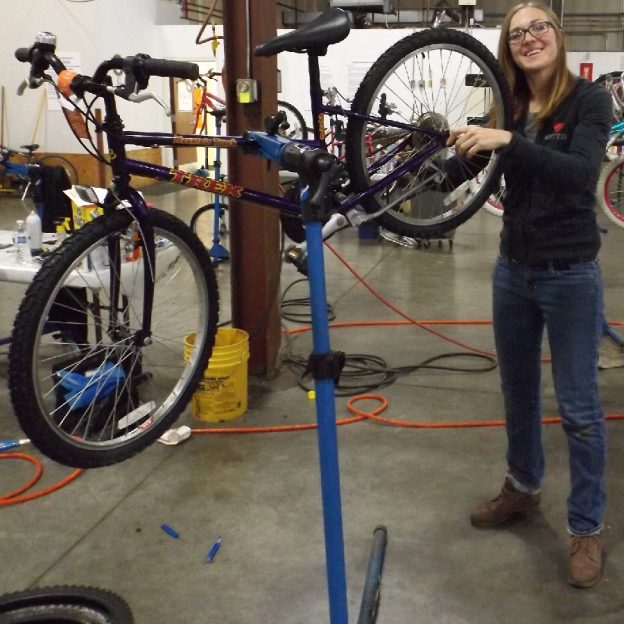
Tips and Tricks to Adjust Your Bike’s Rear Derailleur
It goes by many names, the rear derailleur. It is also known as the “s,” the “hangdown,” or the mech. Here in the U.S. we refer to it as the derailleur. The device that moves your bike’s chain from gear to gear letting you traverse hills with ease. Even though derailleurs are sturdy and relatively…
-
Bike Crash: What to Look for and Inspect After the Unexpected
As a mountain biker that tranquil feeling is sometimes interrupted by an unexpected bike crash. Whereas crashing my bike it isn’t something I enjoy, I realize that as I try to push my boundaries, a bike crash is a real possibility. You don’t need to be a mountain biker to have a bike crash, after…
-
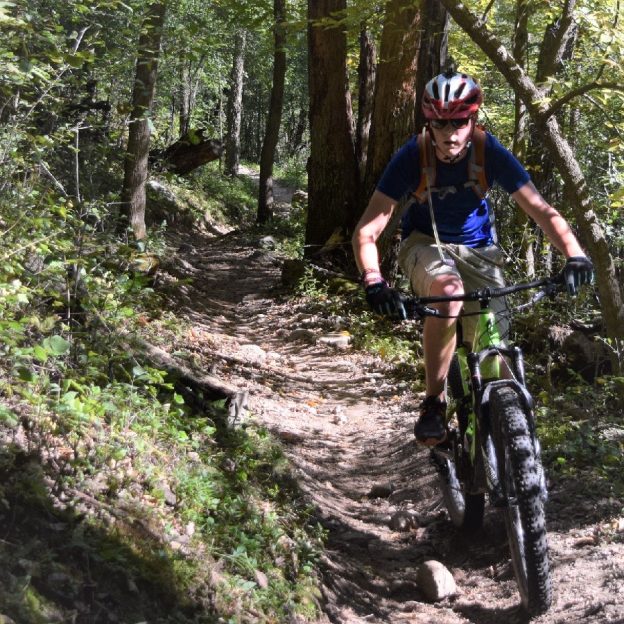
Mountain Bike Hacks: How to Descend with Speed and Confidence
For Many, the fun of mountain biking is going down hill. So how do you descend with speed and confidence? You will find it is as easy as controlling your weight, position and growing skills.
-
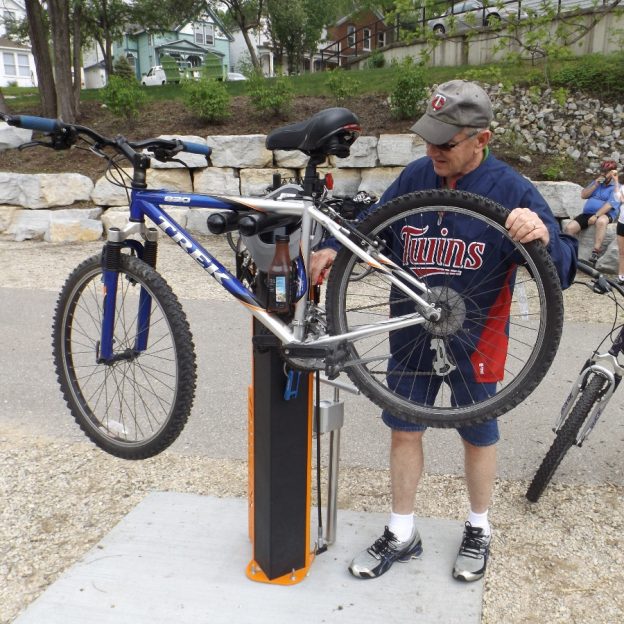
Learn How to Care for Your Bike Tires for a Comfortable and Safe Ride
Tires are often overlooked but wildly important in the safety and security of your next bike ride. Learning how to inflate your bike tires properly, review their condition, and fix flat tires is something every rider should know.