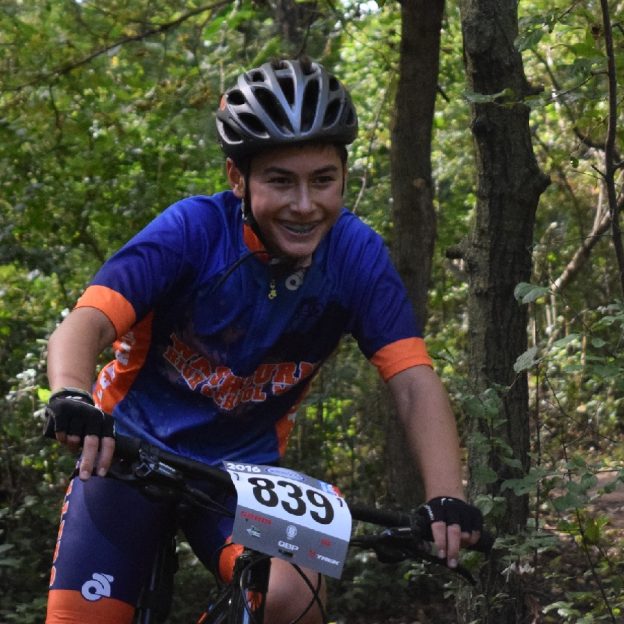
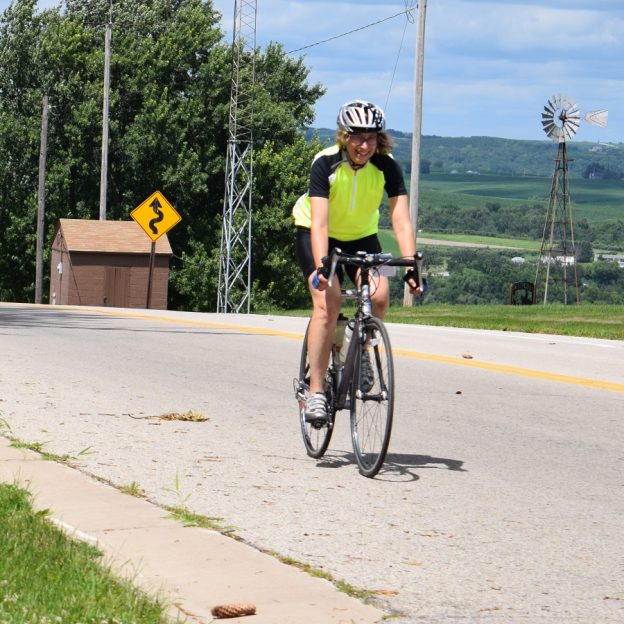
Tag: Ride My Bike
-
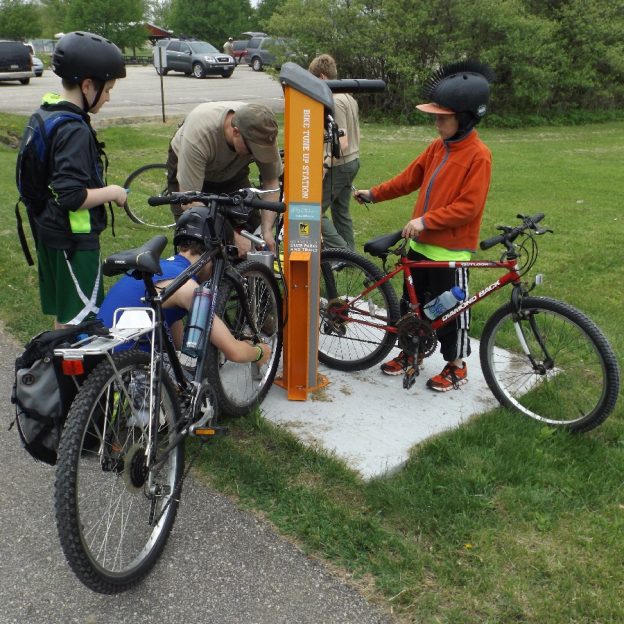
Do your part giving back to the cycling community you enjoy
Giving back to the trails, paths, roads and events you enjoy is a great way to stockpile some good karma and it’s fun! There are countless ways to give back to your cycling community. For example, you can volunteer to support rides, clean up a trail system, build a trail, support a high school cycling…
-
First thoughts and impressions of Sealskinz Socks
It was impossible to miss the Sealskinz booth at Interbike this year. There in the center of the exhibit was a huge tub of water with a woman standing in the middle wearing nothing on her feet but socks! When I asked if her feet were wet or cold, she responded casually “nope, I’ve been…
-
Bike Pic Oct 28, mountain biking fun in the snow is here again!
Is mountain biking in the snow season really here to stay in the upper Midwest? With temps hovering in the low 30’s, including rain and snow over the next several day it maybe time to get the fatty out and prepare for some winter riding fun.
-
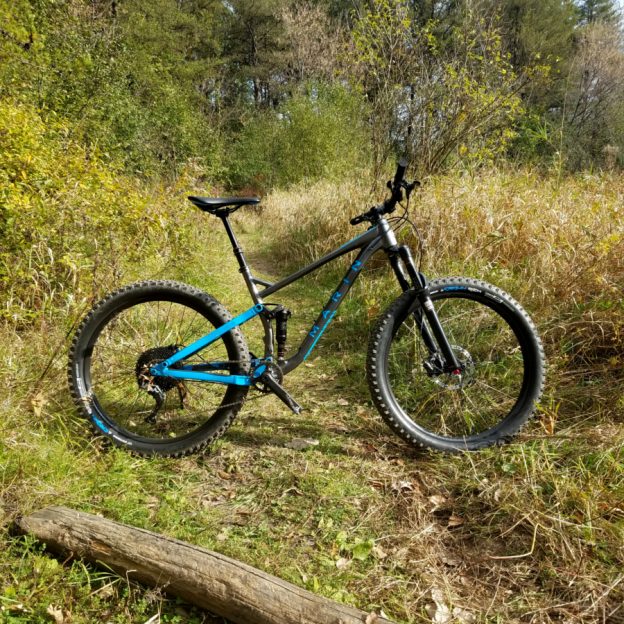
The Marin B-17 MTB review – out of the box and ready for the trail
Based on our quick MTB review at Interbike’s Dirt Demo, we have been extended a Marin mountain bike demo for a long term review. However, before I ride it and give you a full mountain bike review let me share what is actually coming out of that box.
-
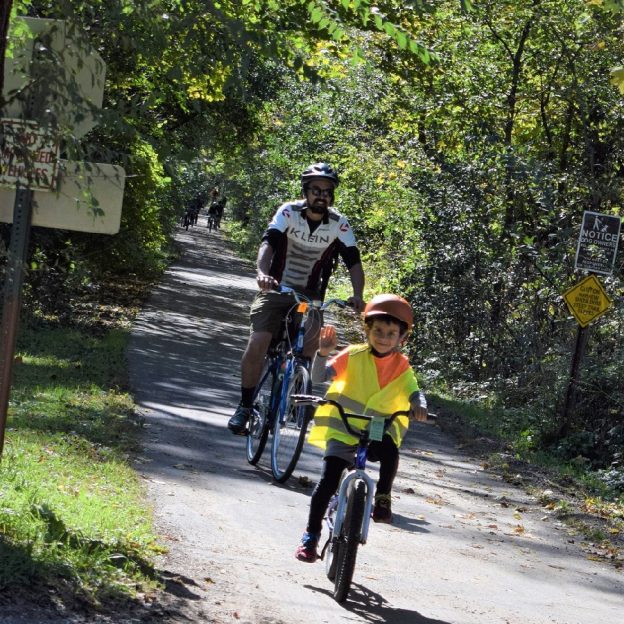
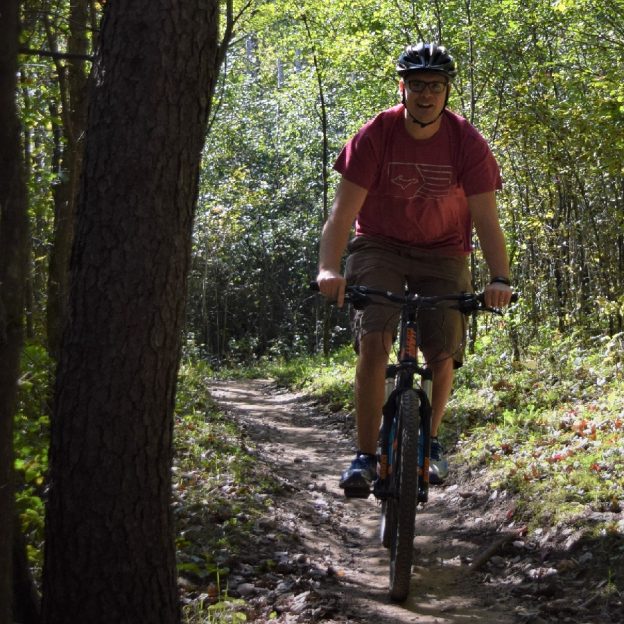
Riding through the fall, a great way to spend time with your kids
For many, the beginning of the winter signals the end of bike riding, especially kids. But why should the fun stop just because the mercury drops? Instead of ending the rides, get your kids excited to ride through the fall foliage. Here are some tips for encouraging kids to keep the fun rolling.
-
A first look at the revolutionary MagicShine Genie Helmet
Recently we reviewed a light from the wizards over at MagicShine, The MJ-900B. With that are package, they also included an amazing helmet, the Genie. The Genie is a revolutionary helmet that boasts a headlight and tail light as well as remote activated turn signals. Read on to see some more detail.
-
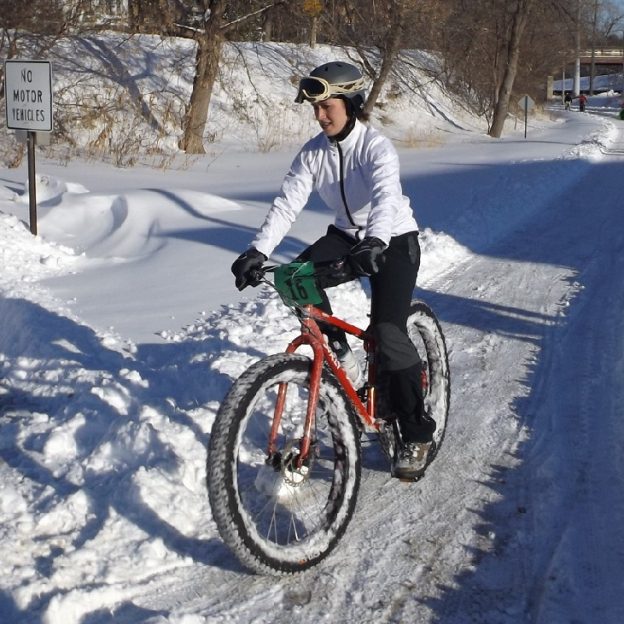
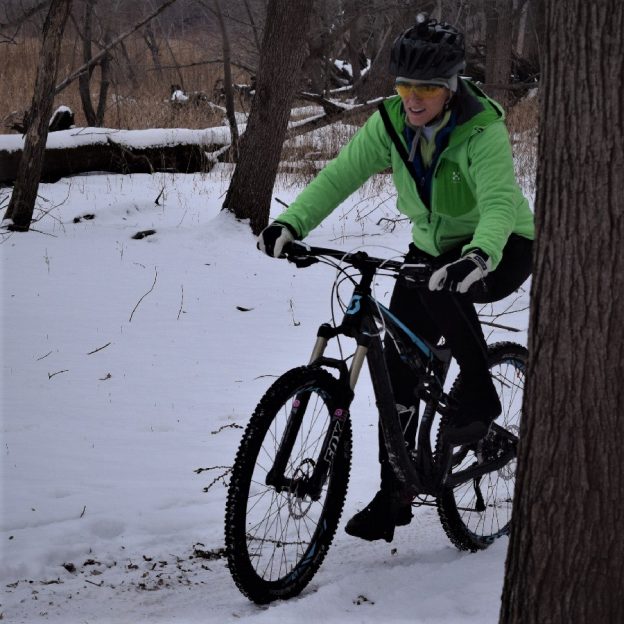
Learning to fatbike for fitness and fun as winter soon returns
As the winter winds begin to blow into our office here in Minnesota, thoughts turn toward the snow covered trails of the twin cities. We are lucky here to enjoy a massive amount of trails that are designed for winter riding. But if you are like me, and new to the whole Fatbiking thing, how…
-
Cycling Nutrition Review: a clean, smooth approach to sports drinks
As you begin doing longer rides like the MS150, Minnesota Ironman, or any other charity ride, cycling nutrition becomes really important. The basic rule is to replace electrolytes and calories after riding for an hour. Considering most of our rides are longer than one hour, there are many nutritional products designed help. Read on to…
-
Theodore Wirth Park, a gift five minutes from downtown Minneapolis
In the western part of the Twin Cities, nestled between Golden Valley and Minneapolis is Theodore Wirth Park. A space almost as large as New York City’s Central park. With in Wirth (as it’s known to the locals) you will find several scenic, natural areas around Birch pond and Wirth Lake, plus two golf courses…
-
How to adjust your front derailleur for perfect and silent shifting
In the late 1920’s, in France, there was a bike race under way and it wasn’t the Tour De France. Instead, this race was a technological race that brought the front derailleur into the light. Before 1928, bicycles had a maximum of two speeds, and you needed to remove the rear wheel to change those…