Tag: #nextadventure
-
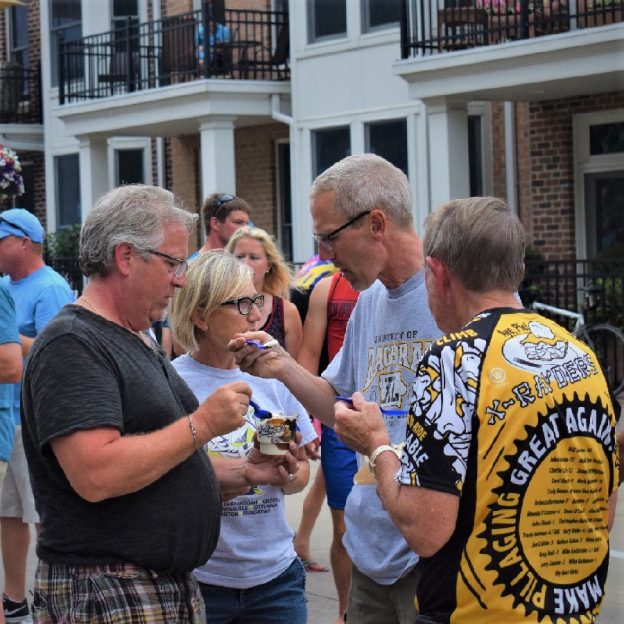
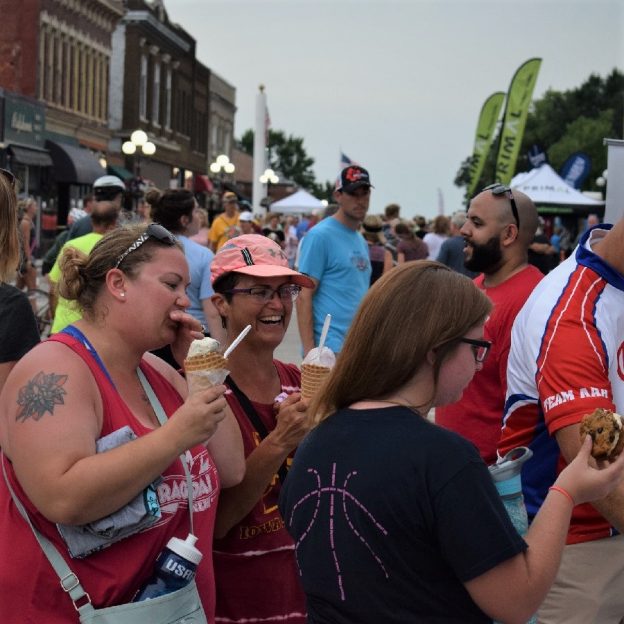
Bike Pic Jan 29, ice cream smiles Sunday after a new route
Sharing ice cream with friends after a hard days ride
-

Bike Pic Dec 20, deck yourself out with twinkle time Tuesday
Twinkle Time Tuesday features our colorful friend decked out in lights
-
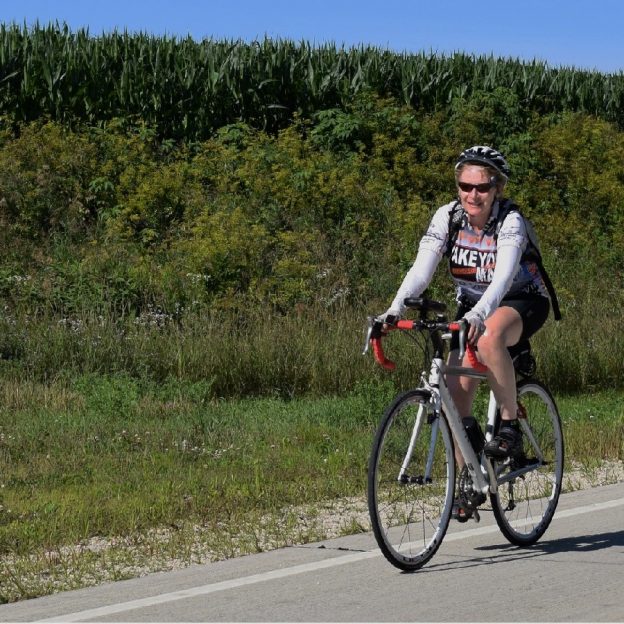
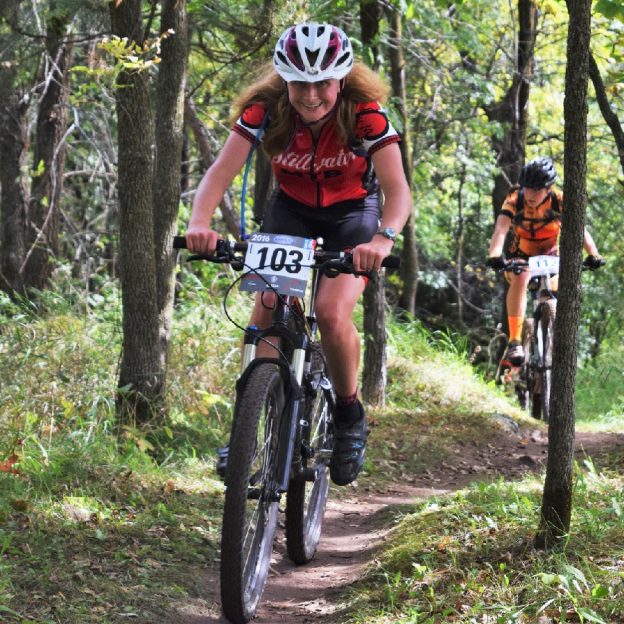
Bike Pic Nov 27, miles of Sunday smiles road biking Minnesota
Another turkey burner day along the Mississippi River Trail, this Sunday
-
-
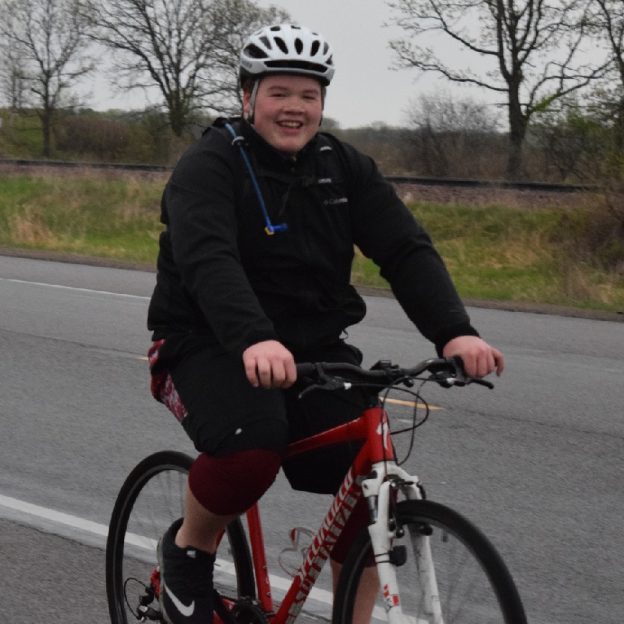
Bike Pic Oct 18, a recap of summer touring fun by bicycle
This Tuesday, another perfect fall day for a fun ride
-
-
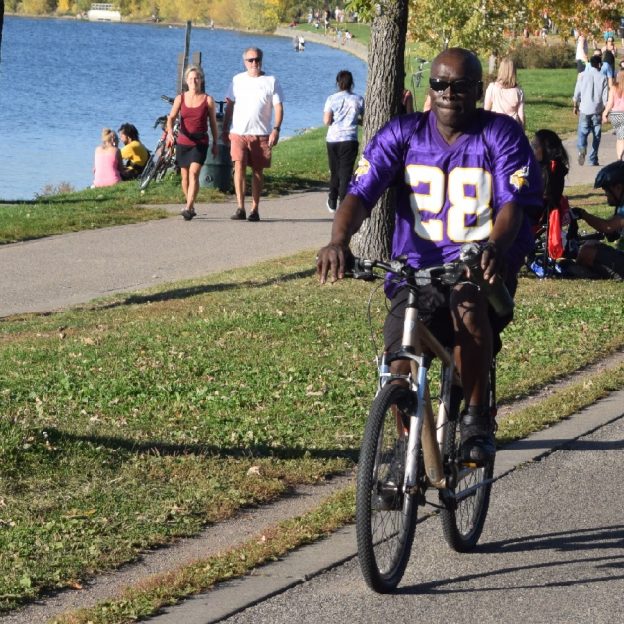
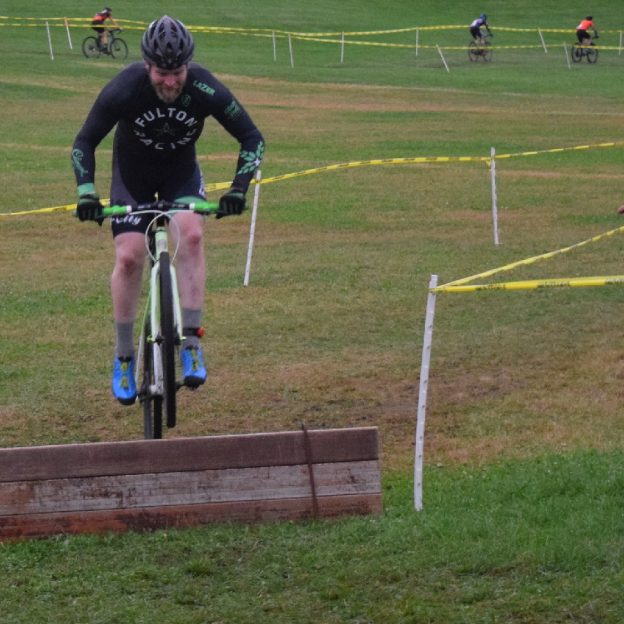
Bike Pic Sept 25, miles of smiles Sunday on the Jail Trail mountain biking
Miles of Smiles Sunday on the Jail Trail
-
Bike Pic June 12, ice cream smiles Sunday memories on RAGBRAI
Ice cream smiles Sunday memories on RAGBRAI
-

Bike Pic Feb 27, its ice cream Sunday, hope you’re smiling?
Realy, it’s the last ice cream smiles Sunday for February 2022!
-
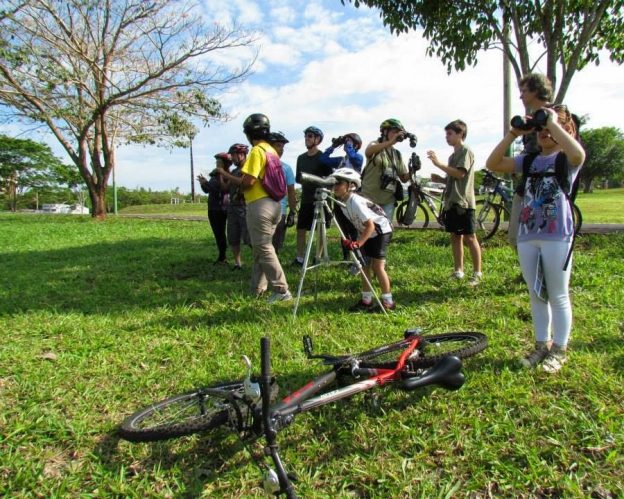
Six different ways to explore the Twin Cities Gateway this summer
With nine communities and the Nation Sports Center located in the Twin Cities Gateway Area you will find many fun events and activities suited for visitors and their families. While visiting there are many ways to enjoy your stay in this north Twin City Metro Area of Minnesota, here a several favorite thing to do.