Tag Archives: #mtb

Learn How To Install Bar Tape For Your Most Comfortable Ride Yet

by John Brown, HaveFunBiking.com

Riding and maintaining your road bike can be easy with some basic maintenance and by practicing the right skills. Plus, while you ride your bike, you should do everything you can to feel comfortable. That includes the right fit, the right clothes, and above all else, the right touch points. Touch points on a bike are anywhere your body touches the bike (specifically hands, feet, and saddle). The easiest touch point to freshen up on your road bike is the bar tape. Read below for a step by step instruction on installing bar tape.

How to Start Installing New Bar Tape

The first choice you have when wrapping your bars is, will you wrap from inside out, or outside in?  Either choice is fine as long as you start from the bottom of the bar rather than the top. Wrapping from the top down, will position the edge of the bar tape so it easily unravels with normal use.

Bar Tape

The bars on the left are being taped from inside to outside, while the ones on the right are going outside to inside.

To begin. position the end of the bar tape about 50% off the end of the bar. While holding the end of the tape tightly, begin stretching the tape and winding it around the bar. When winding it, make sure that each section of tape, covers 25% of the previous wrap. It is important to stretch the tape. While most bar tapes have an adhesive backing to help hold itself in place, stretched tape will constrict around the bar as you wrap it, and stay in place better.

From left to right you can see how to start, how to wrap the tape, and the hood clamp detail

Wrapping levers

While winding the tape up the bar, the only real difficulty is the brake hoods. First thing you want to do is flip the back of the brake hood forward, exposing the hood clamp band and a portion of the hood body.

The soft rubber hoods flip forward to tape bars, or replace cables

The most common ways to wrap around the hood are either, maintain the standard, spiral, winding pattern, or wrap the lever in a figure 8 pattern. For a standard wrap, first place a small piece of bar tape to cover the clamp band, then continue wrapping up the bar. For the figure 8 pattern, start winding as normal, once the tape gets over the hood, wrap the tape back down the side of the hood winding it around the bottom of the hood and crossing the tape in a figure 8 pattern across the back of the hood strap. You have done it correctly if no bar is showing once you flip the brake hoods back into place.

On the left, the tape is being wrapped in a helical fashion while the bar on the right is using a figure 8 pattern

Finishing Your Bar Tape

Once you have taped up the bar, past the hood, and are about 2” from the stem clamp, it is time to finish the tape. Most bar tapes come with vinyl finishing tape to hold the tape in place. Whereas bar tape is quite flexible finishing tape is a lot more ridged. When cutting the bar tape, cut it on an angle so that when wrapped, it leaves a sharp flat edge. Before using the finishing tape, I find it helpful to use a vinyl electrical tape to secure the bar tape, then wrap the supplied finishing tape on top in the opposite direction. When you have finished taping, go back to the open end of the bar, tuck any spare tape into it, and tap the bar plug into place.

An easy sign of a good tape job is a clean finish and bar plugs that face upright. It’s O.K. to sweat the small stuff!

Tips and Tricks

Before you begin taping the bar, be sure to have scissors, electrical tape, a small section of bar tape, and the bar plug within reach. There is nothing more annoying than getting to the top of the bar and having to let it go (unraveling the bar) and go get scissors or tape. If you want a little more cush, take some spare bar tape and run it length wise along the top of the bar all the way to the hood and wrap over it. This method gives you added padding without increasing the bar diameter too much. If you want to change the profile of the bar you can use some spare brake housing under the tape to give the bar more of a wing profile. Simply secure it in place with liberal amounts of electrical tape.

Simple things like additional tape (above) and a section of spare brake housing (below) can customize your bar shape

Hopefully by following the above instructions your new bar tape will go on quickly and neatly. However, if you don’t have the time or feel uncomfortable visit your favorite bike shop and they can get the feel your looking for.

Shift gears to the terrain you are riding can take you miles from home with ease. Learn the what, how, when and why of shifting your bike.

How to Shift Gears on your bike for Efficiency and Confidence

by John Brown, HaveFunBiking.com

Shift gears to the terrain you are riding can take you miles from home with ease. Over hills and through tough valleys, all thanks to the ability to know how to shift your gears. Learn the what, how, when and why of shifting your bike below.

Shift Gears and Its Terminology

Before we jump into how to shift your bike most efficiently, lets cover the basic parts. Beyond the chain, there are many moving parts that make up the drivetrain on your bike, allowing you to shift gears.

-Cassette and freewheel

The gears attached to your rear wheel are called the cassette or freewheel. While they are mechanically different, for the act of shifting, they operate identically. These gears are built with teeth that sit higher, lower, or at an angle depending on where they are located. The different tooth profiles allow the chain to seamlessly shift from one gear to the next. These gears come in groups of 5 up to 12 depending on the shifting system you have. Overall, the smallest and largest gears are close in size regardless of the amount of gears.

-Chainrings

The chainrings are the gears attached at the middle of the bike where your pedals are. Most bikes have between 1 and 3 chainrings. You will notice that the teeth on the chainrings have similar profiles to those on the cassette. So if you see a tooth that is smaller or oddly shaped, don’t immediately assume it’s damaged. Basic chainrings will be stamped out of steel while more expensive ones are machined out of aluminum. The machining makes these aluminum rings both lighter and shift better.

-Derailleurs

The derailleurs are the mechanisms that physically guide the chain from one gear to another. Most bikes will have two, a front and a rear. The front derailleur has a curved cage that sits just above the chainrings. When moved in and out, that cage guides the chain onto different gears. The rear derailleur has a parallelogram, and a spring loaded arm with two pulleys. When shifted, the rear derailleurs upper pulley guides the chain across the cassette and onto the appropriate gear.

-Shifters

The shifters are designed to pull the cables that operate the derailleurs. Most bikes have them attached to the handlebar, but some older bikes will have them located on the downtube. The shifter on the right side of the bike controls the rear derailleur while the shifter on the left operate the front. For mountain bikes and hybrids there are really only two types, trigger and twist shifters. A trigger shifter uses thumb and trigger finger activated levers, while a twist shifter allows you to rotate a portion of the grip to shift gears. Road bikes usually have the shifter mounted onto the brake lever, but can also have paddle style shifters on the end of the bar or on the downtube.

Flat bar shifters come in two varieties, trigger (left) and twist (right)

Road bike shifters are usually attached to the brake levers (left) but on older bikes can be found on the downtube.

How To Shift Gears

Shifting your bike is easy to do and easy to do wrong. For all bikes that use derailleurs, remember one thing – Shift only when pedaling. The act of pedaling is what allows the chain to jump seamlessly from gear to gear. Also try not to shift both the front and rear derailleur simultaneously as it can lead to problems. To get comfortable shifting, pedal on a piece of flat ground and operate only the right (rear) shifter first. You will find that as you shift into higher numbers (assuming your shifter has a gear indicator) it will become more difficult to pedal but faster moving. Inversely, as you shift into lower numbers it will become easier to pedal but slower moving.

Once you feel very comfortable shifting the rear derailleur, shift into a middle gear and explore what the front derailleur does. You will notice that the incremental changes of the rear derailleur give way to large changes when shifting the front derailleur. Going across chainrings makes a huge difference in how easy or difficult it is to pedal. Once you have mastered the front and rear derailleurs, you are now ready to try shifting in other than flat conditions.

When to Shift Gears

The reason we shift gears is to give ourselves a mechanical advantage over the changing surroundings. With this mechanical advantage comes some idiosyncrasies. First thing is that the gears are designed to allow the chain to move easily from one to the other when shifted, but hold tight under the load of pedaling. What that means is that if you are pedaling with a great amount of effort (say up a hill), and try to shift, you are asking the drivetrain to both hold the chain in place and move freely. Sadly, it becomes difficult for a mechanical device to do both these things. To make sure you don’t run into any issues, always shift while you are pedaling with light load, or shift into the dear you will need just before you actually need it. As an example, shifting into a very low gear at the base of a hill is a better idea than taking a run at it and trying to shift down gears while your climbing under load.

Gear Ratios And How They Affect Your Ride

When we talk about gears, what it translates to is how many times the rear wheel rotates per pedal rotation. So if you are in a very low gear going up hill, you may pedal two complete pedal rotations in order to turn the rear wheel once. Inversely, if you are headed down a steep descent in a high gear, you will probably be spinning the rear wheel 3-4 times per pedal rotation. If you think about gears in these terms, it becomes easier to figure out where and when to shift.

Finding The Perfect Gear

The perfect gear is always changing (and you thought it would be easy). Even though it changes, it can most easily be described as the gear allowing you to pedal comfortably. We all have a natural pace (called cadence) we feel comfortable pedaling at, the goal in shifting I to allow you to continue to pedal at that pace even as the topography changes.

Putting It All Together

Now that you understand the “what, when, why, and how” of shifting, it’s time to practice on the open road. Pay close attention to what your most comfortable pedaling cadence is. Oftentimes people believe that they are comfortable pedaling really slowly in a difficult gear, but find after some experimentation, that they can pedal for longer if they shift into a slightly easier gear and pedal quicker. If you are riding off road, experiment with what gears give you the best traction on loose terrain. Many riders will default to their lowest gear at the first sign of loose conditions only to find that gear has too much torque, forcing their tire to break free and spin out. All in all, body types, muscle mass, conditions, and personal preferences make gearing choices different for everyone. But now that you know the details, you should feel comfortable finding the right ones for you.

Also check out our article on related tips to make your bike more comfortable and faster.


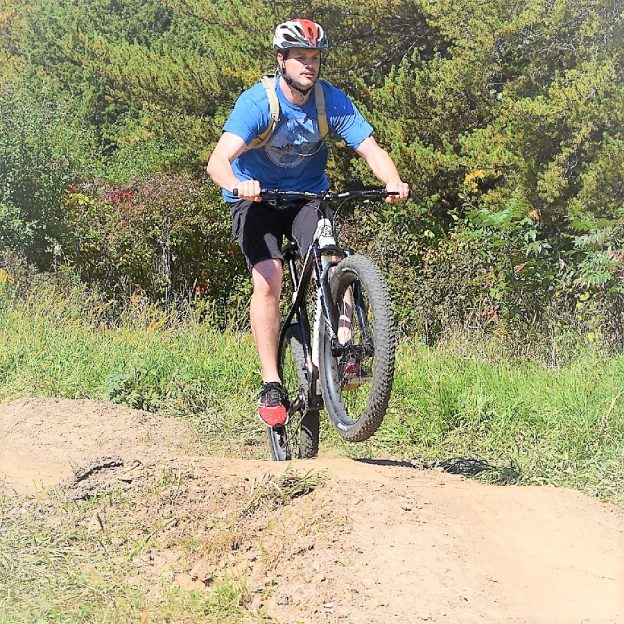
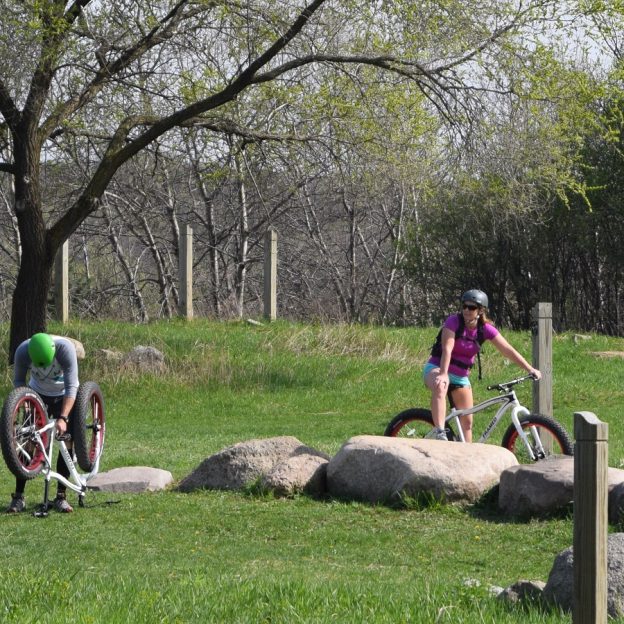
Bunny Hop and Wheelie Hop: A How to, Step by Step Guide

by John Brown, HaveFunBiking.com

Not all trails are smooth and flat. Many time’s we encounter large rocks, roots, ledges, and logs. The bunny hop and wheelie hop are simple moves that you can learn to traverse these obstacles with speed. Below, we have spelled out a step by step process to learn to hop.

Bunny hop

The Bunny hop has been around forever. While there are a few ways to pull one off, the basic motion of the bunny hop is to lift the bike without pedaling. Specifically, a bunny hop motion is to lift the front wheel, lift your legs and weight, and roll your wrists (and by extension the bicycle) over an object. The bunny hop is great move to clear obstacles at speed and while heading downhill.

Wheelie hop

The wheelie hop is similar to the bunny hop, except, rather than using your body motion to lift the front wheel, you use the pedals. Once that front wheel is up, the wheelie hop uses all the same motions as the bunny hop. The wheelie hop a is great move to use on uphill obstacles and low speed situations.

Pull up

The first motion in the bunny hop is to lift the front wheel above the height of the obstacle. To start this, stand up on the pedals, bend your knees and elbows, and lower your center of gravity. Next, spring your arms and knees, propelling your weight up and slightly backward. As your weight is traveling up and back, your front wheel should begin lifting off the ground. The basic concept is to rotate your weight and use the point where your rear wheel touches the ground as a fulcrum.

bunny hop

Prepare to spring up by bending your knees, elbows, and lowering your weight

Pedal up

The pedal up is slightly different from the pull up, but, still ends up with your front wheel in the air. Start in a seated position with your arms locked. Make sure you are in a relatively easy gear and jab your pedal through the pedal stroke as you pull the bars into your body. In about one pedal stroke your front wheel should be off the ground. Your weight should be centered over the rear wheel, your arms should have a good bent to them, preparing to spring your weight up.

bunny hop

Wheelie hops start by pedaling the front wheel up.


Lift your feet and weight

Although the first part of the Bunny hop and Wheelie hop are different, the rest of the motions are the same. Once you have the front wheel in the air, begin lifting your own weight up and off the bike. To do this, focus your weight on the rear wheel and move your body up, unweighting the bike.

Spring your weight up.

Roll your wrists

Once, both your front wheel and your weight are moving up it’s time to get your rear wheel off the ground. This is done when you roll your wrists and bars forward while your momentum is moving upward. Basically, your weight is moving up with the front wheel leading the way. Rolling your wrists forward redirects that upward momentum forward, leveling out the bike, and clearing the object in your path

Roll your wrists forward, leveling out the bike.

Practice on a curb

A great place to practice these hops is on a curb. Approach the curb at a slow speed, pop the front wheel up and onto the curb, then complete the motion and try to get the rear wheel up without hitting the square edge of the curb. Begin with a very low curb then work your way up to something higher. Once you are comfortable with the motion, try moving faster.

On the trail

There is a new variable that gets introduced when you use your bunny hop on the trail. That variable is the landing. While practicing on pavement, you can be confident that your landing will be onto a flat surface. On the trail, landings can be rocky and rough, couple that with your weight moving around the bike and you can get bucked off the bike rather easily. Therefore, try to keep your weight back on the bike while landing on the trail to resists getting bucked.

Slab Jab

So, while a slab jab is not technically a bunny hop, it does use a similar movement. Basically, a slab jab involves getting your front wheel up onto a tall object (like a rock or log) then pivoting the rest of the bike up onto the object using your front wheel as the fulcrum. Just like a bunny hop or wheelie hop, get your front wheel into the air, but unlike a hop, plant that front wheel onto an object. Next, while lifting your weight and rolling your wrists aggressively jab the bars forward. If done right, the jab motion will force your front wheel over the object and lift your rear wheel up onto it. With the front wheel over the object and your rear wheel on it, let off the brakes and simply roll on.

Like learning to descend, ride rocks, or any other riding skills, the bunny hop is a skill you should slowly build. Start on small objects and work within your comfort zone, maintaining control all the time. After a few months of practice, you will find that you can bounce around the trail like a bunny.

With hundreds of custom bike builders in the US, and hundreds more spread across globe, how do you pick the right builder?

MinneCycle: Show Review and Why Buy a Custom Bike?

by John Brown, HaveFunBiking

With hundreds of custom bike builders in the US, and hundreds more spread across globe, how do you pick the right builder? Start with shows like Minnecycle, and when possible and have a conversation.

Minnecycle enjoyed its fifth year this past weekend in the world headquarters of Peacock Groove. Peacock Groove, in Minneapolis, is home to one of Minnesota’s most prolific bike builders, Eric Noren. Minnecycle displayed handmade bicycles from over a dozen other custom builders. Although the location is not a showroom, but rather a basement workshop, the setup created a gallery feel while still being welcoming. A location like this would be a hindrance for many groups but those who run Minnecycle are not your typical group. The workshop displayed bikes in every state of assembly, as a visual lesson on how a custom bike is built. Minnecycle can only be described as an unmitigated success. The attending builders were friendly, the feel was casual, and the work was outstanding. With a show this good, the only question left is “why buy a custom bike”?

Great Space, Cool custom bikes, and even Eric in mid-build

In Custom Bike Considerations, Size and Specificity

Custom bikes are great for riders that need something custom. I realize that statement sounds redundant and silly, but it really is the best way to define it. For instance, riders who have unique body types don’t fall into standard sizes bikes. As an example, it’s common for some riders to have a longer torso than the prototypical body type. These riders need a bicycle with a longer top tube than what is available on a standard bike.  However, a custom bike built with a longer top tube gives them the proper reach. Additionally, if a rider has unique needs, custom builders can make a bike to fit those needs. Many custom builders focus specifically on bicycle types not available through mass production. Great examples of these bikes are Cargo bikes, Adventure bikes, and utility tricycles, Hand Trikes, and Recumbent bicycles.

Quality and Craftsmanship

Being a professional custom builder is as much a calling as it is a profession. Although builders come from widely varying backgrounds, a few traits seem to be universal. Most builders are mechanically inclined, problem solvers, and are exceedingly detail oriented. Outside of those traits, a professional builder has the experience of building hundreds of bikes. So, when buying a custom bicycle, you are getting the cumulative experience and natural talents of a builder. Additionally, through every step of construction, your bike will be painstakingly reviewed for quality and alignment. That level of quality is not possible at a mass-produced level. While massed produced bikes are great, the attention to detail, quality control, and experience of a custom builder adds up to a truly uniquely riding bicycle.

Appleman builds custom bikes by positioning each piece of carbon fiber by hand to ensure the best possible ride quality.

Finding the right builder for you

Like Minnecycle, try reaching out to them digitally if you can’t meet them in person. Most builders are very accessible through email and social media. Find builders who are already making bikes similar to what you want. Ultimately, you are looking for a builder that you can get along with.

You don’t need to be a mountain biker to have a bike crash, after all, accidents happen. Be sure to take a few moments post-crash to inspect your bike.

Bike Crash: What to Look for and Inspect After the Unexpected

by John Brown, HaveFunBiking

I love the feeling of riding bikes. I don’t know if it’s the freedom, the movement, or the ability it gives me to clear my head, but I can’t imagine enjoying any other sport more. As a mountain biker, that tranquil feeling is sometimes interrupted by an unexpected bike crash. While crashing my bike isn’t something I enjoy, I realize that as I try to push my boundaries, a bike crash is a real possibility. You don’t need to be a mountain biker to have a bike crash, after all, accidents happen. However, if you find yourself spontaneously dismounted from your bike, be sure to take a few moments post crash to inspect your bike.

Body, Mind, and Helmet Inspection After a Bike Crash

Nothing on your bike is more important than you. It’s tempting to jump right up after a bike crash, but take a few moments to assess yourself. Make sure your joints (particularly knees and wrists) feel and function okay. Follow that up by looking for any cuts that might need attention. Finally, remove your helmet and check to see if there are signs of impact. If there are, seek medical attention.

Wheels

After you have deemed yourself okay, pick up your bike and spin each wheel independently. Look for any wobbles or dents in the rim. Also, look to see if the tire has come unseated from the rim. Sometimes you may not be able to see a slight wobble in the rim, but you can hear the rim hit the brake pad as it rotates if you listen closely. Slight wobbles can be fixed later (as long as the brake pads aren’t hitting the tire) but larger ones will leave you calling for a ride home. If you have AAA for your car, they now offer a bike pickup service as well.

Bars and Seat

Once you have checked the wheels, make sure that the bars and seat on your bike are still straight. Look down over your handlebars and make sure they are in line with the front wheel and level. Next, look down the length of your saddle and make sure it is in line with your bike and not bent down to one side or another. If you see any bending in the seat or handlebars, it’s best to take the bike into your shop and have those parts replaced. You may see some scuffing on the side of your saddle or the end of your handlebar grips. That scuffing is a good indication that your seat or bars made a hard contact with the ground and could need replacement.

Derailleurs

Before you ride away, look at your rear derailleur from the back of the bike. The top and bottom pulley should be in line with the cog above it. If it is bent inward, do not ride the bike. A bent derailleur will still hold the chain on the gears, but as you shift into a lower gear, it will get caught in your wheel. This scenario usually leads to a destroyed derailleur and can even result in a destroyed bike.


Frame

Look at the frame and inspect each tube carefully. You are looking for any dents (on metal bikes) or cracks (on metal and carbon frames). If you see damage to the frame, have it checked at your local shop before you continue to ride it.


Brakes

The last thing to check is the brakes. Make sure they operate properly by spinning the wheels and inspecting where the pad hits the rim. If the pads hit the tire, adjust the brake before riding away. A brake pad can make quick work of a tire, leaving you in a far worse situation.

Follow up

For the next few rides, be sure to pay close attention to how you feel and how the bike feels. I have had injuries appear days after a crash. Similarly, my bike has sustained damage that I missed upon my initial inspection. Listen for strange noises coming from the bike, or any change to the way the bike handles.

For many, the fun of mountain biking is going down hill. So how do you descend with speed and confidence? Find out here!

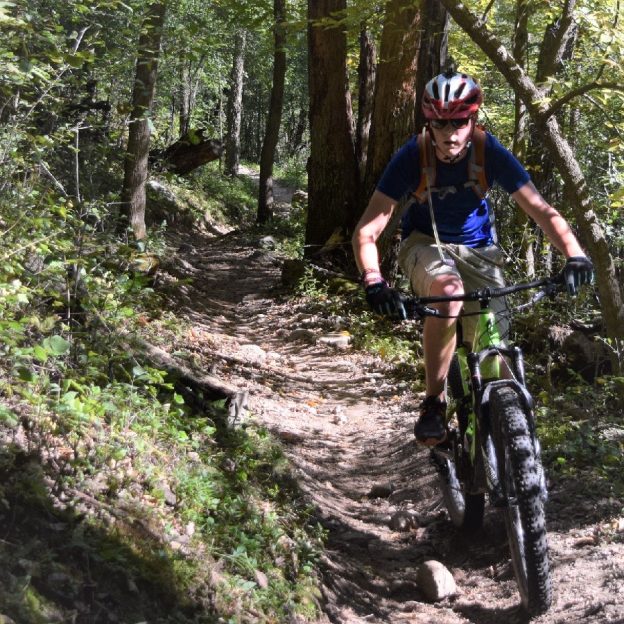
Mountain Bike Hacks: How to Descend with Speed and Confidence

For many, the fun of mountain biking is going down hill. So how do you descend with speed and confidence? You will find it is as easy as controlling your weight, position and growing skills.

Weight Distribution

Weight distribution is the most important thing to focus on when descending. The inaccurate explanation of this is to “lean back” when heading downhill. In reality, by “leaning back”, you extend your arms completely and “hanging” on the handlebar. As you descend, if your arms are extended completely and the front end needs to drop, you will get pulled forward and potentially pitched over the bar.

For many, the fun of mountain biking is going down hill. So how do you descend with speed and confidence?

For many, the fun of mountain biking is going down hill. So how do you descend with speed and confidence?

An easy trick to controlling your weight is to consider how much pressure is on your pedals. Rather than keeping even weigh distribution between your bars and pedals, concentrate most of your weight on the pedals. As you initially get used to this concept, I find it useful to imagine what would happen if a genie magically came by and made your bike disappear mid ride and you were left to land on the ground. Would you land on your feet or your hands?

Once you get your weight distributed onto your pedals, you can easily move your body forward and back over the bike as the situation requires. While moving your weight around, you will find it is easier to do if you first get your weight into as low a position as possible.


Position

While most bikes have suspension, your arms and legs offer better suspension than any shock. By bending your knees and elbows It is easy to get into a low position and absorb trail shock. Additionally, beyond well bent joints, concentrate on looking ahead rather than down. If you look down, you lose vision of what is coming down the trail and you bend your back into a poor riding position (see image). By contrast, looking forward will naturally put your chest out and hips down, and grant you more time to see obstacles and correct. Finally, having a comfortable bend in your arms and legs, will allow you to be loose on the bike. Loose means you can let the bike move freely beneath you without affecting your position. Other than being low, balanced, and loose, you need to practice a few things to build your skills.


Skills

By bending your knees and elbows It is easy to get into a low position and absorb trail shock, while descending.

By bending your knees and elbows It is easy to get into a low position and absorb trail shock, while descending.

The number one skill is to ride in straight lines. While descending, you have more speed and less traction,therefore, trying to make hard or quick turns becomes increasingly difficult. When entering a descent, look ahead and setup as straight a path as possible, going over obstacles rather than around them. When you do plan to turn, try to control your speed before the turn and lay off the brake while making the turn. To do this, find areas that are smooth to apply the brakes and try to avoid skidding. Remember that if your wheels are skidding, you have lost traction and the ability to stop under control. Moreover, if your wheels are skidding, they will continue to skid even if the ground becomes smooth. An easy trick to help you brake comfortably, is to place your brake levers in an easily accessible place.

Bike setup

One trick that helps with position, braking and weight disbursement is a higher lever position. A common incorrect brake lever position is based on a normal seated riding position rather than the descending position. The levers should be set so that you can reach out and access them easily with your weight low and elbows bent. This will look higher than what you are used to (see image). The reason this is helpful is best explained by what happens if the levers are positioned incorrectly (low). If the levers are low, you will naturally roll your wrists over the bar when reaching for the brake. This lifts your weigh, locks your arms, and positions you too far forward.

Another way to get your weight low, is by installing a dropper post. Dropper posts allow the rider to remotely lower their saddle height. A lower saddle height lets you get your weight lower, easier. Once you need your saddle up again, just hit a button and its back in place.

Ride within your skills

I don’t encourage you to find the steepest, rockiest pitch to practice these skills on. When practicing these new skills, use descents of trail that you are comfortable with. The descents that you are already doing with relative ease are the places to practice new skills. Once you become comfortable with weight and position, try some new places and slowly work your way up to difficult terrain.

Happy Friday! It's the last Friday in February! So a Positive Sign BIG thumbs-up to everyone for making through month two of 2017!

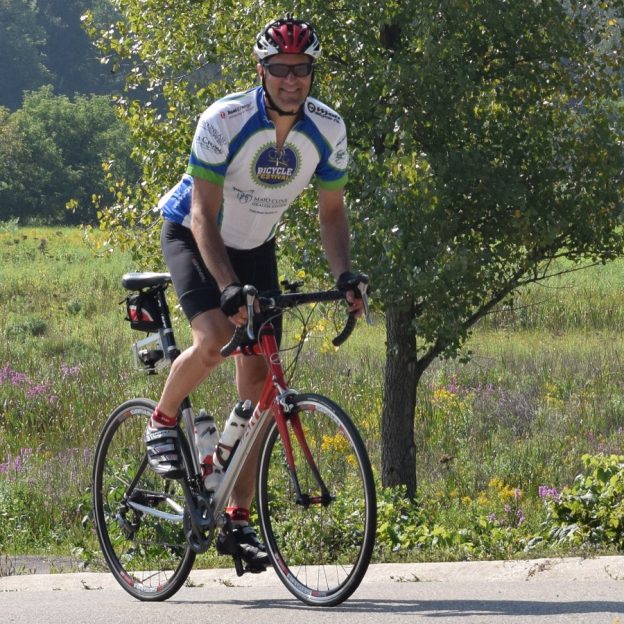
Bike Pic Feb 24, A Positive Sign, You’ve Made It Just About Two Month Into 2017

Happy Friday! It’s the last Friday in February! So a Positive Sign or thumbs-up to everyone for making it through the second month of 2017! Have you accomplished any goals you’ve set for this year?

Did you take advantage of the amazing weather, minus a few icy days, we have had this winter season? Shout it out! We’d love to hear from you!

Planning your #NextBikeAdventure? View the new Minnesota Bike/Hike Guide and remember to register for the Root River Bluff & Valley Bicycle Tour.

Thanks for viewing Today’s Positive Sign Thumbs-up Friday Bike Pic

Now rolling into our 10th year as a bike tourism media, our goal is to continue to encourage more people to bike and have fun. While highlighting all the unforgettable places for you to ride. As we continue to showcase more place to have fun we hope the photos we shoot are worth a grin. As you scroll through the information and stories we have posted, enjoy.

Do you have a fun bicycle related photo of yourself or someone you may know that we should post? If so, please send your picture(s) to: [email protected]. Include a brief caption (for each), of who is in the photo (if you know?) and where the picture was taken. Photo(s) should be a minimum of 1,000 pixels wide or larger to be considered. If we do use your photo, you will receive photo credit and acknowledgment on Facebook and Instagram.

As we continues to encourage more people to bike, please view our Destination section at HaveFunBiking.com for your next bike adventure – Also, check out the MN Bike Guide, now mobile friendly, as we enter into our 8th year of producing the guide.

So bookmark HaveFunBiking.com and find your next adventure. Please share all our picks with your friends and don’t forget to smile. We may be around the next corner with one of our camera’s ready to document your next move while you are riding and having fun. We may capture you in one of our next Pic of the Day posts.

Have a great day!

If you worried about falling off the bike, you'd never get on.

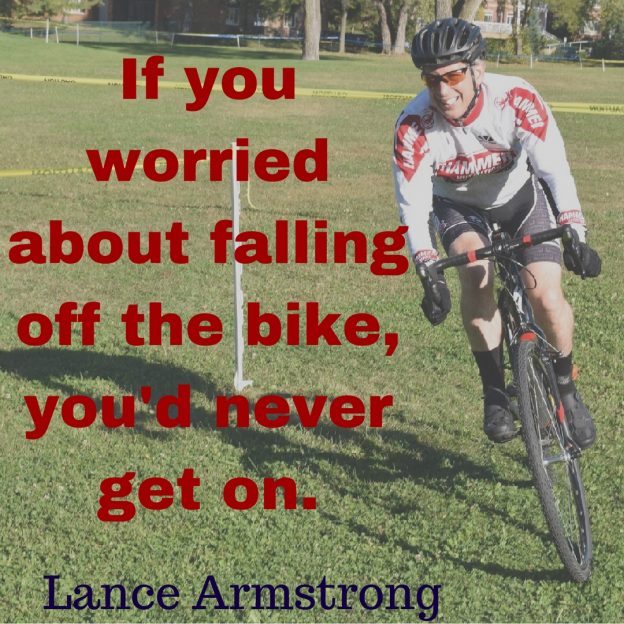
Bike Pic Feb 23, Stop Being Worried Of What Can Happen and Start Doing Something

Lance Armstrong once said, “If you worried about falling off the bike, you’d never get on.” This quote can be related to every aspect of your life and not just biking. So get out there today and forget about your worries.

Planning your #NextBikeAdventure? View the new Minnesota Bike/Hike Guide and remember to register for the Root River Bluff & Valley Bicycle Tour.

Thanks for viewing Today’s Stop Being Worried Bike Pic

Now rolling into our 10th year as a bike tourism media, our goal is to continue to encourage more people to bike and have fun. While highlighting all the unforgettable places for you to ride. As we continue to showcase more place to have fun we hope the photos we shoot are worth a grin. As you scroll through the information and stories we have posted, enjoy.

Do you have a fun bicycle related photo of yourself or someone you may know that we should post? If so, please send your picture(s) to: [email protected]. Include a brief caption (for each), of who is in the photo (if you know?) and where the picture was taken. Photo(s) should be a minimum of 1,000 pixels wide or larger to be considered. If we do use your photo, you will receive photo credit and acknowledgment on Facebook and Instagram.

As we continues to encourage more people to bike, please view our Destination section at HaveFunBiking.com for your next bike adventure – Also, check out the MN Bike Guide, now mobile friendly, as we enter into our 8th year of producing the guide.

So bookmark HaveFunBiking.com and find your next adventure. Please share all our picks with your friends and don’t forget to smile. We may be around the next corner with one of our camera’s ready to document your next move while you are riding and having fun. We may capture you in one of our next Pic of the Day posts.

Have a great day!

I don't focus on what I'm up against. I focus on my goals and I try to ignore the rest.

Bike Pic Feb 17, Focus On Yourself, Your Goals Are Worth More

“I don’t focus on what I’m up against. I focus on my goals and I try to ignore the rest.”- Venus Williams. Don’t lose focus on yourself this Friday. When you let others get to you, you lose your focus and you get off track.

Planning your #NextBikeAdventure? View the new Minnesota Bike/Hike Guide and remember to register for the Root River Bluff & Valley Bicycle Tour.

Thanks for viewing Today’s Focus on Yourself Bike Pic

Now rolling into our 10th year as a bike tourism media, our goal is to continue to encourage more people to bike and have fun. While highlighting all the unforgettable places for you to ride. As we continue to showcase more place to have fun we hope the photos we shoot are worth a grin. As you scroll through the information and stories we have posted, enjoy.

Do you have a fun bicycle related photo of yourself or someone you may know that we should post? If so, please send your picture(s) to: [email protected]. Include a brief caption (for each), of who is in the photo (if you know?) and where the picture was taken. Photo(s) should be a minimum of 1,000 pixels wide or larger to be considered. If we do use your photo, you will receive photo credit and acknowledgment on Facebook and Instagram.

As we continues to encourage more people to bike, please view our Destination section at HaveFunBiking.com for your next bike adventure – Also, check out the MN Bike Guide, now mobile friendly, as we enter into our 8th year of producing the guide.

So bookmark HaveFunBiking.com and find your next adventure. Please share all our picks with your friends and don’t forget to smile. We may be around the next corner with one of our camera’s ready to document your next move while you are riding and having fun. We may capture you in one of our next Pic of the Day posts.

Have a great day!

Somethings in life are a race, like this pic, but life itself is not a race.

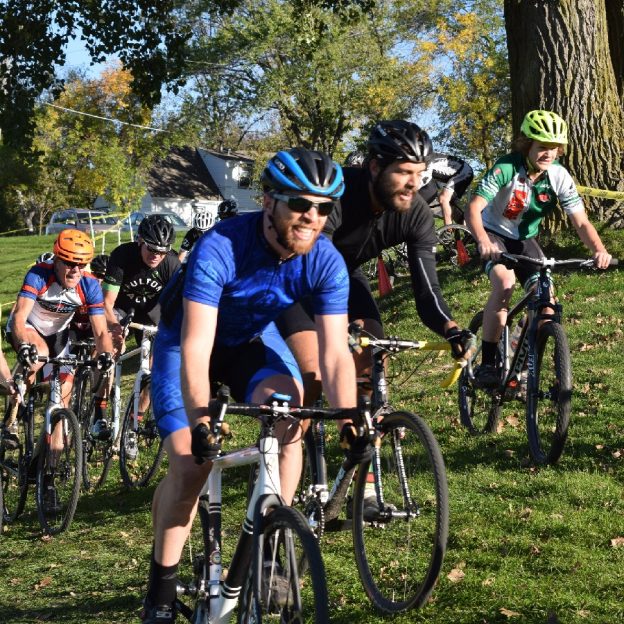
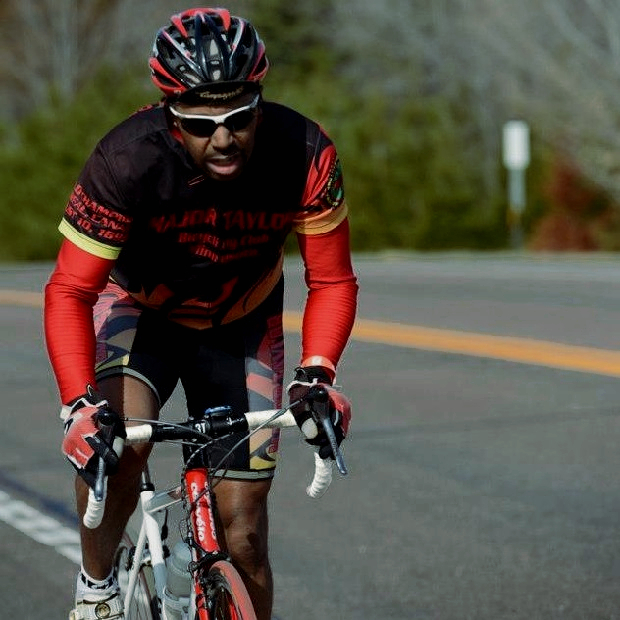
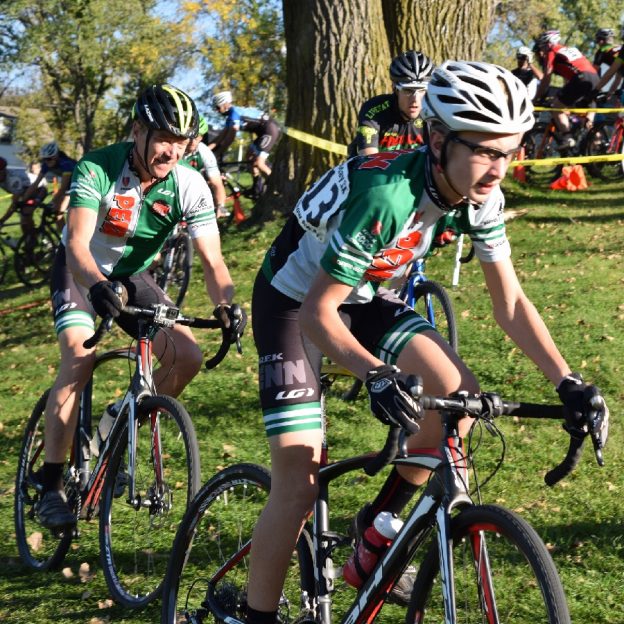
Bike Pic Feb 13, Life Is Not A Race, Slow Down And Enjoy It

Sometimes life is a race like the riders in this pic, but life itself should not be. It’s better to slow down and enjoy it then to speed by and miss all the beautiful things the surroundings around you has to offer. You only have one life, so make the most of it!

Planning your #NextBikeAdventure? View the new Minnesota Bike/Hike Guide and remember to register for the Root River Bluff & Valley Bicycle Tour.

Thanks for viewing Today’s Life Is Not A Race Bike Pic

Now rolling into our 10th year as a bike tourism media, our goal is to continue to encourage more people to bike and have fun. While highlighting all the unforgettable places for you to ride. As we continue to showcase more place to have fun we hope the photos we shoot are worth a grin. As you scroll through the information and stories we have posted, enjoy.

Do you have a fun bicycle related photo of yourself or someone you may know that we should post? If so, please send your picture(s) to: [email protected]. Include a brief caption (for each), of who is in the photo (if you know?) and where the picture was taken. Photo(s) should be a minimum of 1,000 pixels wide or larger to be considered. If we do use your photo, you will receive photo credit and acknowledgment on Facebook and Instagram.

As we continues to encourage more people to bike, please view our Destination section at HaveFunBiking.com for your next bike adventure – Also, check out the MN Bike Guide, now mobile friendly, as we enter into our 8th year of producing the guide.

So bookmark HaveFunBiking.com and find your next adventure. Please share all our picks with your friends and don’t forget to smile. We may be around the next corner with one of our camera’s ready to document your next move while you are riding and having fun. We may capture you in one of our next Pic of the Day posts.

Have a great day!