Category Archives: News

Winona’s scenic bluffs offer a new twist for mountain bikers

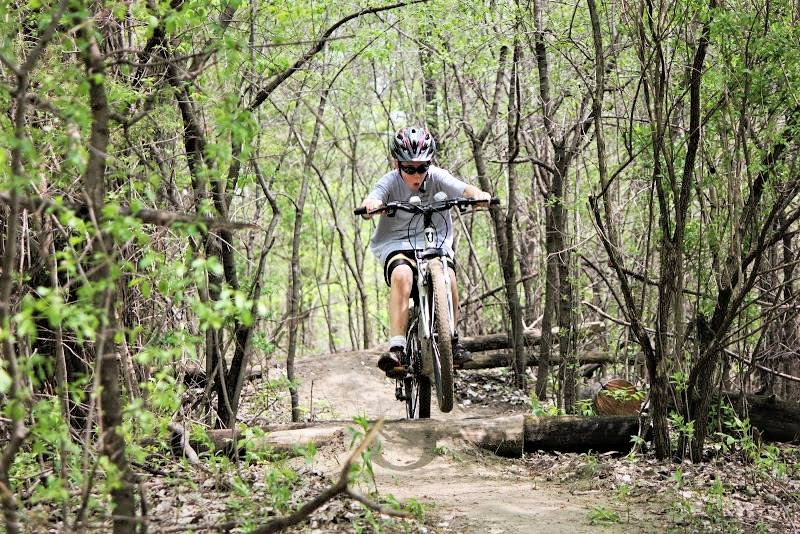
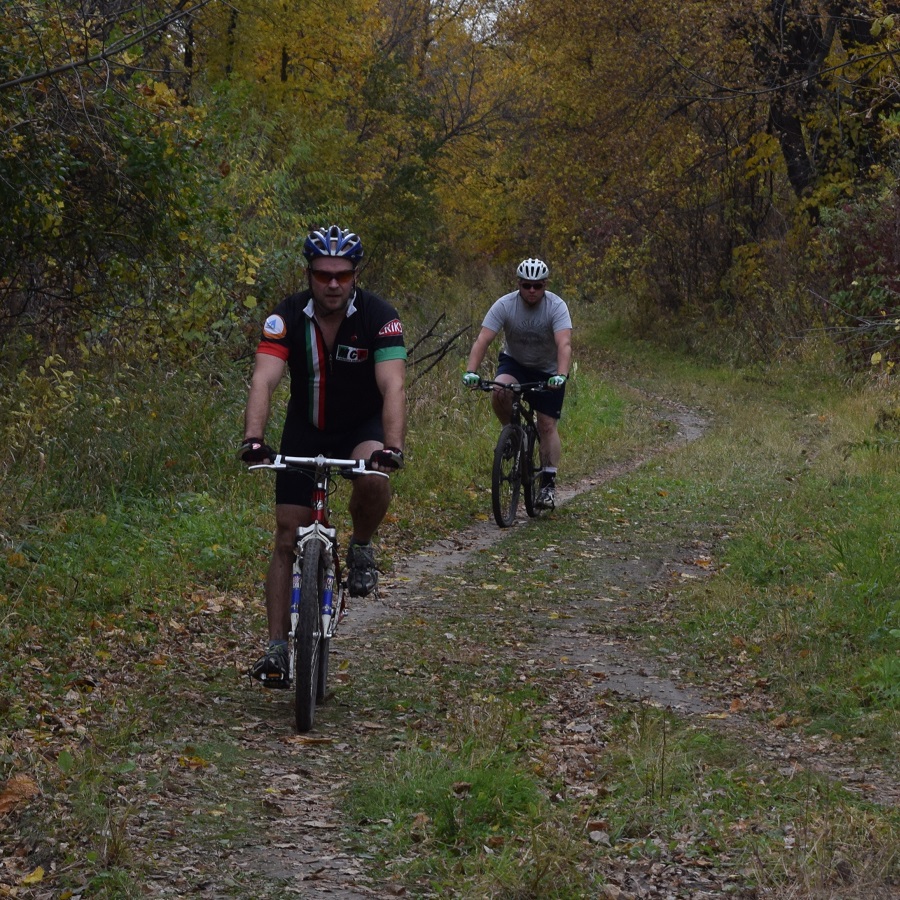
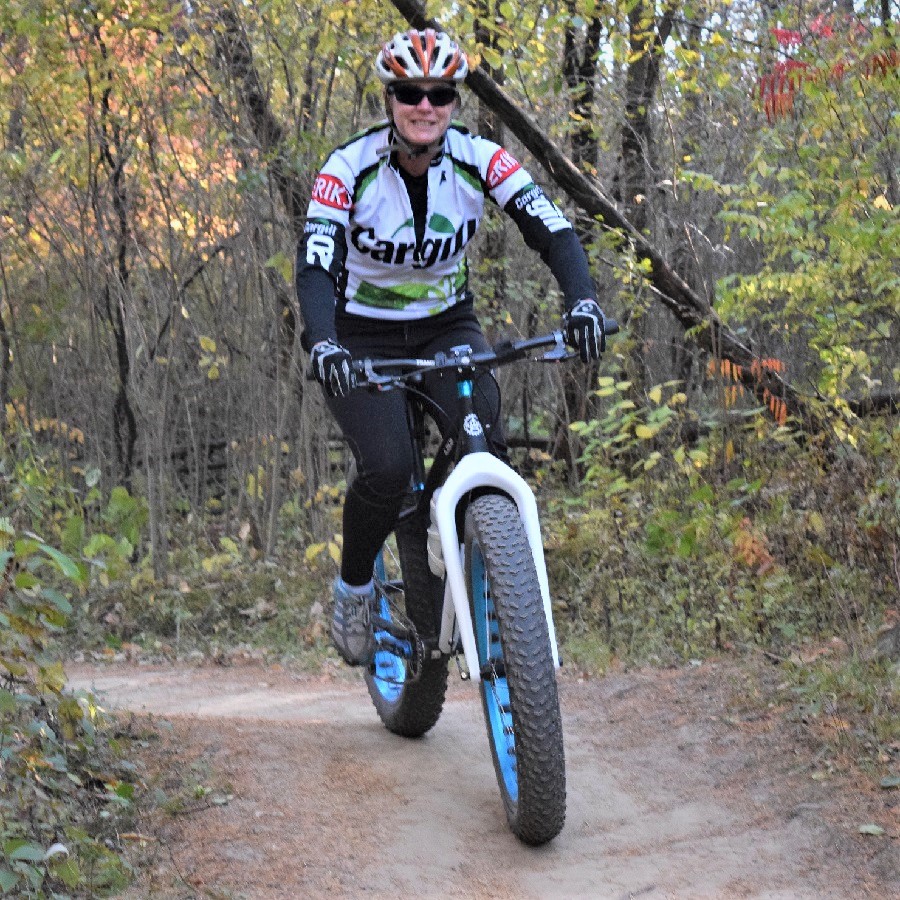
It’s a great place to shred some trails. Enjoy the new mountain bike trail system in Bluffside Park, overlooking Winona, MN. The park offers over five miles of switchback trail fun above this historic river town. The mountain bike park opened in November, showing spectacular views of the scenic Mississippi River Trail in Minnesota’s Driftless Area.
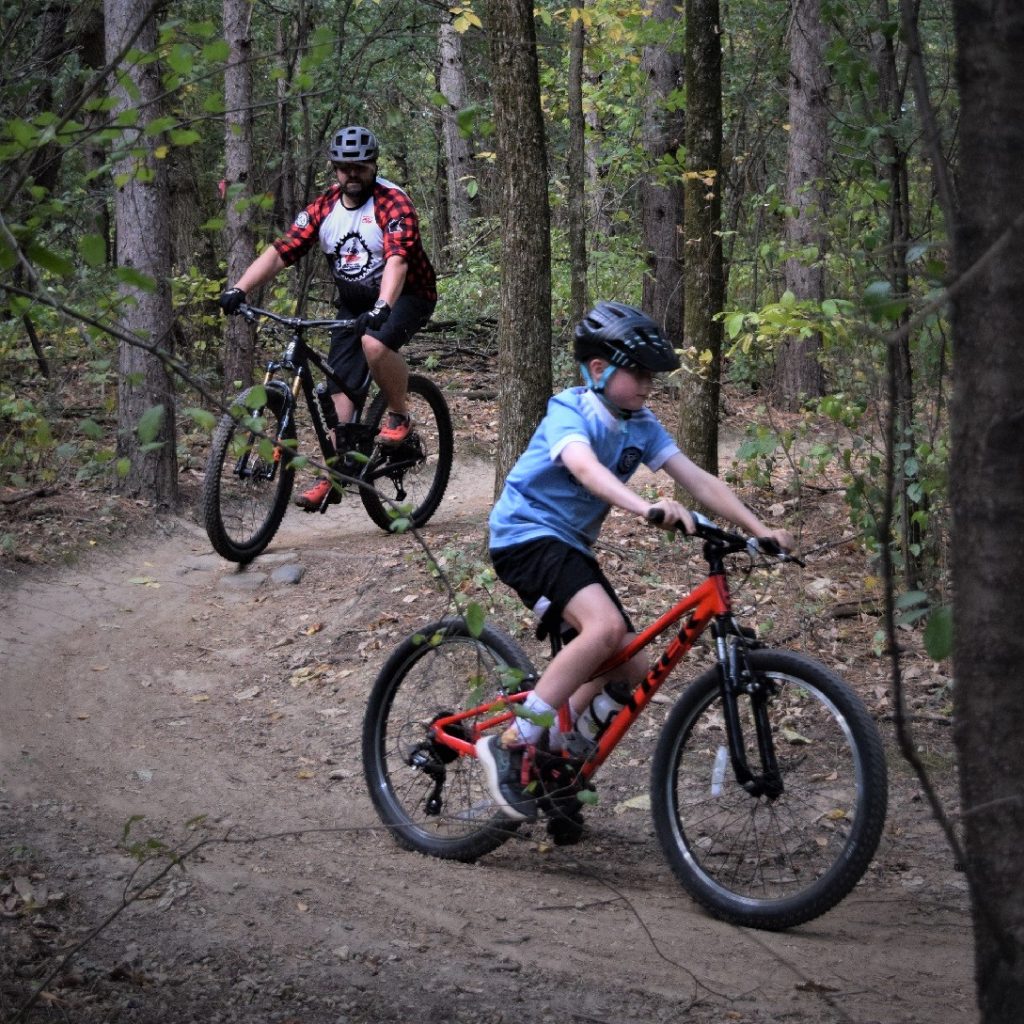
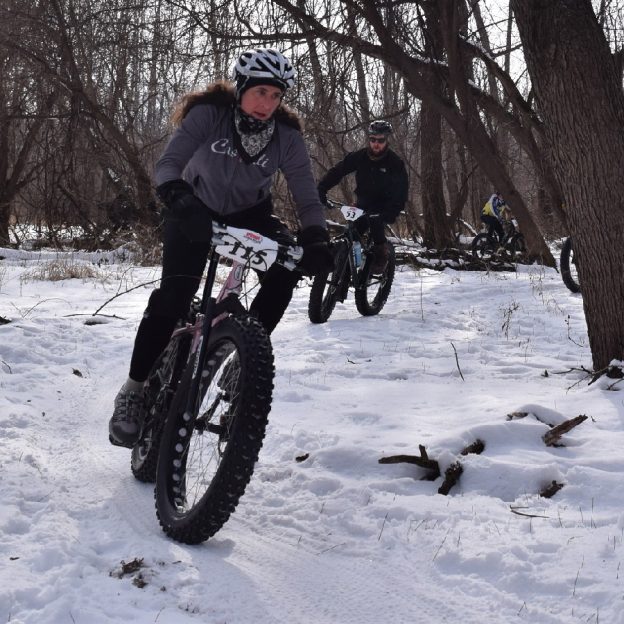
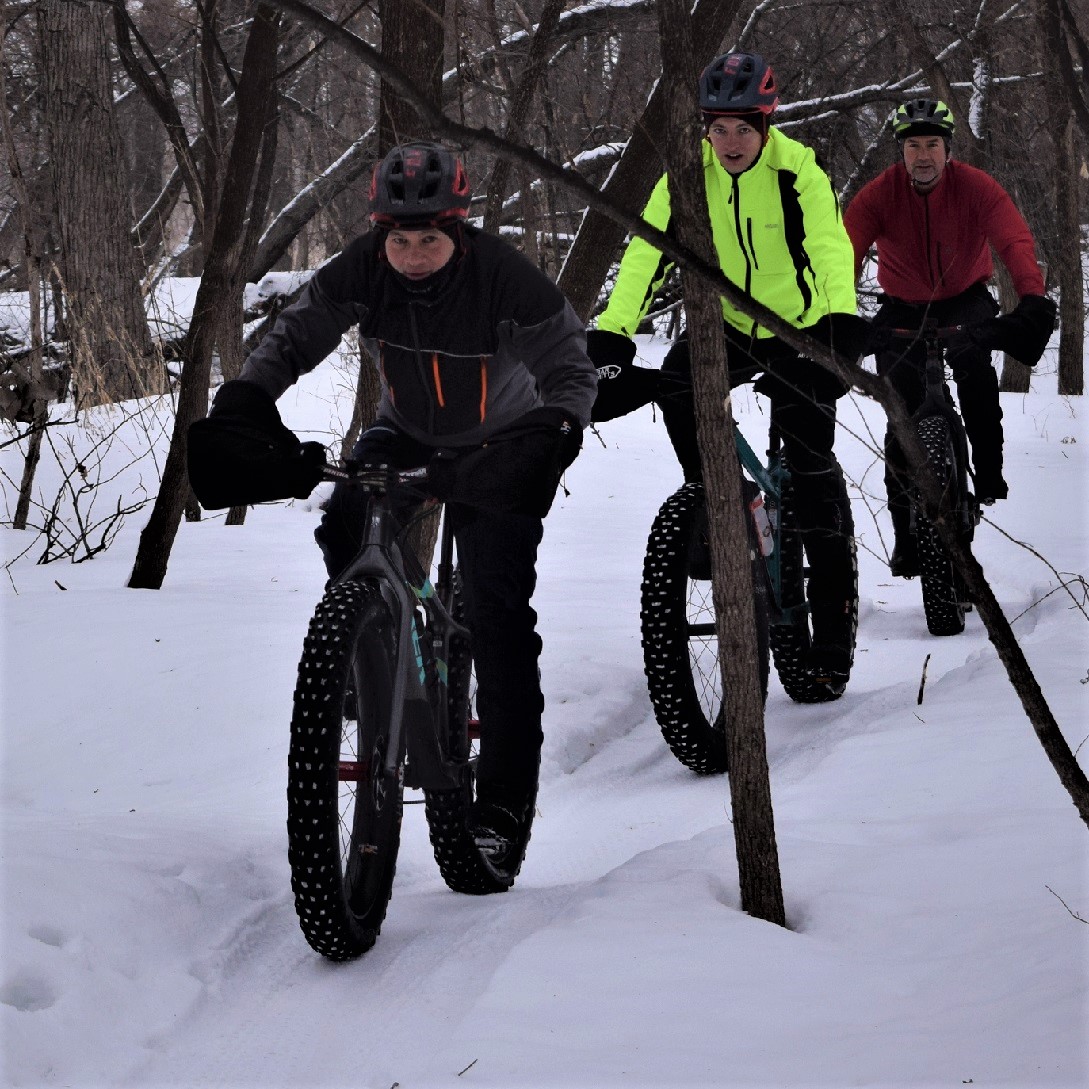
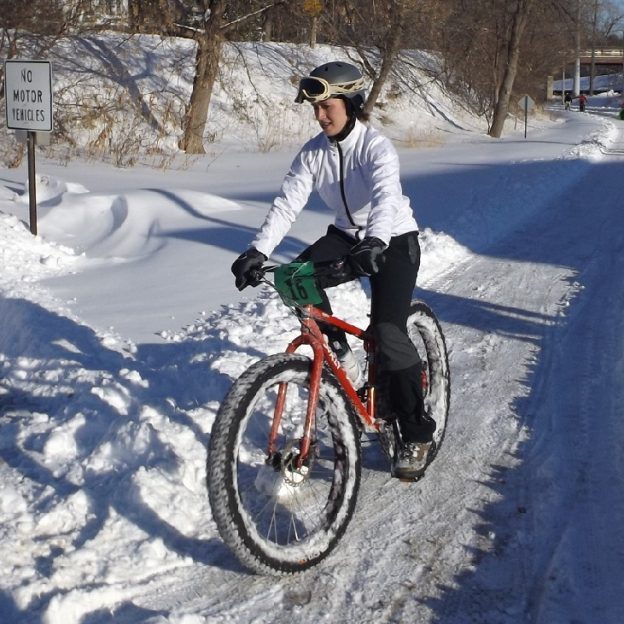
Two of the four new Bluffside Park trails are exclusively for mountain bikers, with two others multipurpose. Winter snow promises to bring out fat bikers and snowshoers alike. And as soon as we have enough snow on the ground, I plan to check out the new trail to share more with you.
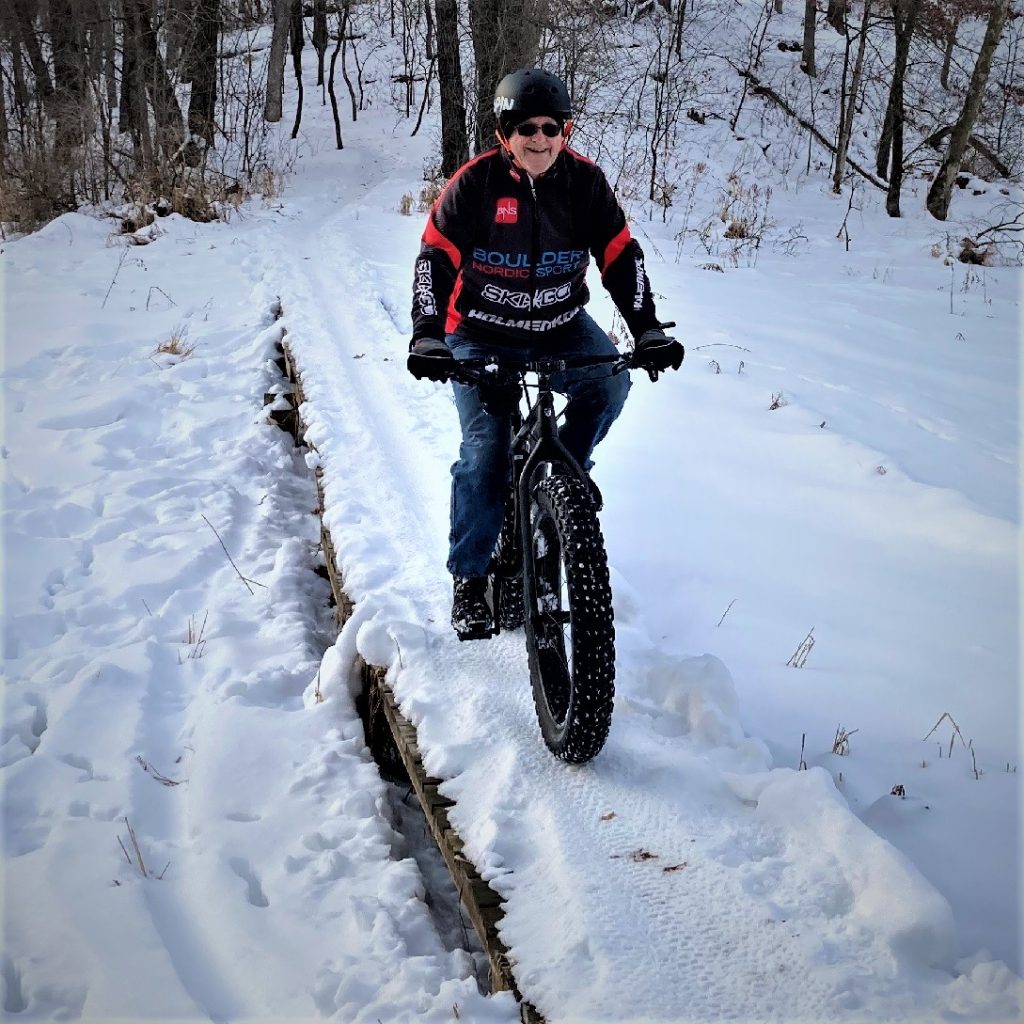
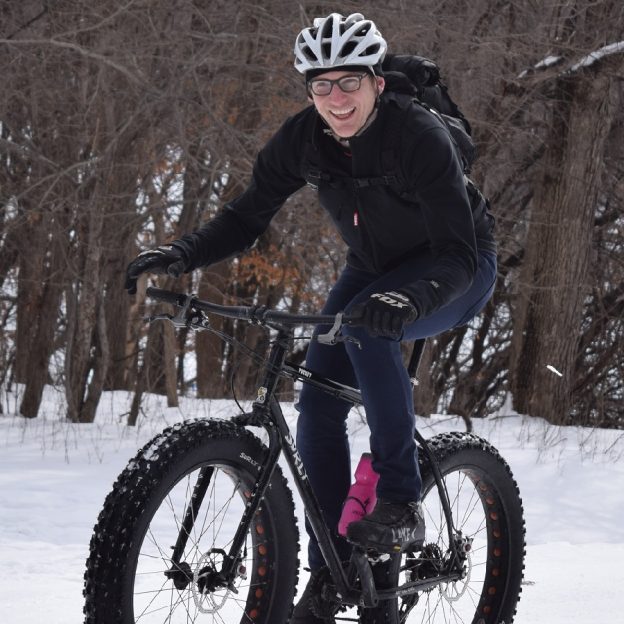
HFB editor is ready for snow!

Winona’s scenic bluff trails

This area of Bluffside Park provides ideal terrain for snowboarding, skiing, and snowshoeing, all just a short walk from the Holzinger Lodge parking lot. The switchback paths leading up the bluff side are perfect for winter hiking and snowshoe excursions under wintery conditions. Bluffside Park is Winona’s one-stop winter recreation oasis.

More on the trails of Winona’s scenic bluffs

According to a recent article in the Minneapolis Star & Tribune by Bob Timmons. Winona’s new mountain biking trails bring southern exposure to a cycling scene more apt to produce headlines in central and northern Minnesota parks at systems such as Cuyuna Country, Tioga, and Redhead in northern Minnesota.

Fun anytime, biking around Winona

Sheldon Morgan discovered the sport of mountain biking in the late 1980s and has been doing it ever since. Now, he rides his mountain bike and organizes rides here in Winona.

Trails can be a great therapy for kids when visiting the area. According to Sheldon Morgan, mountain biking could be great therapy for kids who’ve lost touch with their roots and with nature. “There’s a lot of stress on teenagers these days. It’s higher than ever because of social media and access to all kinds of media,” he said. “They need to re-engage with the world.”

Sheldon points out that parents and peers can do a lot to encourage kids, maybe by first getting on a bike. “The city has to provide the infrastructure, but parents and peers bring kids in.” That’s how he learned. “My whole family was very active in outdoor sports. It’s in my DNA, I think?”

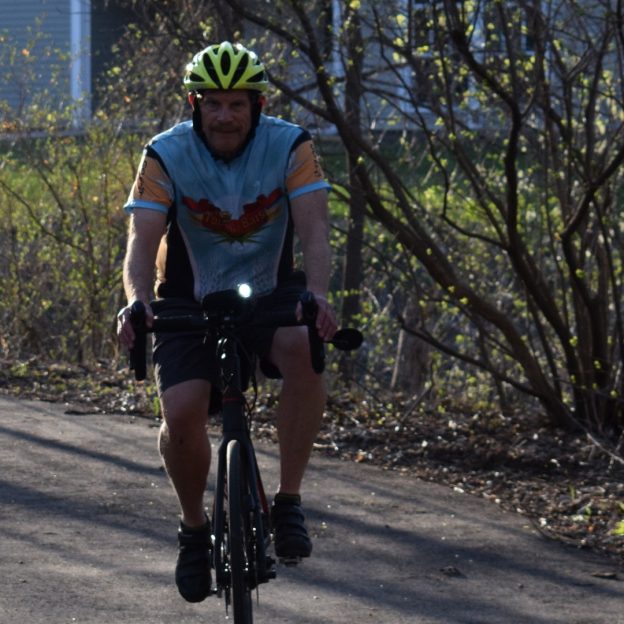
Sheldon commutes 20-mile round trip with his everyday bike.
Sheldon on a recent commute when not mountain biking.

He and his 26-year-old ride together, as they have for years. They go on mountain bike journeys together, riding and camping and taking a break occasionally for rock climbing.
Biking, rock climbing, running, and kayaking — he loves it all. “And it’s all right here in Winona!” he exults.

Come for the trails, see the views, then stay stay for the hospitality.
Come for the trails, see the views, then stay for the hospitality.

Located in Southeast Minnesota along the Mississippi River, the city is a very comfortable place to explore on two wheels. Don’t miss the fun throughout the year. Check out the www.visitwinona.com web pages to find out what’s happening.
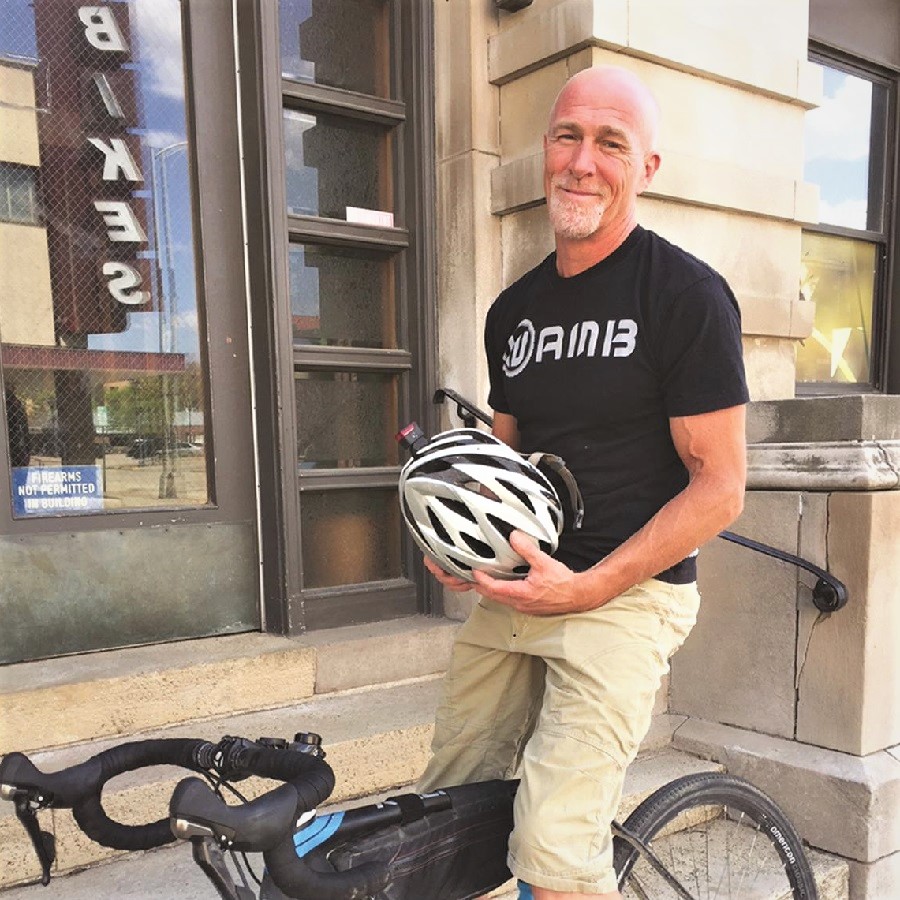
For every new bike there are bike accessories you should consider getting. Accessories will make you more comfortable, more informed, and more prepared.

Quick tips for renting a bicycle when traveling

by John Brown, 

Taking your bicycle when you travel is not always possible, but don’t give up on the idea of riding altogether. Renting a bicycle or e-bike is an easy way to experience new places. Plus, it lets you try a new bike you may want to buy when you get home. So, before you travel, here are a few tips to get you going

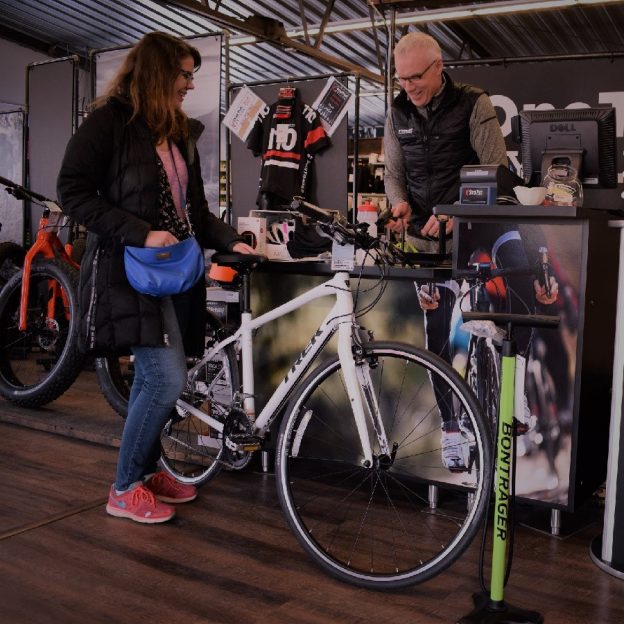
In the photo above, a visitor to the Twin Cities is being helped by the staff at One Ten Cycles in Mendota Heights, a couple of miles south of the MSP Airport.

 Renting a Bicycle At One of Many Bike Shops

As bike trails and paths become more commonplace, bike shops are entering the rental market. Before you travel, find a few area bike shops and call about renting a bicycle. Be sure to ask about both rental fleets (typically made up of basic mountain bikes, cruisers or hybrids) as well as “Demo” bikes. Many shops that don’t rent bikes have demo units to let potential buyers try before buying. The fee for a demo is usually higher than that of a standard rental, but the bicycle quality is also typically higher.

renting a bicycle bike shop

Renting a bicycle outside a bike shop

Renting a Bicycle Consider Rental Companies

In most major cities or tourist destinations, some businesses only rent bikes and e-bikes. Finding one of these companies is as easy as a Google search or asking the hotel you are staying in. Many rental companies have services to deliver a rental bike to the hotel. If you are going to the rental shop, understand they usually operate on a first-come-first-serve basis, so be sure to get there early if you are trying to ride on a busy weekend.

renting a bicycle avalon

Rental fleet

Or Bike Share Programs

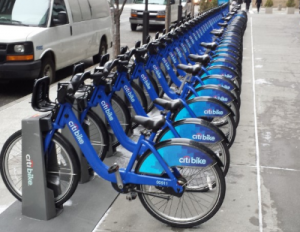
Bike shares are becoming very popular throughout the US and abroad. Companies like BCycle, and Citi bike are a couple of the companies that offer options to rent “as you go.” With tons of locations around the US, bike shares are a great option if you are touring a city. Because you can pick up a bike in one location, explore, and then drop the bike off at another docking station any time of day or night.

renting a bicycle citibike

Citi Bike docking station

Renting From A Bicycle Touring Company Is Another Option

Many bike tour companies have bike fleets. Tour companies such as Trek Travel and Backroads offer tours around the globe and supply bikes as part of the cost. The benefit of taking a dedicated tour is support. Lodging, Equipment, route, food, and guides are all included in the cost of the trip.

Getting Comfortable

The most important trick to a great bike rental experience is to ensure the bicycle is comfortable. Your own pedals, saddle, and the right size bike are great ways to start.

     -Size

If you don’t have a bike, ask for the brand and model of the bike from the rental company. Then, try to find a local bike shop that sells that model. If you stop into the shop and explain your situation, they can tell you what size you ride. As a side benefit, If you like the bike you rented, that local bike shop would be a great place to buy one to keep at home.

     -Pedals

If you use clipless pedals, remove them from your bike, drop them in a ziplock bag, store them in your riding shoes, and bring them with you. Once you get your rental bike, have your pedals installed. Having a familiar pedal can go a long way to make a new bike feel like your bike at home.

     -Position

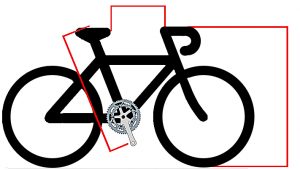
Measure your saddle height. Do this by rotating your pedals until a crank arm is in line with the seat tube of your bicycle. Use a tape measure from the top of the saddle to the middle of the pedal (in line with the seat tube). Also, measure the distance from the tip of your saddle to the handlebars and the height of your handlebars. Once you get your rental, ask to adjust it to be as close to your bike’s measurements as possible. Remember that one bike will never fit exactly like another, so close is great.

Renting a bicycle measurments

Key measurements

     -Saddle

After measuring the height of your saddle, remove it from your bike and bring it with you. Having the rental company install your saddle on the rental is a nice way to make an unfamiliar bicycle comfortable.

Have fun on your next trip

It’s amazing what you will see and experience on the seat of a bicycle when visiting a new area.

About John Brown, the author

John operates Browns Bicycle in Richfield, MN as a lifelong cyclist and consummate tinkerer. It all started for him in grade school when the bike bug bit him, and that particular fever is still there. Now, and over the past thirty years, he has worked at every level in the bike industry. He was starting by sweeping the shop floor while learning anything he could about bikes. He eventually graduated as a service manager and then a store manager. Through the years, he has spent extensive time designing and sourcing bicycles and parts for some of the largest bike companies in the world. All the while focusing on helping as many people as possible enjoy the love of riding a bike. In that pursuit, he has taught classes (both scheduled and impromptu) on all things bikes. John also believes in helping every rider attain their optimal fit on the bike of their dreams. Please feel free to stop in any time and talk about bikes, fit, and parts or share your latest ride. You can also see more of John’s tricks and tips on the Brown Bicycle Facebook Page.

Minnesota River bottoms, a fun year-round trail network

by John Brown, 

Famous for mountain biking, hiking, fishing, and bird watching, the Minnesota River Bottoms in Bloomington MN are some of the last natural trails in the Twin City metro. At the Bloomington Ferry Bridge site, you will find one of three starting points for many outdoor adventures along the river.

Trailhead locations and the Bloomington Ferry Bridge history

You have the option to cross under three bridges by riding the trails here along the Minnesota River. The first is the Bloomington Ferry Bridge. Started in the summer of 1849, the Bloomington Ferry began operations next to the Minnesota River bottoms. It carried people from the Bloomington shores to Shakopee. Exactly 40 years later, the first Bloomington Ferry Bridge was opened. Carrying people, carriages, and motorists across the river for over 100 years.  No longer open to auto traffic, the trailhead here on the west side of Bloomington is a good starting point.

The two other trailheads are down steam from the Ferry Bridge. The next access to the trails is next to the 35W bridge. The final trailhead is at the Old Cedar Bridge site.

What are the Minnesota river bottoms?

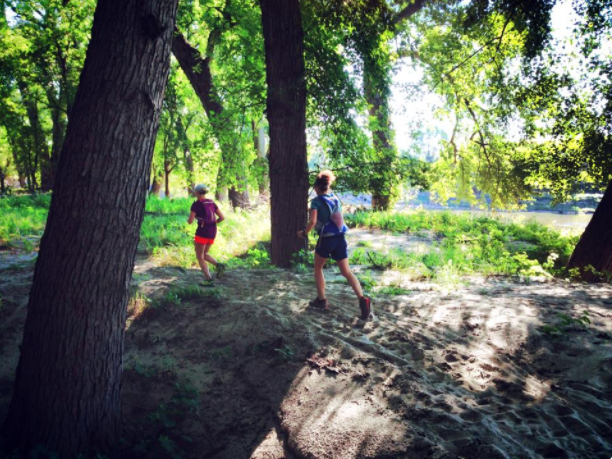
The riders, hikers, and runners who frequent the Minnesota River bottoms.

To locals, the “River Bottoms” is a trail network stretching from the southwest corner of Bloomington to the trails of Fort Snelling State Park. These trails are enjoyed by mountain bike riders and runners who frequent them. While under the jurisdiction of the National Park Service, they are not maintained by any government entity and often take on a “path of least resistance” or direction. It is not uncommon for new tracks to spring up after heavy rains and high river flooding. While riding, expect dirt trails exclusively with some log crossings, sand sections, and occasional overgrowth. Warning: in the summer, pay particular attention to the Urtica Dioica plants, or stinging nettles, growing on infrequently used trails.

Wildlife of the Minnesota River Bottoms

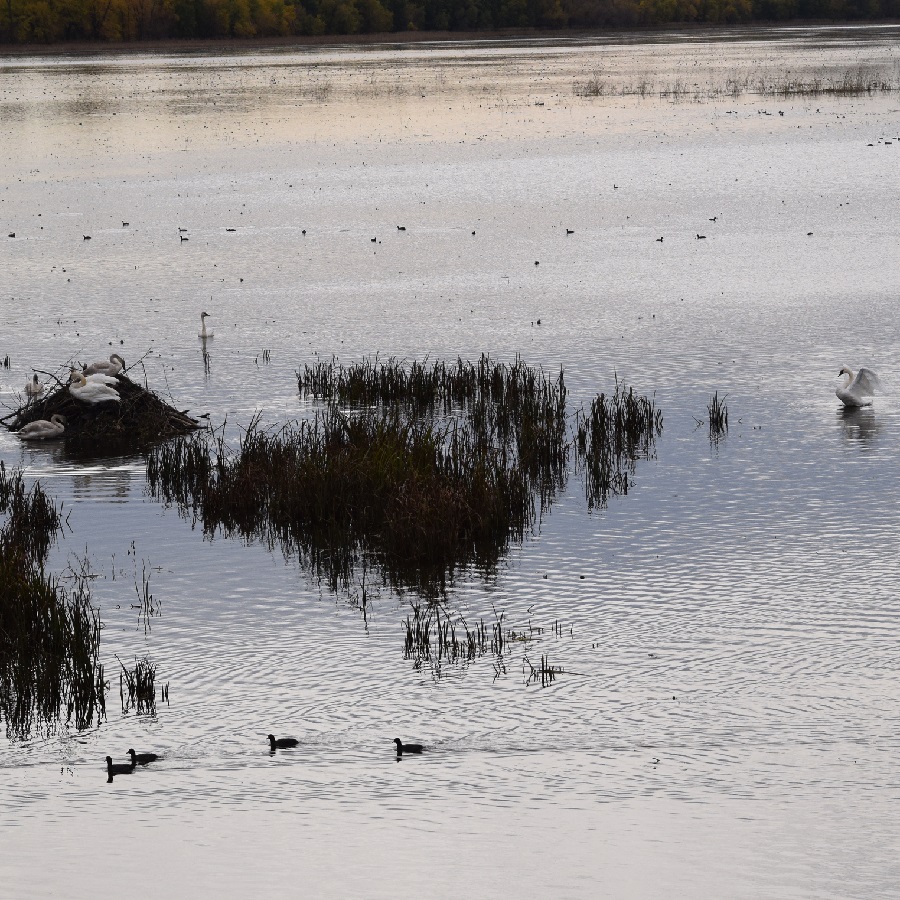
Bikers, birdwatchers and hikers can enjoy the wildlife sightings along the banks of the Minnesota River.

Bikers, birdwatchers, and hikers can enjoy wildlife sightings along the banks of the Minnesota River.

The River Bottoms are great for all types of recreation. It’s not uncommon to see hikers, bird watchers, and people fishing along the banks of the Minnesota River. I have enjoyed sharing with my son the sights of Bald eagles and Beavers who make the watershed here their home. Additionally, being a natural area, the River Bottoms are home to countless animals, including white-tailed deer and mink.

What to expect

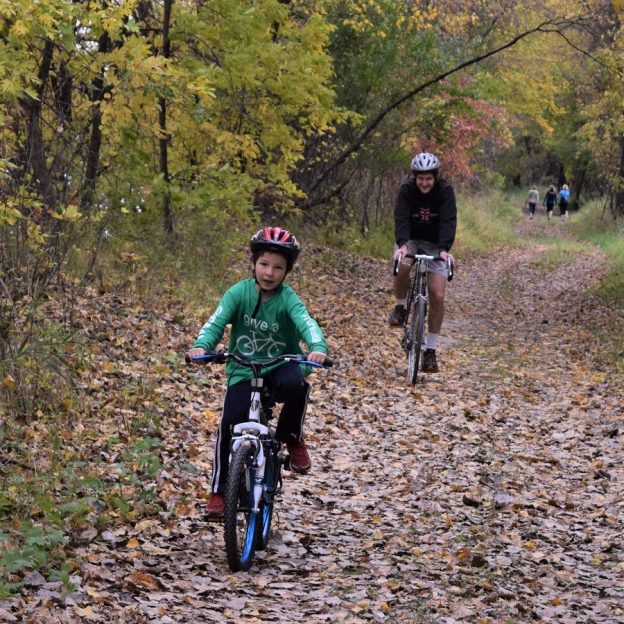
On the map are a few more popular entrances to the River Bottom trail, including Lyndale Ave, Crest Ave, and Old Cedar Ave. These entrances offer ample parking and a clear trailhead. Once you start down the course, you will see that nothing is paved but worn-in enough to be firm under your tires. Except at the Lyndale trailhead, you will find a short section of paved land heading east, perfect for walking and wheelchair use. While a mountain bike is best for unpaved trails, fat tire bikes navigate well in winter. If you need to cross a stream, there are bridges, and at the 9-mile creek in the summer months, there is a rope ferry to get you across. Because the River Bottoms are so smooth, they are an ideal place for kids to go mountain biking.

The Minnesota River bottoms are worn in by the riders, hikers, and runners who frequent them

You will find runners who frequent the natural settings of the Minnesota River bottoms.

When to ride

The Minnesota River bottoms are a natural haven for cyclists in spring, summer, winter, or fall.

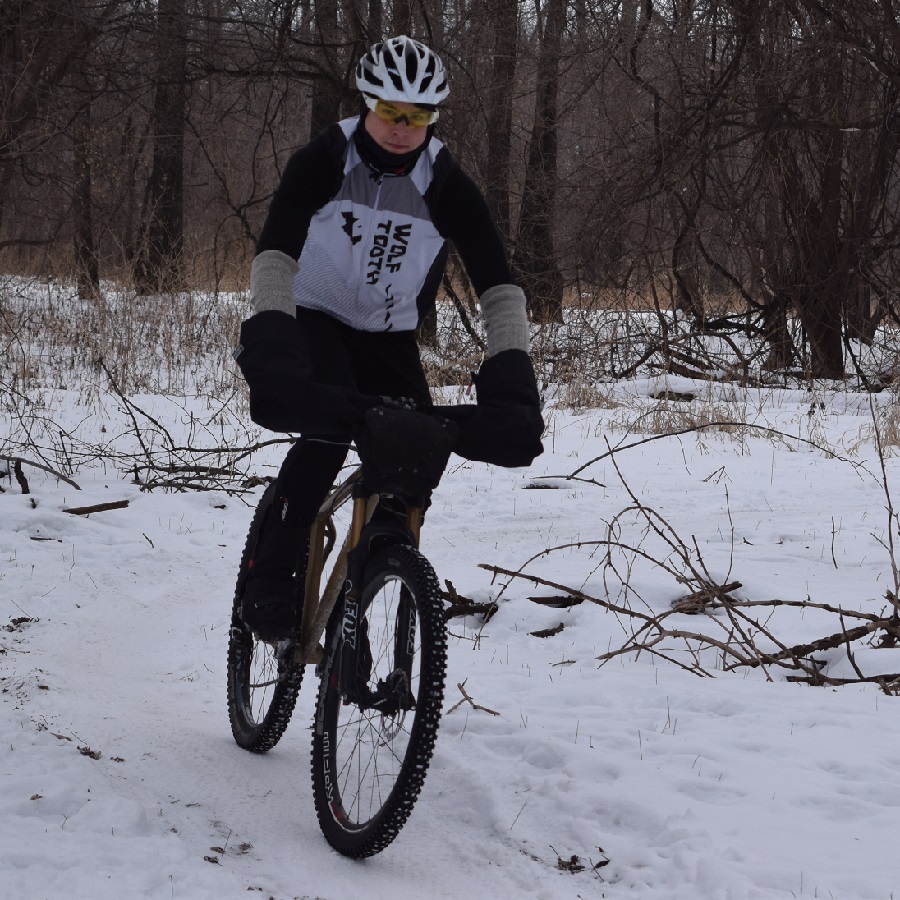
The best part of the River Bottoms is that it is one of the first places to dry out each spring. It is also one of the first places to freeze when winter rolls through. Like most off-road trails, please avoid this trail in early spring as they thaw or after heavy rain. Other than that, these trails are sandy enough to drain quickly. One of the best things about the river bottoms is riding fat bikes. Fat bikes can trace their development directly to the river bottom in the winter. When the snow falls, the river bottoms are the perfect mixture of flat trails, bermed turns, and accessibility to create a near-perfect winter track.

Living in the Twin Cities, we are lucky to have a place like the river bottoms to ride. The fact that it is left free to change and natural is unique in a metro area. You will find some of the metro’s last natural trails from the Bloomington Ferry Bridge to Fort Snelling.

About John Brown, the author

John operates Browns Bicycle in Richfield, MN, as a lifelong cyclist and consummate tinker. It all started for him in grade school when the bike bug bit, and the fever still existed. Now, and over the past thirty years, he has worked at every level in the bike industry. He is starting, like most, sweeping floors and learning anything he can about bikes. He eventually graduated as a service manager and then as a store manager. Through the years, he has spent extensive time designing and sourcing bicycles and parts for some of the largest bike companies in the world. All the while focusing on helping as many people as possible enjoy the love of riding a bike. In that pursuit, he has taught classes (both scheduled and impromptu) on all things bikes. John also believes in helping every rider attain their optimal fit on the cycle of their dreams. Please feel free to stop in any time and talk about bikes, fit, and parts or share your latest ride. You can also see more of John’s tricks and tips on the Brown Bicycle Facebook Page.
Winter fat bike season is once again upon us as the leaves fall and temps become cooler. While riding a fat bike is much like riding a regular bike, there is a certain fat bike etiquette to keep in mind when you get out there on the trail this winter season for some fun.

As the winter season progresses remember your fat bike etiquette

by Jess Leong  

Winter fat bike season is upon us again as the snow and temps drop. Like riding a regular mountain bike, there is a certain bike etiquette to follow when on the trail. Everyone on the trail wants to have a good time outdoors and make memories in the crisp, clean air. Whether biking, hiking, skiing, or snowshoeing, these are all valid activities where trail etiquette is important. The trail needs to be shared for everyone to have a good time. The rules below will keep everyone free from harm and make it fun for everyone.

Many general rules of the fat bike trail are the same as mountain biking or riding on regular trails. However, there is a major difference to keep in mind in addition to the general rules of the trial.

Practicing fat bike etiquette is an enhancement to general trail rules

The International Mountain Bicycling Association (IMBA) developed the “Rules of the Trail” to promote responsible and courteous conduct on shared-use trails. Keep in mind that conventions for yielding and passing may vary in different locations or with traffic conditions. This list is also on IMBA‘s website and in the Minnesota Bike/Hike Guide.

Before You Ride

  1. Plan Ahead: Know your equipment, your ability, and the area you are riding, and prepare accordingly. Strive to be self-sufficient: keep your equipment in good repair and carry necessary supplies for changes in weather or other conditions.
  2. Let People Know: Make sure there’s at least one other person who knows where you’re headed when you plan to start, and when you hope to return. Things can happen on the trail; someone must know where you might be if something goes wrong.
  3. Ride Open Trails: Respect trail and road closures — ask a land manager for clarification if you are uncertain about the status of a trail. Do not trespass on private land. Obtain permits or other authorization as required. Be aware that bicycles are prohibited in areas protected as state or federal Wilderness. This means you guessed it; check ahead of time!

While Riding

  1. Leave No Trace: Be sensitive to the dirt beneath you. Wet and muddy trails are more vulnerable to damage than dry ones. When the trail is soft, consider other riding options. This also means staying on existing trails and not creating new ones. Don’t cut switchbacks. Be sure to pack out at least as much as you pack in.
  2. Control Your Bicycle: Inattention for even a moment could put yourself and others at risk. Obey all bicycle speed regulations and recommendations, and ride within your limits.
  3. Yield Appropriately: Do your utmost to let your fellow trail users know you’re coming — a friendly greeting or bell ring are good methods. Try to anticipate other trail users as you ride around corners. Bicyclists should yield to other non-motorized trail users unless the trail is signed for bike-only travel. Bicyclists traveling downhill should yield to ones headed uphill unless the trail is signed for one-way or downhill-only traffic. In general, strive to make each pass a safe and courteous one.
  4. Never Scare Animals: Animals are easily startled by an unannounced approach, a sudden movement, or a loud noise. Give animals enough room and time to adjust to you. When passing horses, use special care and follow directions from the horseback riders (ask if uncertain). Running cattle and disturbing wildlife are serious offenses.

Understand ice and snow travel and how to do it safely.

Practice fat bike etiquette, follow the trail rules, and have fun.

Riding in the winter means riding on top of ice and snow. Throughout the winter, there will be times when it’s warmer or colder out, which can affect the ground beneath your tires. Know how to deal with this. Many people also ride on top of the frozen water. Riding across a frozen lake or river can be extremely dangerous if the ice were to crack. Learn how thick the ice needs to be to carry you and your bike when venturing across frozen waters.

Always bring items that can help if you’re in a situation where the ice breaks from under you. International Mountain Bicycling Association recommends that ice picks and a length of rope be carried if riding on lakes or rivers.

Fat Bike Etiquette – General Rules of the Trail

The International Mountain Bicycling Association (IMBA) developed the “Rules of the Trail” to promote responsible and courteous conduct on shared-use trails. Keep in mind that conventions for yielding and passing may vary in different locations or with traffic conditions. This list is also on IMBA‘s website and the  Minnesota Bike/Hike Guide.

Riding a trail system before it snows is advisable when possible.

Riding a trail system before it snows is advisable when possible.

Be polite and respectful to all.

Yield to all other users of the trail when riding. This includes hikers, especially skiers, since they do not have brakes to stop when traveling. Be constantly aware of your surroundings for who and what is around you. Everyone is trying to enjoy the outdoors. When on your Fatty:

  1. Ride on the firmest part of the track to prevent making a deep rut in the trail.  Cutting into the trail more than an inch is difficult, if not impossible, to repair.
  2. Stay as far right as possible on the trail. This is so that other bikers, hikers, etc., can pass on the left.
  3. Do not ride on Nordic or classic ski trails. These trails are specifically groomed, and tires that cross them will ruin the trail and cause problems for those using or repairing them. Being respectful and sharing the trail is important for everyone’s enjoyment.
  4. Respect any closures or alternative days where bikers or skiers specifically have the trail. This is also important because if the trail is closed, no one will look out for you if you fall. Plus, other trails might be closed or have maintenance going on. This can cause problems if you’re there.
  5. Wear reflective clothing and use lights or blinkers. This helps signal to others where you are from a distance. Skiers and snowmobiles travel quickly, and seeing you as far away as possible can help them change their route so there is no collision or problems that will arise.
  6. Consider donating to the shared trails to help cover the cost of maintenance. It takes people to keep the trails well-groomed and ready for people to ride, ski, or hike on them. A donation can go a long way to keeping that trail ready when you want to use it again.

If you are riding in a group, do not ride side by side. This makes it hard for anyone passing by to get through or weave around. It also can block up the trail.

Don’t Forget!

Also, always wear a helmet and appropriate safety gear. Search for an IMBA Club to join, and don’t forget to HaveFun!

Jess Leong is a freelance writer for HaveFunBiking.com.

Gaiters may be an added bonus to winter riding warmth

by John Brown, 

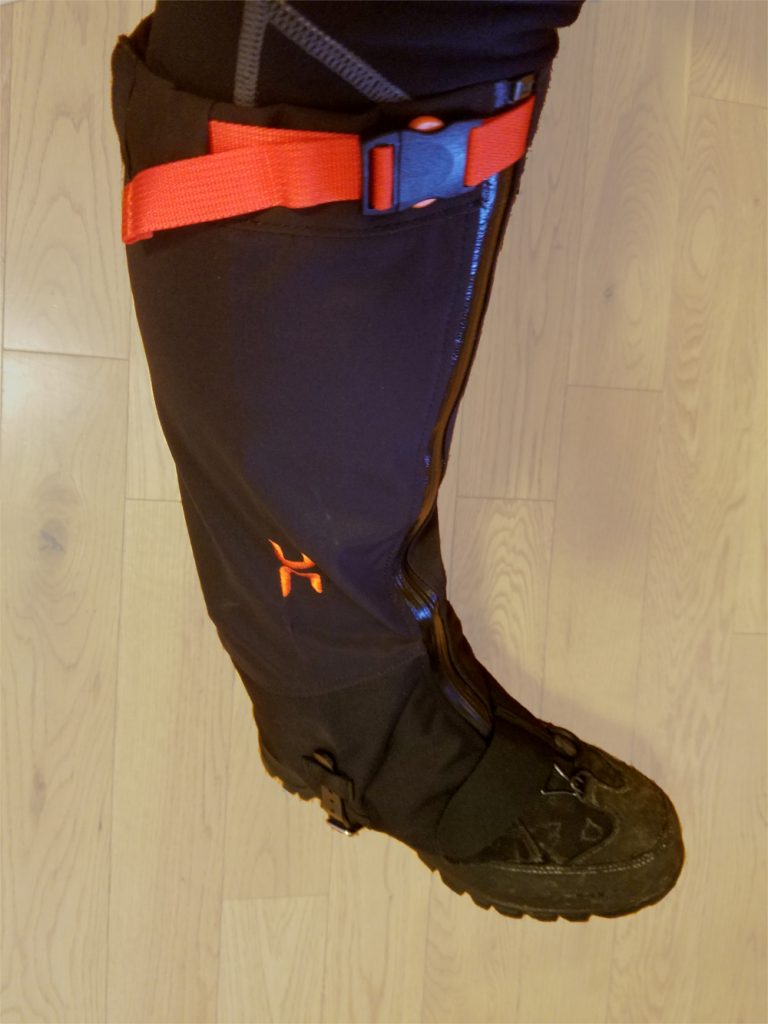
Cold, snow, sleet, and ice are normal conditions for my winter bike commute to work here in Minnesota. With the elements being so unfriendly, I am excited to try commuting with a pair of gaiters for added warmth. With that direction in mind, I was excited to try the Hillsound Armadillo LT gaiters. For those who aren’t familiar with a pair of gaiters, they cover your shin and calf, below the knee, and above the ankle. Splash-proof protection works in combination with your winter boots to extend your leg. They are designed to keep snow, slush, and debris off your legs and dripping into your boot.

Hillsound Armadillo LT gaiter

I am wearing the Hillsound Armadillo LT Gaiter for the first time.

A gaiters construction

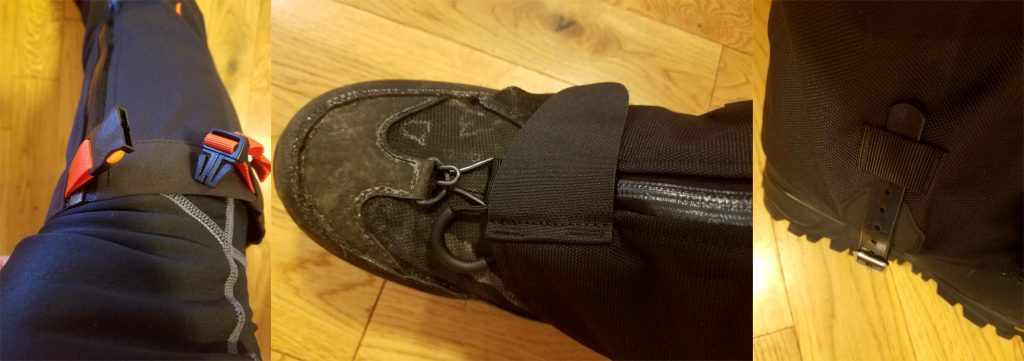
The Armadillo LT gaiter’s upper is constructed out of Flexia, a three-layer material designed to stretch, be waterproof, conform to your leg and stay in place. The lower section is made of dense nylon, which is extremely tough. The zippers are waterproof, and the straps and clips seem to be more than tough enough for their job. Even though these gaiters exude durability, they are remarkably lightweight.

Hillsound Armadillo LT gaiter

High-quality buckles, zippers, and straps are standard.

A full-length zipper makes for an easy fit.

I have to admit that I have never tried riding with a gaiter. Whereas my point of reference is small, I spend a lot of time on my bike in the cold. For the frigid weather, my riding boot of choice is the 45NRTH Wölvhammer, built with gaiters in mind. The Hillsound Armadillo LT gaiter paired with them easily. Thanks to the full-length zipper, I got my riding gear and boots on, then fashioned the gaiter into place with relative ease. That ease comes from the stretch that the upper material offers and the easily adjustable lower Velcro strap and upper buckle strap.

Warmth on the bike

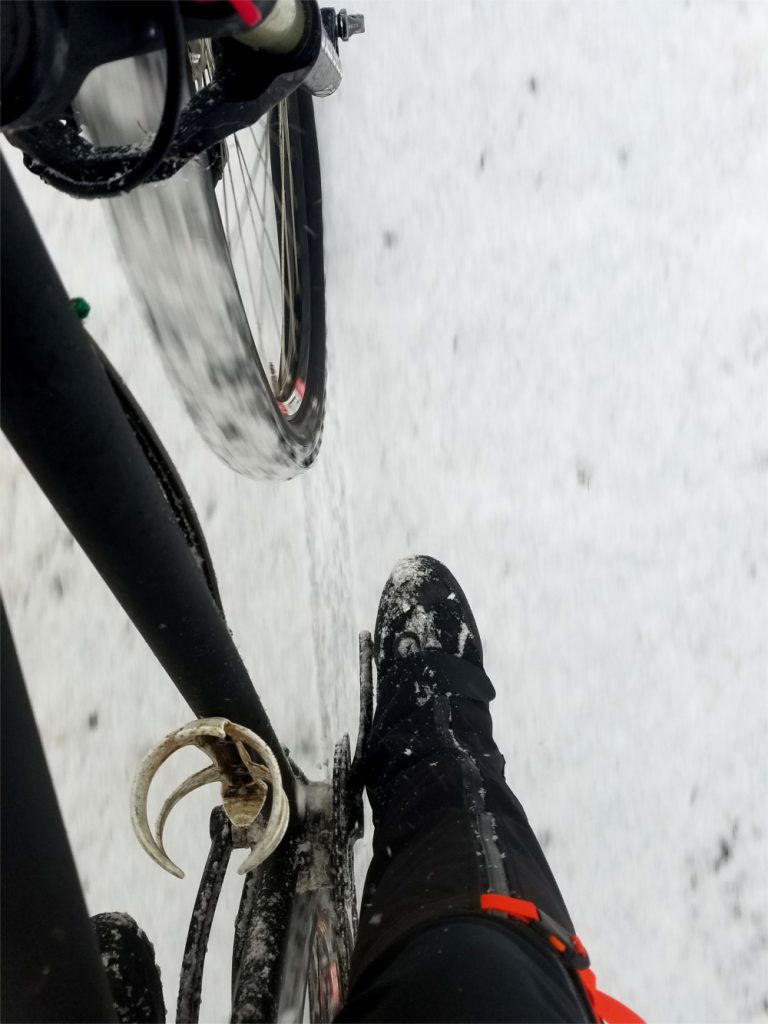
The addition of a waterproof layer was immediately apparent when I left my house. We had gotten a fresh coating of wet snow overnight, and the salt trucks were out in force. Thanks to the slush created, my legs were immediately doused in slop but stayed dry and warm. This is a far cry from a week prior when I rode home without the benefit of gaiters. This time, I buzzed along my usual route to work and noticed that my legs were warmer than normal. Also, when looking down at my legs (not something I recommend), I saw all the sludge my tires were kicking up and bouncing off the gaiters. When I reached the office, my legs were dry and comfortable, and the gaiter was still doing a good job repelling moisture.

Hillsound Armadillo LT gaiter

Snow and slush are no match for the Hillsound Armadillo LT Gaiter.

Moving forward

With my first foray into gaiters, I want to see where they are best used. I know that hikers and snowshoeing fans love them for their warmth and protection; now, after trying them, I am fascinated to see how they will help from a cycling perspective. Right now, I will reach for them whenever the weather is cold and wet. While I am sold on their benefit for wet conditions, I look forward to blocking the wind chill when temps get colder. Stay tuned for more information on my adventures with the Hillsound Armadillo LT gaiter.

About John Brown, the author

John operates Browns Bicycle in Richfield, MN as a lifelong cyclist and consummate tinkerer. It all started for him in grade school when the bike bug bit, and that fever is still there. Now, and over the past thirty years, he has worked at every level in the bike industry. Starting, like most, sweeping floors and learning anything he could about bikes. He eventually graduated as a service manager and then to a store manager.  Through the years, he has spent extensive time designing and sourcing bicycles and parts for some of the largest bike companies in the world. All the while focusing on helping as many people as possible enjoy the love of riding a bike. In that pursuit, he has taught classes (both scheduled and impromptu) on all things bikes. John also believes in helping every rider attain their optimal fit on the bike of their dreams. Please feel free to stop in any time and talk about bikes, fit, and parts or share your latest ride. You can also see John’s tricks and tips on the Brown Bicycle Facebook Page.
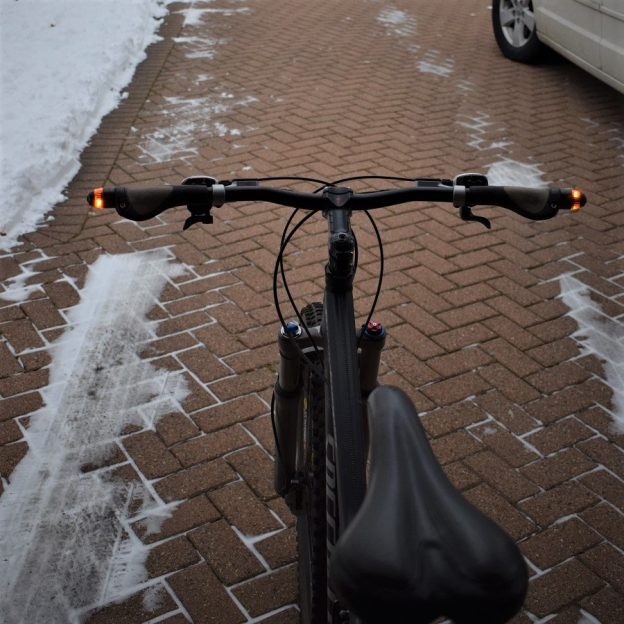
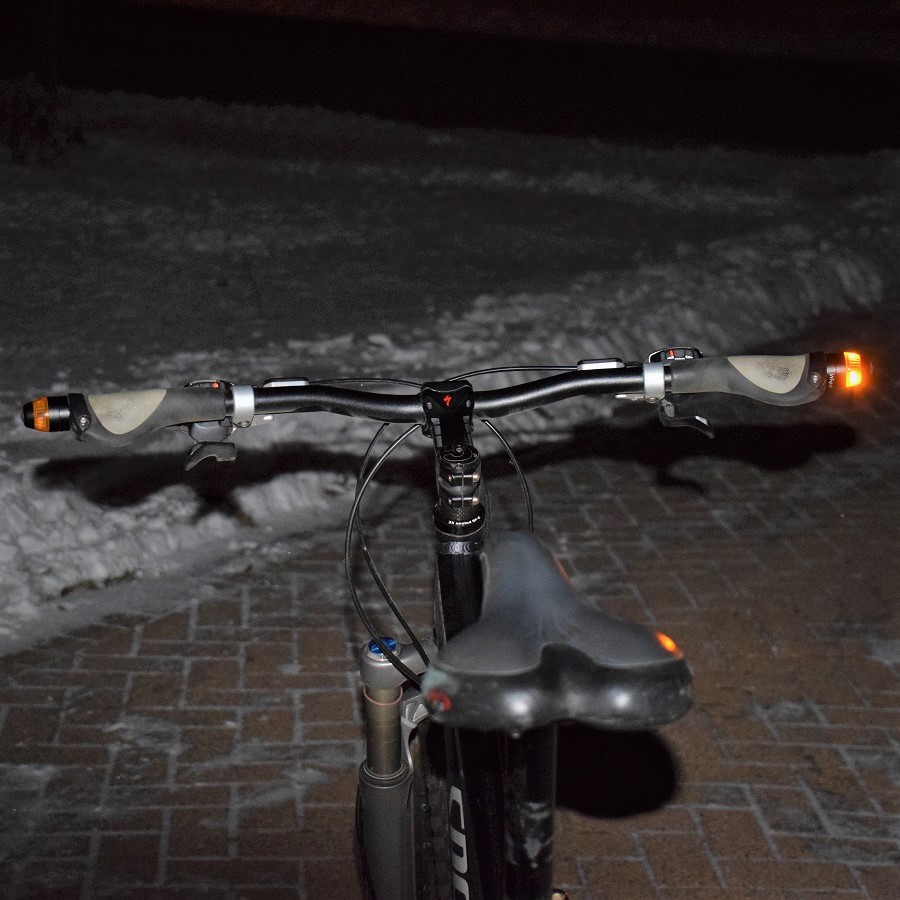
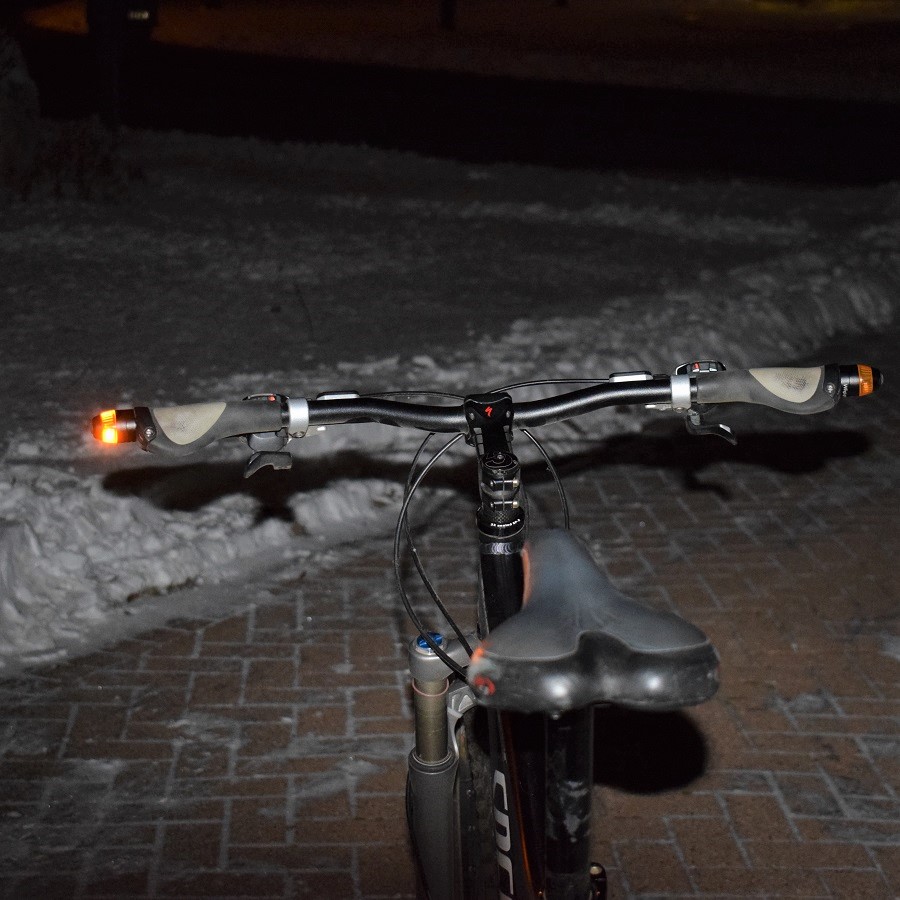
WingLights is an inexpensive blinker light system for bicycles to display a very visible directional turn signal at an intersections.

Making a bicycling experience safer with a handlebar blinker light system

At HaveFunBiking, we have shared blinker systems embedded in bicycle helmets and rear-mounted signaling lights. Now, for those with flat bicycle or scooter handlebars, the WingLights might be worth checking out. This inexpensive directional light system (a perfect stocking stuffer) is easy to mount on each end of the handlebars. Then, when turning, tap the light at the end of the right or left handle grip and move to the proper lane, just like signaling when driving a car. As a cyclist riding on the road or trail, you will find added comfort and visibility in displaying your intention when changing lanes or directions.

Just tap the right blinker before gesturing with a right hand signal.

Just tap the right blinker before gesturing with a right-hand signal.

Just tap the left blinker before gesturing with your left hand signal.

Just tap the left blinker before gesturing with your left-hand signal.

The WingLight directional blinkers work well on rough roads where cyclists must have both hands on the handlebars. Just a firm tap on the surface of the selected light, and it begins to blink. Then, in 45 seconds, which is usually long enough to make the turn, the light turns off to save on your battery.

Winglights are currently available in two options

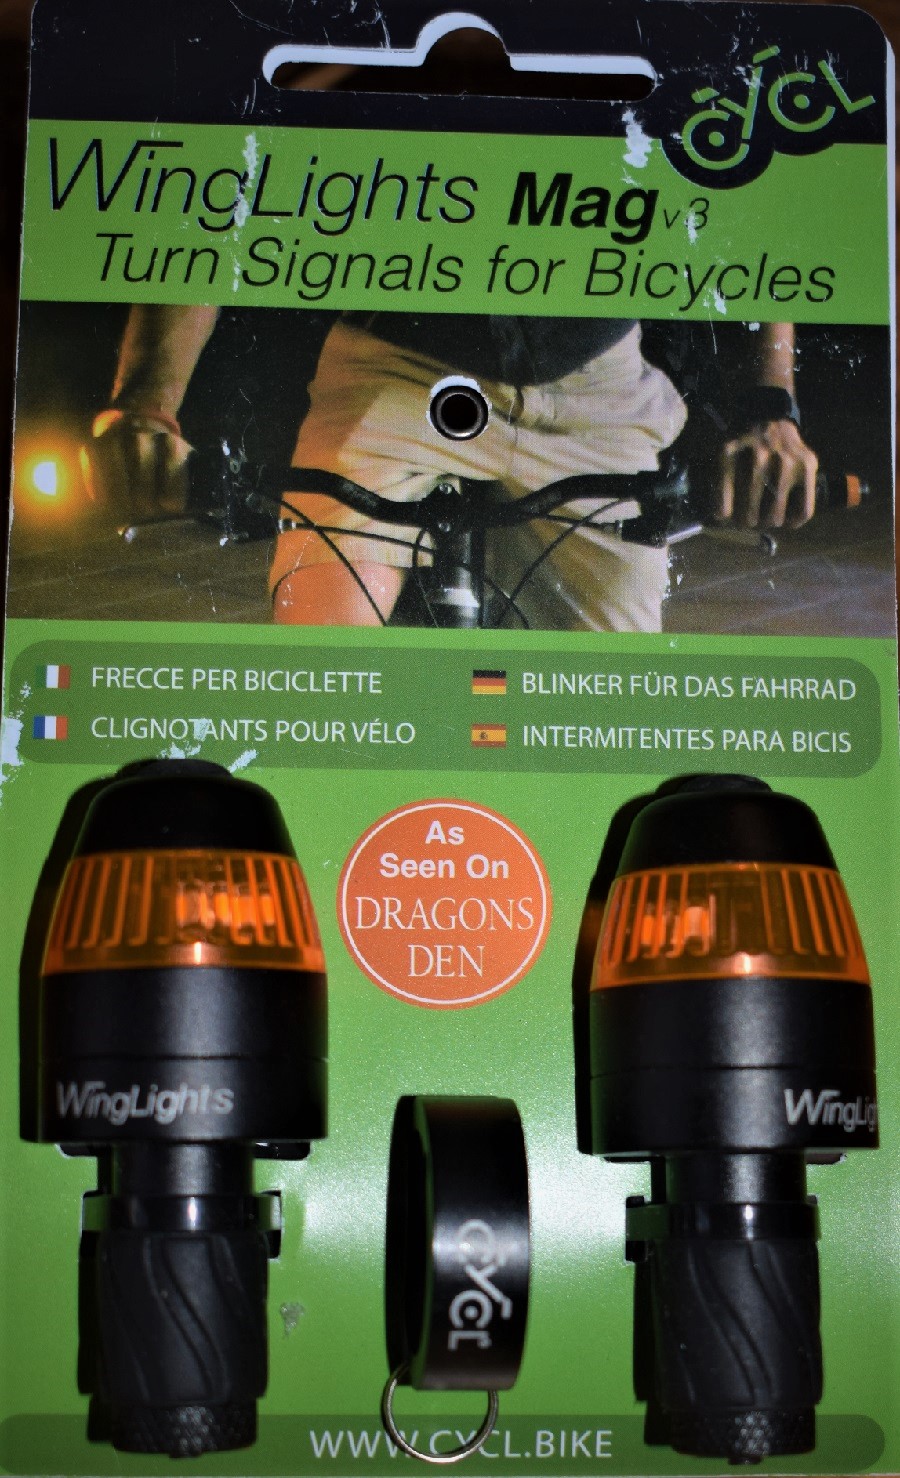
The WingLights 360nFixed, their original, is a high-quality turn signal system that magnetically attaches to your handlebar ends. It is easy to install and use. These turn signals flash bright amber and can be seen from all angles. When removed, the units clip together onto a keyring for safekeeping. The Mag is compatible with all handlebars with an inner diameter from 14.7mm to 23mm. They retail for $61.00 and batteries are included.

The WingLights Next is a brand new, non-magnetic turn signal built to the same high specifications as the original system. Like the Mag, the Fixed v3 is permanently attached to your handlebar. The Fixed v3 sells for $79.00 on Amazon.

To order either of these lights or more information or other products, visit the manufacturer at www.cycl.bike

Brighter and safer blinkers

The blinkers help to improve cyclists’ visibility in dangerous areas, in and around intersections.

Using hand signals along with WingLights

At HaveFunBiking.com, we highly recommend the continued practice of using hand signals. Like others on the market, this turning light system offers added visibility to show your intentions when changing directions. However, they should not replace the practice of using hand signals. By continuing to gesture your movement with hand signals and blinkers, you multiply your chances of being seen and staying safe.

Installing the WingLights blinkers

This review made installation quick and easy, taking under ten minutes. At the end of each handlebar grip, cut a sharp knife so the handlebar tube is exposed. Insert the rubber plunger of the Winglight firmly into the handlebar and tighten. You will find full instructions included in the package. Check out the instructional video here for a comprehensive guide on this blinker system. 

Sorry, these blinker lights are not suitable for all handlebar types

The current WingLights are only available for straight (sometimes referred to as flat) handlebars. Curved handlebars with a maximum curvature of 30° also work. The company is working on a future design compatible with drop bars (also known as bullhorn and/or cruise bars).

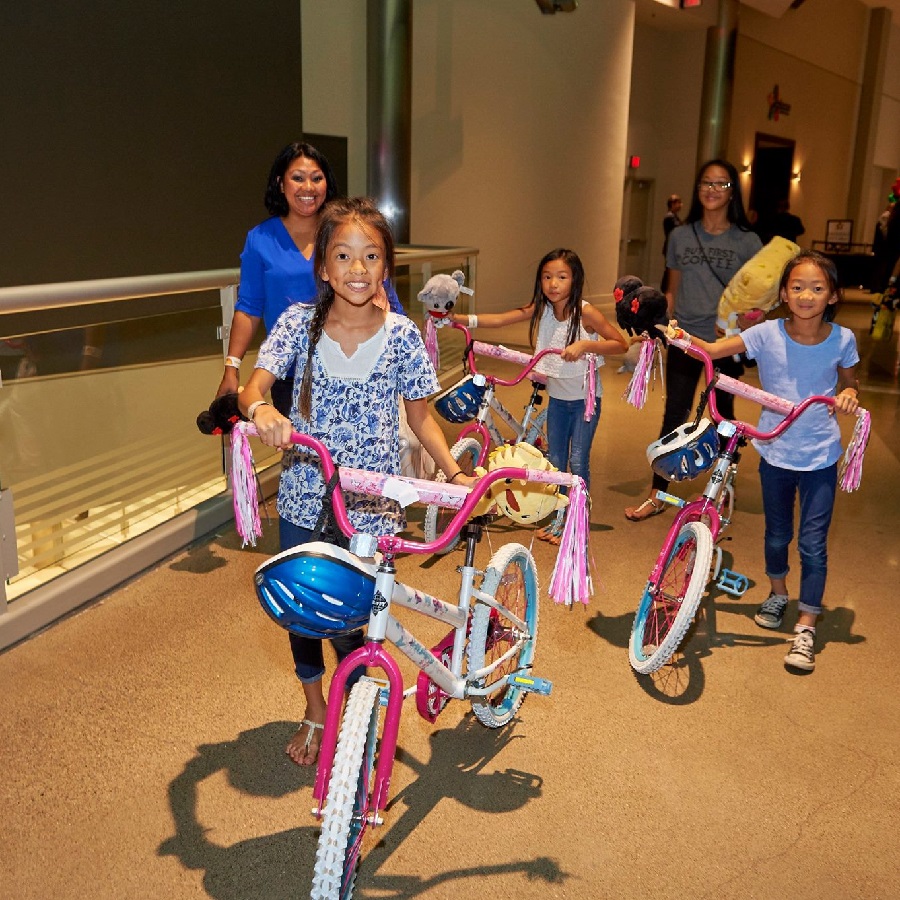
Put more smiles on children's faces by volunteering with Free Bikes 4 Kidz to clean, prep, or wrench some of the 5,000 bicycles collected this last month.

Put smiles on kid’s faces by helping prep FB4K bike giveaway

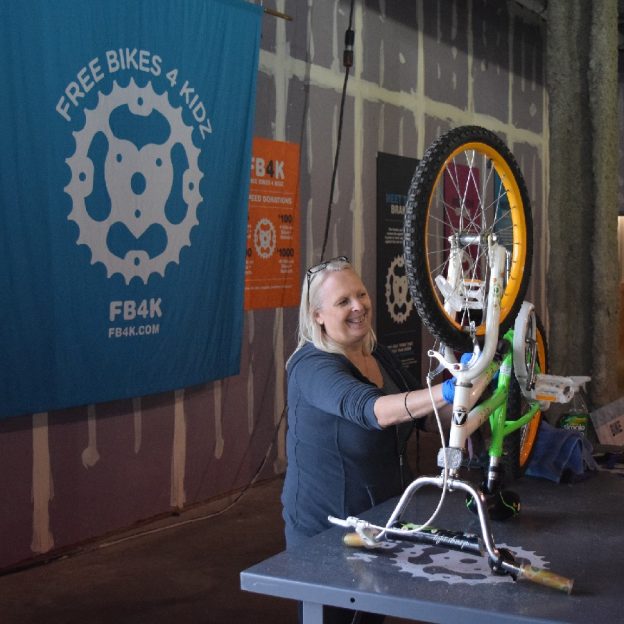
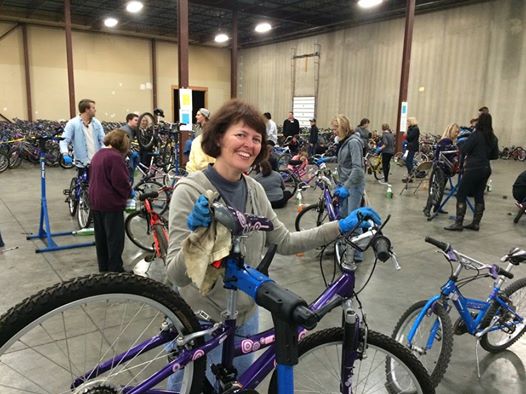
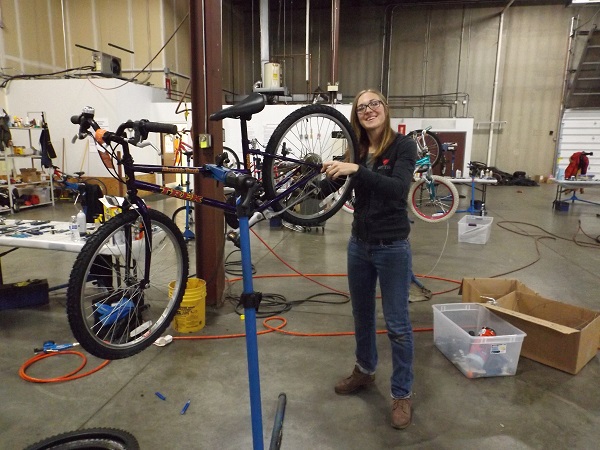
If you live near or close to the Twin Cities, help the Free Bikes 4 Kidz (FB4K) bike giveaway program in its 15th year. Volunteer to help put more smiles on children’s faces. Donate your time to help clean, prep, or wrench some of the thousands of bicycles collected this year for their distribution drive before the holidays and in the spring.

This FB4K bike giveaway helps put more smiles on kid’s faces

Free Bikes for Kids helps kid's smile with the 2016 season Bike Collection Day, on Saturday, October 8th, Donate your bikes to help more kids.

FB4K helps kids smile with their annual Bike Collection Day a few weeks ago

As more become interested in eco-friendly lifestyles, Free Bike 4 Kidz proudly continues to prepare bicycles to give away and invites you to join them by helping to clean, prep, and wrench bikes in their warehouse. They need your help today to get the bicycles out to the kids expecting them for this annual bike giveaway on December 9th.

freeBy volunteering today to help clean some bikes for FB4K's will help create some fond memories for you and future memories for children who receive them. bikes4kids-4

Create some fond memories for yourself and for the children who receive them.

Meet new and old friends as you volunteer. FB4K’s need your help now!

Volunteering and putting a wrench to a few bikes will create more smiles.

Volunteering and cleaning or wrenching some bikes will create a smile on your face and the kids who get them. We will continue to have volunteer opportunities in the future, but helping now will ensure the kids waiting for bikes will all have wheels before Christmas. Schedule your shifts today by clicking here to Volunteer or schedule as a group.

Join Free Bike 4 Kids today and put more smiles on kids’ faces!

About Free Bikes 4 Kidz

Free Bikes 4 Kidz is a non-profit organization geared toward helping all kids ride into a happier, healthier childhood by providing free bikes to those most in need. When the public donates gently used bikes, FB4K organizes thousands of volunteers to clean, refurbish, and give them away to needy kids. They started in 2008 by fixing and giving away 300 bikes. In 2014, they reached the goal of 5,000 bikes. In the last several years, over 30,000 bikes have rolled through FB4B’s giveaways, and their sights in the future are set on other locations throughout the U.S. and the world. See more at http://fb4k.com/about/

The 2023 e-bike contest at HaveFunBiking has a winner

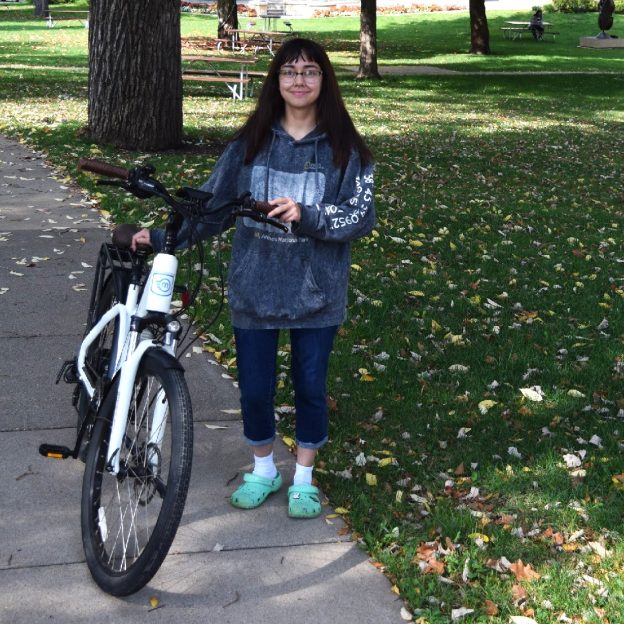
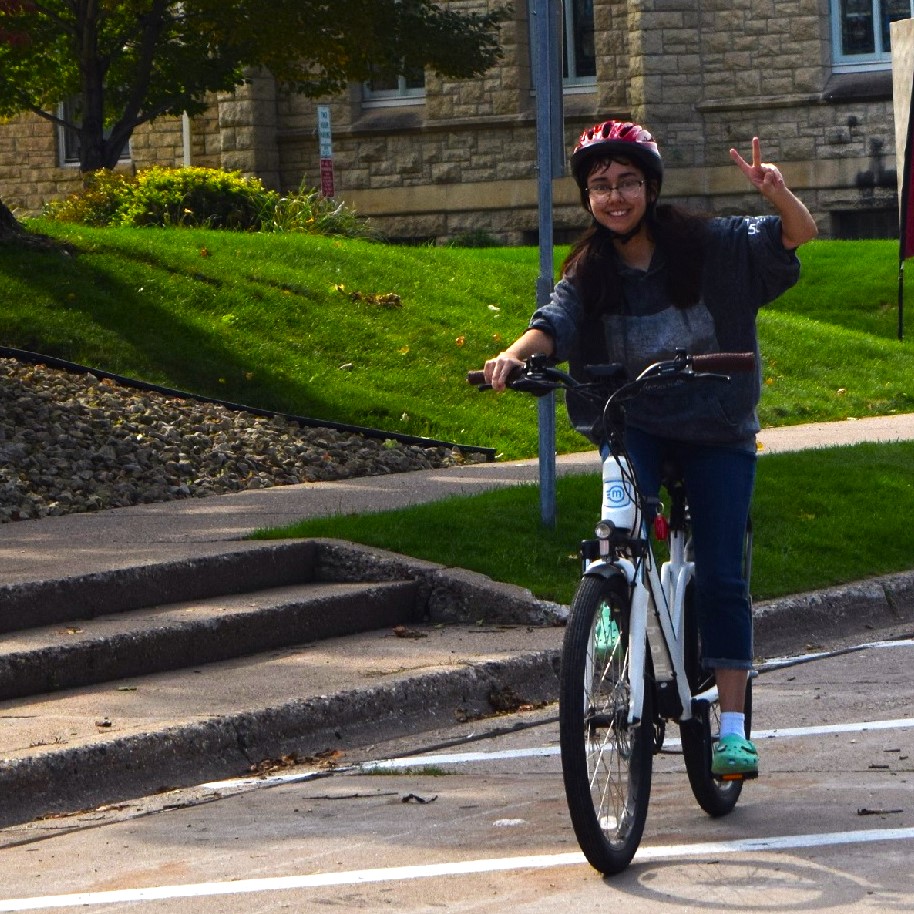
Congratulations, Zamira Mendoza, from Redwing, MN, our E-bike contest winner!

Zamira, testing out her new e-bike.

We are happy to announce that Zamira’s e-mail was drawn from our pool of e-database of contest registrants. We enjoyed delivering the new Magnum Navigator X from our 2023 Bike/Hike Guide campaign. Seeing her enthusiasm and plans on how she will use the bike was refreshing. She is excited about having her new e-bike to commute to work. Her route will be easier with the many hilly streets and trails along the Mississippi River bluffs. Stay tuned for another e-bike contest in 2024,

About the e-bike contest bicycle.

The Magnum Navigator X is a beautifully designed electric bike, perfect for urban riding or commuting. With a step-thru frame, the e-bike makes it easy to mount and dismount. Add the powerful 500W 48V power system with a fully integrated battery and you have a fun mode of transportation. It is great to climb those hills and make most commutes sweat-free.

Everyone’s favorite bike media company is planning for 2024

HaveFunBiking (HFB), started in 2004, sharing news and information on outdoor activities. We are entering our fifteenth year of producing the print and digital Bike/Hike Guide. Check back regularly as we prepare the 2024 edition. You will find the guide full of fun places to ride, helpful tips, and our next e-bike giveaway. When buying an e-bike, check “Helpful tips to consider before buying an E-bike.”

Add visibility in fall’s limited light for a memorable ride.

by John Brown

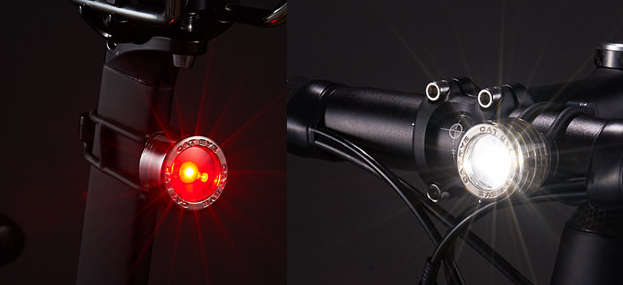
With school in session and Fall in full swing, using passively bright gear is a critical component to being better seen while riding our bikes. The two primary forms of visibility we need to focus on are passive and active visibility. Things like reflectors and bright colors are forms of passive visibility. In contrast, lights and blinkers are great examples of operational visibility. Read on to see where each one is helpful and most efficient.

Using visibility passively

Most autumn rides start in the light and only devolve into darkness as the ride stretches. Most riders rely on passive visibility to get them home in these cases. If your ride is under street lamps or lights, that passive visibility will get you home safely. The most common form of passive visibility is a lowly reflector. The CPSC requires these plastic devices installed on all bicycles sold in the United States. You will find glasses in white (front and wheels) and Red (rear).

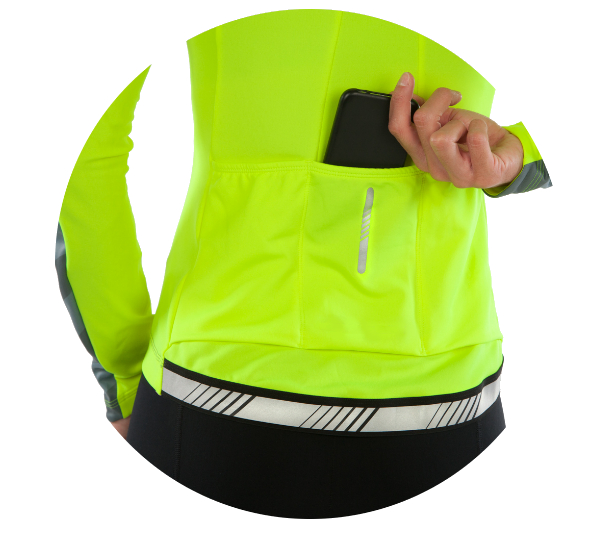
Additionally, many apparel companies install reflective materials on their products. Like the reflector on your bike, these reflective materials will take any light thrown at you and return it to the source of the morning. Passive reflectivity falls short when there is no light source to activate visibility.
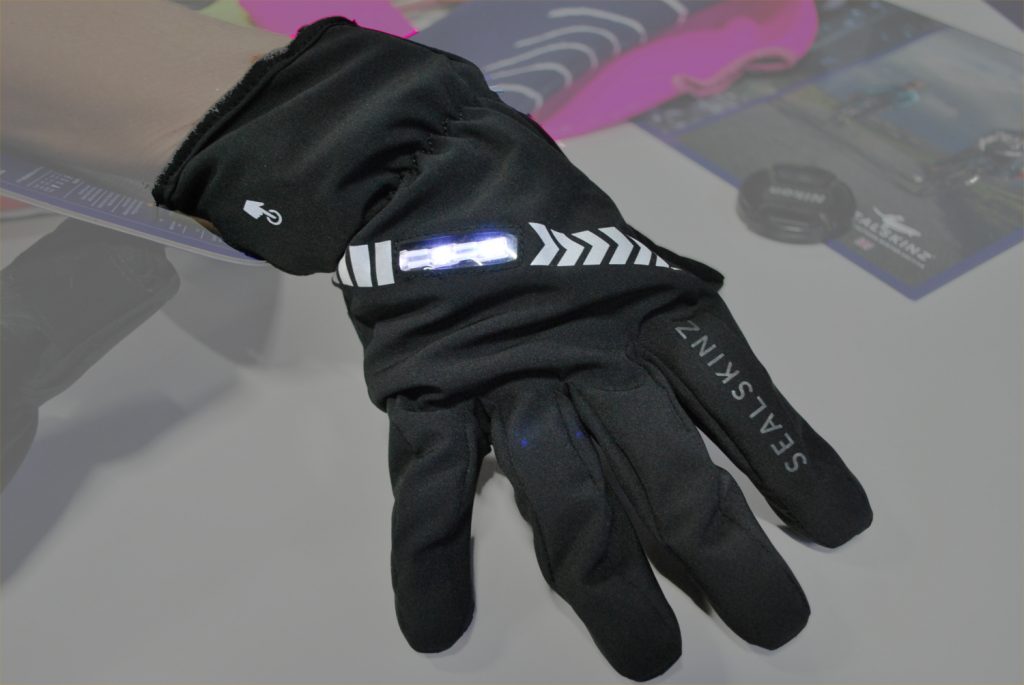
This jacket offers excellent visibility through color and reflective materials.

Sealing makes some excellent winter gloves that are both visible and insulated.

Using visibility Actively

When the area lacks a light source, you must create that light to keep yourself safe as a rider. For cyclists, Lights and blinkers are the most common devices for light. The light and the blinker differ because blinkers are designed to be seen, while lights allow a rider to see and be seen.

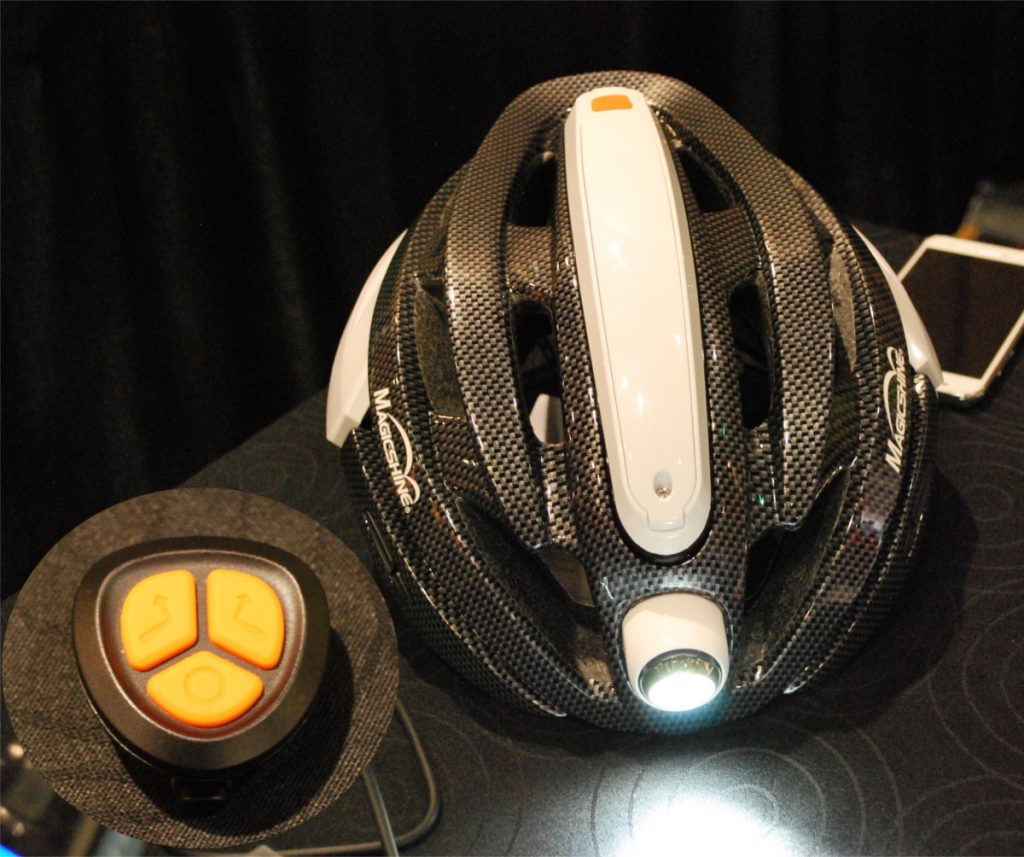
Great lights are usually rechargeable and use an LED bulb. These lights are necessary for riders who spend much time off-road or on unlit paths. While most mount onto the bars or helmet, a few companies integrate lights into the bike or your helmet.

MagicShine Bike Helmet and remote (inset)

Several bike helmets offer lights with a remote (inset)

Blinkers are usually battery-operated and use an LED to flash intermittently. These blinkers can easily be mounted to your bicycle. Blinkers are sometimes incorporated into helmets, gloves, shoes, saddles, and handlebars.

The Omni Bike Helmet, with photo receptor covered and lights on.

The Omni Bike Helmet, with a photoreceptor, is covered and lights on.

What to use this Fall

Mount a pair of blinkers to the bike (one front and one back). Switch on the blinkers when riding in low light and high traffic. A front light makes things safer if your route will be unlit for any portion. Overall, think ahead before your next ride and pack to ensure you can see in the dark while others can see you.

About John Brown, the author

John operates Browns Bicycle in Richfield, MN as a lifelong cyclist and consummate tinkerer. It all started for him in grade school when the bike bug bit him, and that particular fever is still there. Now, and over the past thirty years, he has worked at every level in the bike industry. He was starting by sweeping the shop floor while learning anything he could about bikes. He eventually graduated as a service manager and then a store manager. Through the years, he has spent extensive time designing and sourcing bicycles and parts for some of the largest bike companies in the world. All the while focusing on helping as many people as possible enjoy the love of riding a bike. In that pursuit, he has taught classes (both scheduled and impromptu) on all things bikes. John also believes in helping every rider attain their optimal fit on the bike of their dreams. Please feel free to stop in any time and talk about bikes, fit, and parts or share your latest ride. You can also see more of John’s tricks and tips on the Brown Bicycle Facebook Page.
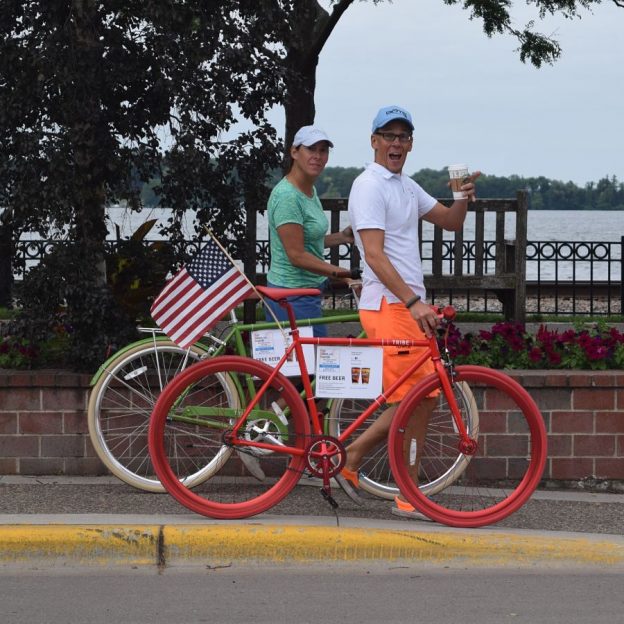
We are fortunate to live in a country that takes pride in what we stand for and a country that is free.

Bike Pic March 2, Take Pride In This Great Country We Live In

“From the lakes of Minnesota, to the hills of Tennessee, across the plains of Texas, from sea to shining sea.” We are fortunate to live in a country that takes pride in what we stand for and a country that is free. We are very blessed to be able to go outside, grab our bikes and enjoy the beauty that is America. So this Thursday, we encourage you to not only thank the service men and women who voluntarily, risking their lives so we may be free, but to really reflect on what a great country this is.

Please view the winter Minnesota Bike/Hike Guide edition and remember to register for the Root River Bluff & Valley Bicycle Tour and all the other fun rides coming up.

Thanks for viewing Today’s Take Pride in our Country Bike Pic

Now rolling into our 10th year as a bike tourism media, our goal is to continue to encourage more people to bike and have fun. While highlighting all the unforgettable places for you to ride. As we continue to showcase more place to have fun we hope the photos we shoot are worth a grin. As you scroll through the information and stories we have posted, enjoy.

Do you have a fun bicycle related photo of yourself or someone you may know that we should post? If so, please send your picture(s) to: [email protected]. Include a brief caption (for each), of who is in the photo (if you know?) and where the picture was taken. Photo(s) should be a minimum of 1,000 pixels wide or larger to be considered. If we do use your photo, you will receive photo credit and acknowledgment on Facebook and Instagram.

As we continues to encourage more people to bike, please view our Destination section at HaveFunBiking.com for your next bike adventure – Also, check out the MN Bike Guide, now mobile friendly, as we enter into our 8th year of producing the guide.

So bookmark HaveFunBiking.com and find your next adventure. Please share all our picks with your friends and don’t forget to smile. We may be around the next corner with one of our camera’s ready to document your next move while you are riding and having fun. We may capture you in one of our next Pic of the Day posts.

Have a great day!