by John Brown, HaveFunBiking.com
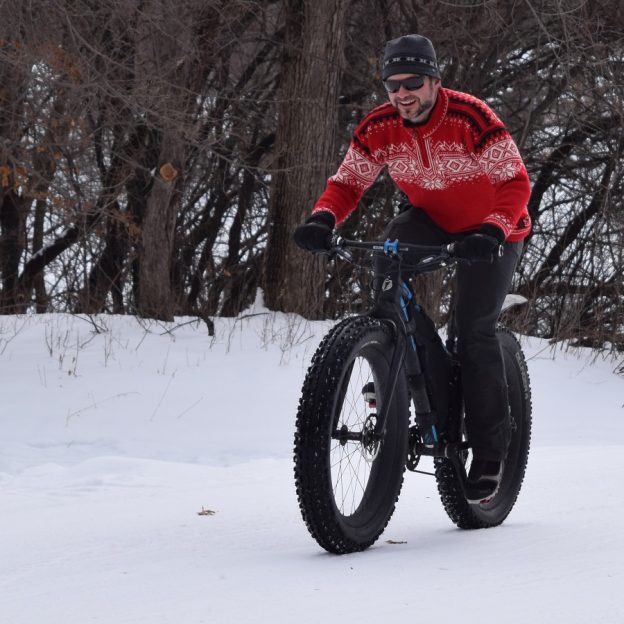
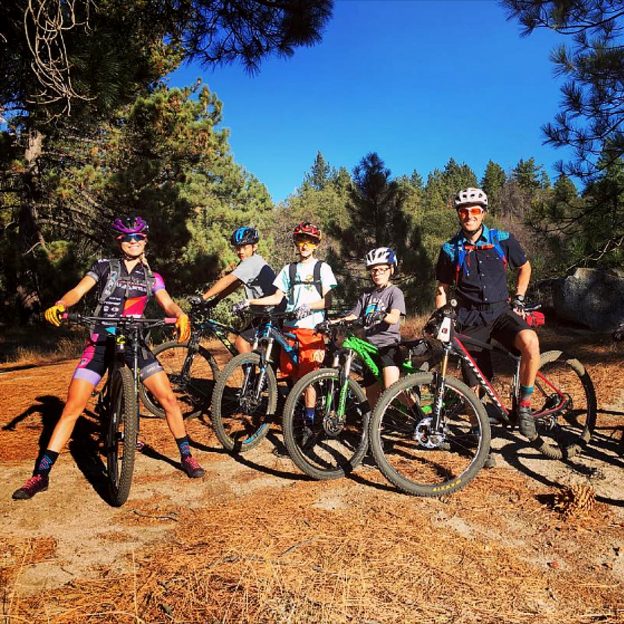
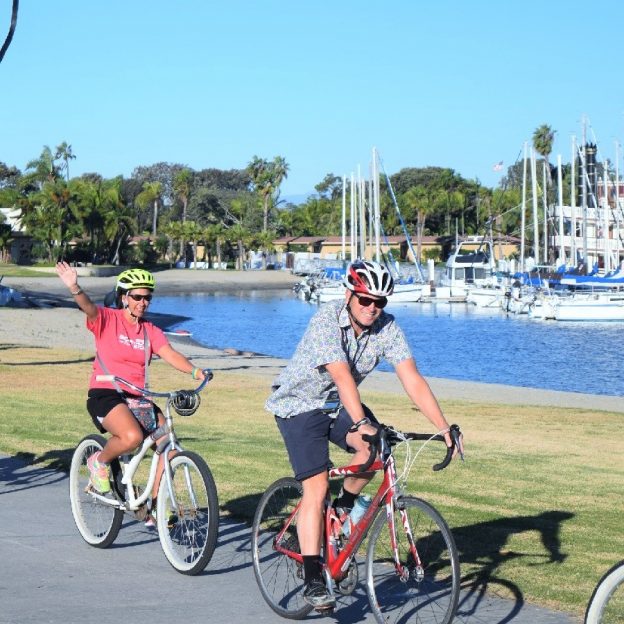
With winter here for a few more months it is not uncommon for cabin fever to set in. Many of us use this time of year to head off to a warm riding destination to get out of the cold and kick-starting the spring season a little early. While the list of warm biking destinations is nearly endless, here are a few that can be extra fun. Read on to learn, where to go and how to get there.
Finding the perfect warm riding destination takes planning
The first part of any trip is usually the least fun – planning! However, taking a little extra time to figure out what type of riding you want to do, what off the bike activities you want to enjoy and the type of accommodations that meets your needs will make the trip more enjoyabe.
Getting ready
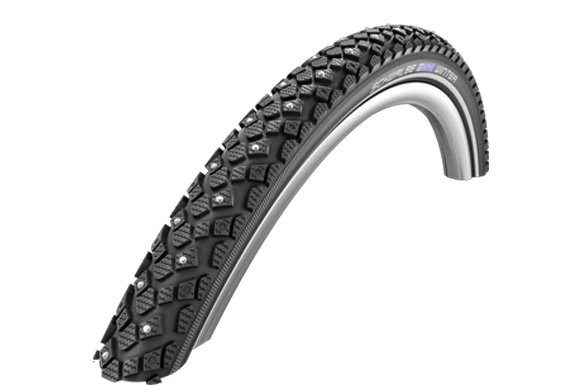
I’m not going to tell you how to pack, but I will recommend you bring more than you think you need for a warm riding destination trip. A rain shell, a long sleeve jersey and a pair of tights don’t take up much room in your bag and can totally save a day if you receive unseasonably cool weather while away. Additionally, I would recommend you prepare your bike. Research the trail/road conditions by calling a local bike shop to see if they recommend anything. As an example, in the southwest there is a plant called Puncturevine (or goatheads), that produces a very hard, very sharp seed. These seeds destroy the more delicate tires your topography may allow. So when I have traveled to Arizona in the spring, I changed my tires to the puncture resistant variety and saved hours of fixing flats.
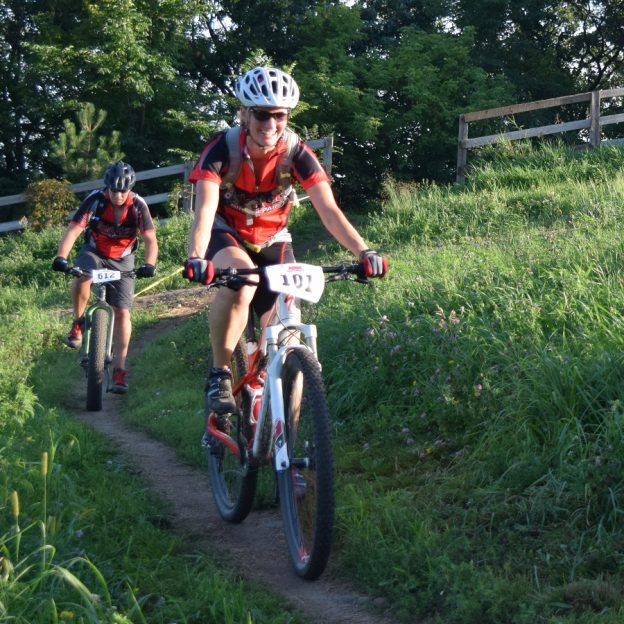
R&R – Rides and Relaxation
I know the idea of a warm riding destination trip can be exciting, but be sure not to bite off more than you can chew. Overdoing it on the first day can set a bad tone for the rest of the week, so concentrate on riding and relaxing. I like to set up two rides for the first day (typically a morning and afternoon ride). That way, if you feel great you can enjoy both, but if you can’t muster the second one it’s easy to skip it. By contrast, if you setup one long ride for the first day, you may get stuck half way out with an empty energy tank.
Where to go
I am lucky to have enjoyed many winter months in warmer places, Some of those listed below are favorites of mine, while still others are on my list of places to go.
Georgia
Georgia has become a cycling destination for riders of all discipines. It was the location of the first Olympic mountain bike race as well as the home of one of the united states most difficult stage races (tour of Georgia). If you have your heart set (and prepared) for a day of climbing hills and enjoying views, you can enjoy the Mile high 55 ride in the town of Roswell. If flat cruises, beautiful beaches and southern living are more your speed, check out the town of Savanah for it’s endless bike paths.

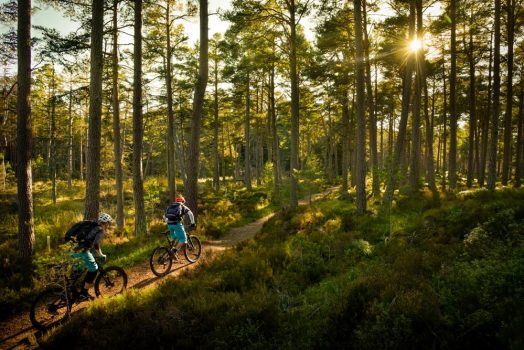
Tennessee
Tennessee is home to great weather, awesome people, and spectacular riding. Places like Montgomery Bell State park just outside Nashville is a great jumping off point for mountain bike as well as road rides. It’s proximity to the musical city of Nashville also ensure your days in the saddle can be well balanced with nights of fun.
Florida
Florida is a well known winter destination for all the resorts and beaches, but did you know they also boast world class mountain bike trails? Even in a city as spicy as Miami you can find dirt to satisfy you? Trails like the Oleta River State Park have tight singletrack with whoops, roots, and drops to make even the most seasoned rider shout with joy.
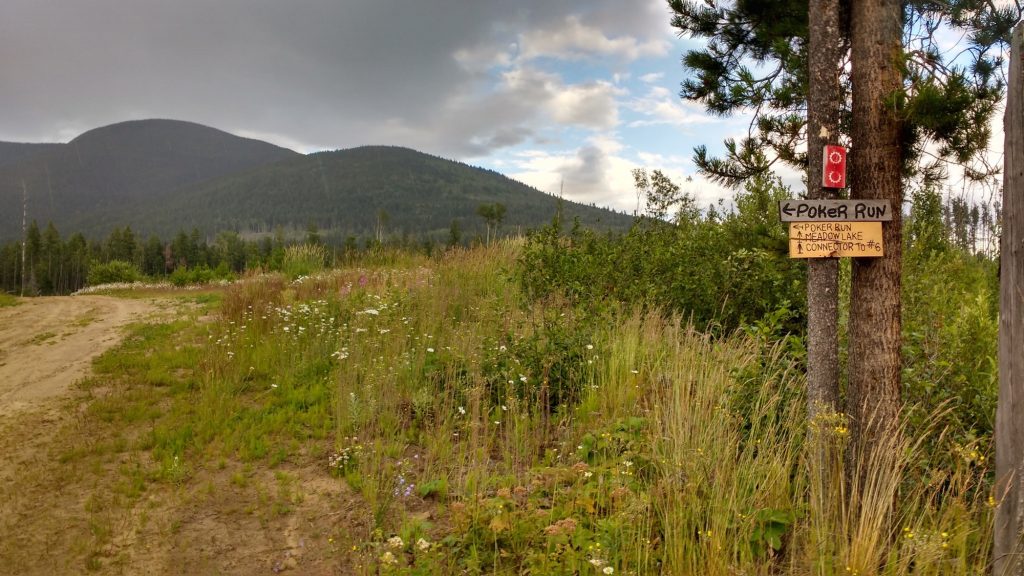
Arizona
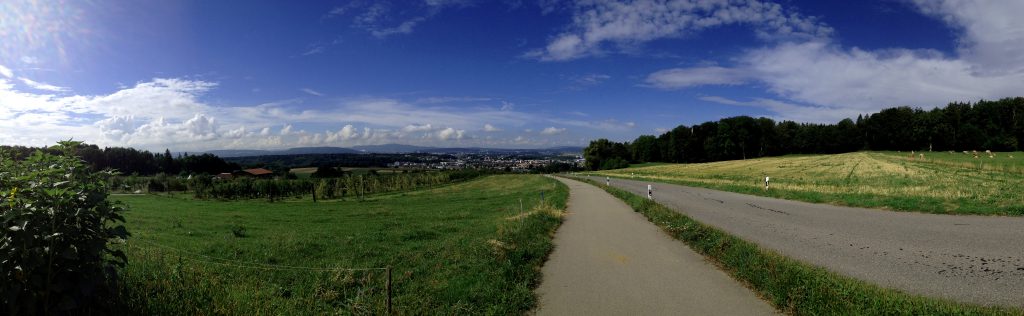
Arizona is a winter haven for many thanks to its temperate climate. While it gets a bit hot for many in the summer, winter and fall are breathtaking. The roads outside most major cities are clear and some can be incredibly challenging. For instance, north of Tucson sits Mt Lemmon, a 6 hour ride that puts you more than 8000 feet above sea level. It is littered with wide open vistas and earth shattering views so bring your camera along!
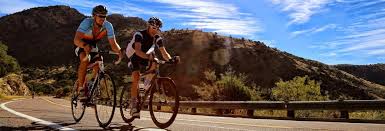
Mt Lemmon’s views are worth the trouble climbing to them
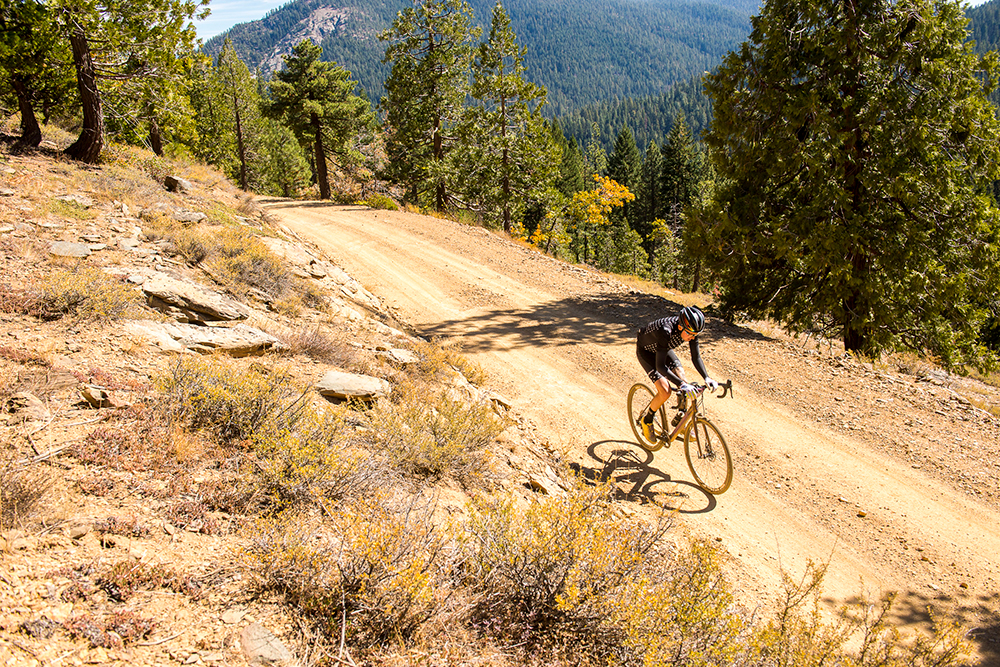
California
For cycling trips, it is difficult to beat the riding in California. The large state has green rolling hills in it’s northern territories as well as dry, desert roads that stretch on forever and let you work on that tan in it’s southern half. I personally love riding high above the golden gate bridge in the China Camp trail system in Marin county. While you are there, you can soak in some cycling culture at the Marin Museum of Bicycling and Mountain bike hall of fame.
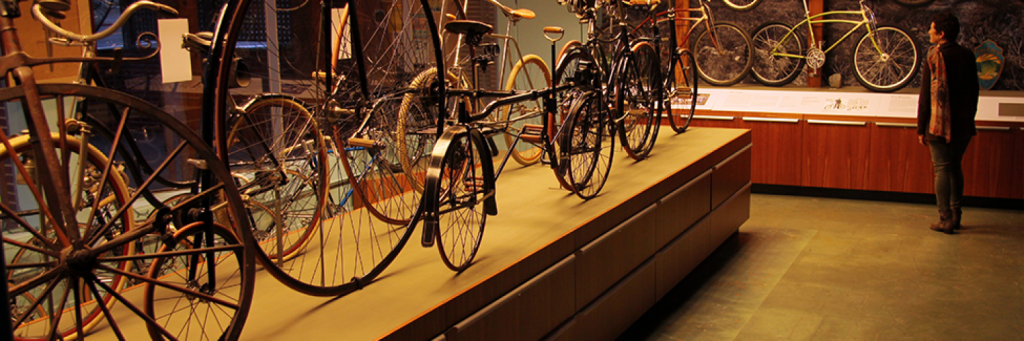
The Marin Museum of Bicycling is home to over 100 years of bicycle evolution. It is also a hangout for some of the most influential bicycle builders of ll time.
More bike destinations to consider
Check out our HaveFunBiking National Guide for more place to ride for that #NextBikeAdventure.
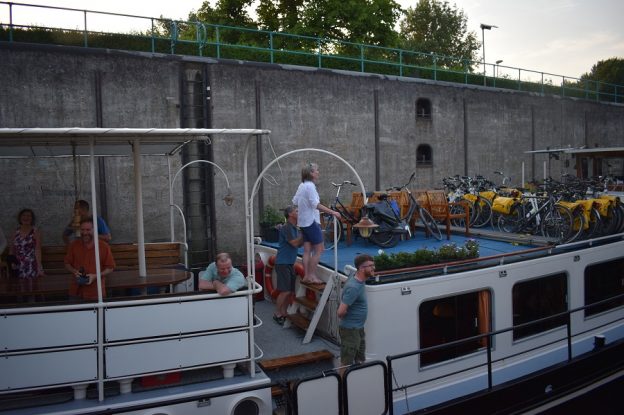
How to travel with your bike
Traveling with your bike is not that difficult. If you plan to travel a lot, investing in a dedicated travel bike or buying a bike case are probably your best options. If that isn’t the way you want to go, many cities have stores that will rent good quality bikes at reasonable rates.
Riding in unknown locations
There are a few things you want to make sure of before you go riding somewhere new. First is to let others know where you are going and when you plan to return. This can alert people to your absence if need be. Also, you may want to think about SAG support? AAA Auto Club now offers roadside bike assistance as a service where they will pick you up if you have a problem. Finally, bring your smartphone. You may want to turn the ringer off, so reality can’t spoil the fun, but it’s mapping functions can get you out of a jam if you take a wrong turn or need 911.
So have fun and share your #NextBikeAdventure pictures and stories with us at HaveFunBiking.com on your next warm riding destination getaway.