Tag: mountain biking fun
-
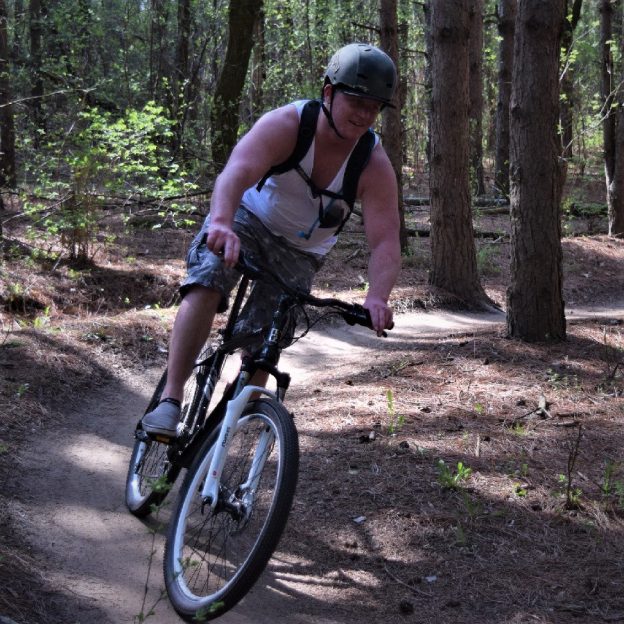
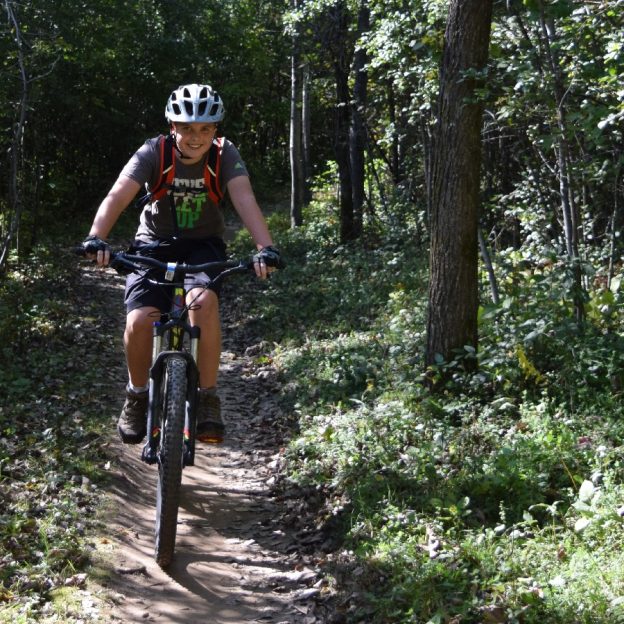
Bike Pic Sept 5, having fun post holiday with another adventure
Back in the mountain bike saddle after a long holiday weekend, excited for the next challenge, here is our bike pic to start your week.
-
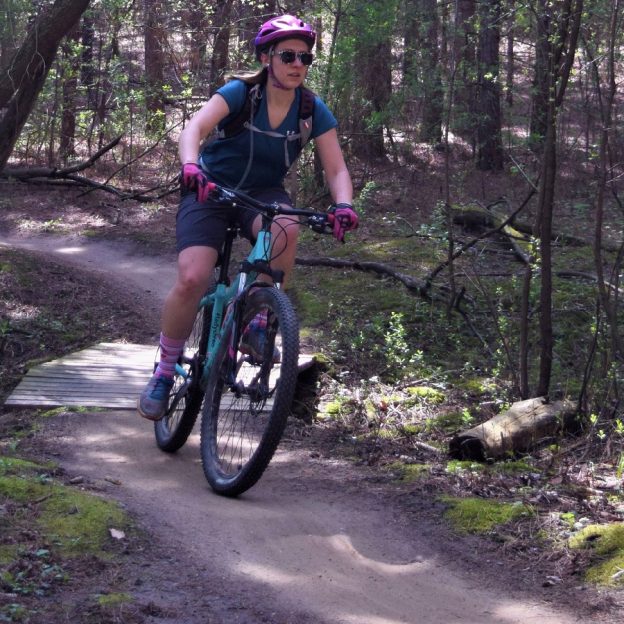
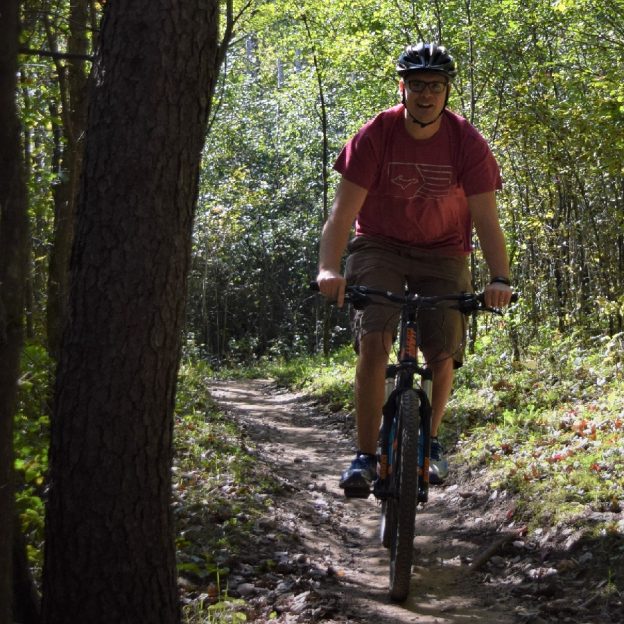
Bike Pic Aug 29, many trails are drying, check before mountain biking
Tuesday morning and this mountain biking chick finds a dry trail to enjoy. In Minnesota, check MORC trail conditions to see which trail systems may be open after all the rain, the last couple days.
-

Theodore Wirth Park, a gift five minutes from downtown Minneapolis
In the western part of the Twin Cities, nestled between Golden Valley and Minneapolis is Theodore Wirth Park. A space almost as large as New York City’s Central park. With in Wirth (as it’s known to the locals) you will find several scenic, natural areas around Birch pond and Wirth Lake, plus two golf courses…
-
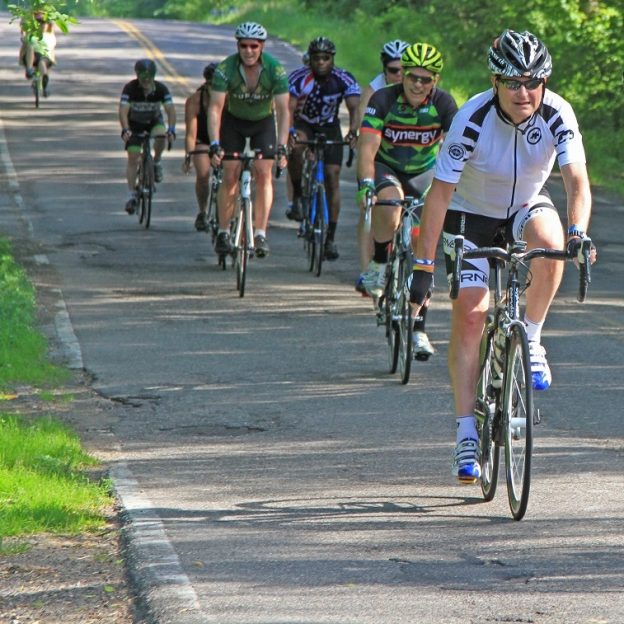
Staying Safe by Assessing and Avoiding Road Hazards
Nothing spoils a great ride like a bad accident, but most accidents are avoidable. The easiest way to eliminate accidents is to assess road hazards in advance, and avoid them. Read on to learn about the most common road hazards and how to manage them.
-
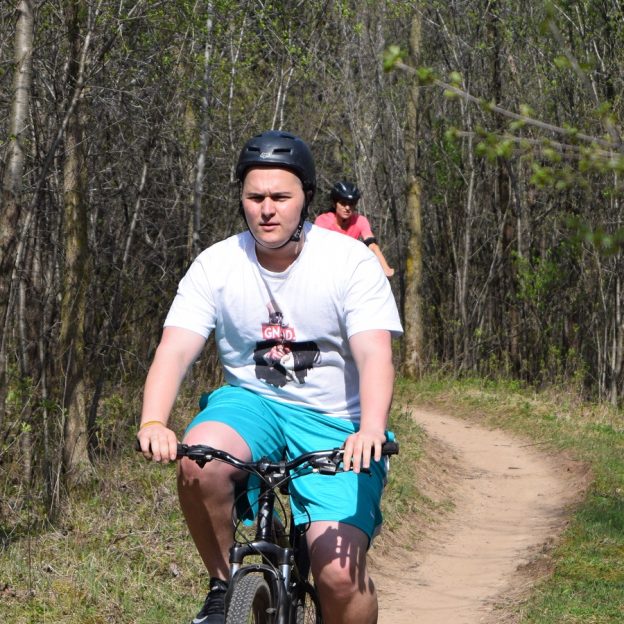
Bike Pic Aug 22, another mountain biker having fun in Lebanon Hills Park
Another mountain biker having fun in Lebanon Hills Park. Check MORC trail conditions to see which trail systems may be closed after another day of rain yesterday.
-
Enjoy fun and nature on Lebanon Hills fantastic mountain bike trails
The newly expanded trailhead of Lebanon Hills acts as a gateway to some of the most enjoyable trails in the Twin Cities Area. With nearly 12 miles of one way singletrack trails, Lebanon Hills has become one of the go-to trails in Minnesota. The trails feature riding for all skill levels combined with world-class facilities…
-
Bike Pic Aug 19, many mountain bike trails are closed, check first!
Saturday morning and this mountain biker finds a dry trail along the Minnesota River bottoms in Bloomington MN. to enjoy. In Minnesota, check MORC trail conditions to see which trail systems may be open after all the rain, the last couple days.
-
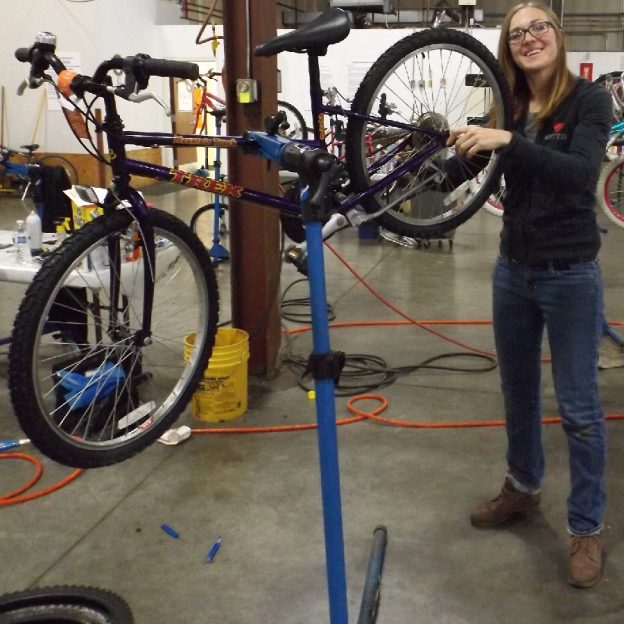
Tips and Tricks to Adjust Your Bike’s Rear Derailleur
It goes by many names, the rear derailleur. It is also known as the “s,” the “hangdown,” or the mech. Here in the U.S. we refer to it as the derailleur. The device that moves your bike’s chain from gear to gear letting you traverse hills with ease. Even though derailleurs are sturdy and relatively…
-

Consider Buying a Nicer Helmet That Adds Comfort to Bicycle Safety
While talking with a neighbor over the weekend, he said, “I need to go get a helmet….to set a good example for my son”. We reviewed all the reasons why buy a helmet and how to find the right one. Then I added some additional suggestions on why a more expensive helmet, with comfort and…
-
MinneCycle: Show Review and Why Buy a Custom Bike?
With hundreds of custom bike builders in the US, and hundreds more spread across globe, how do you pick the right builder? Start with shows like Minnecycle, and when possible and have a conversation.