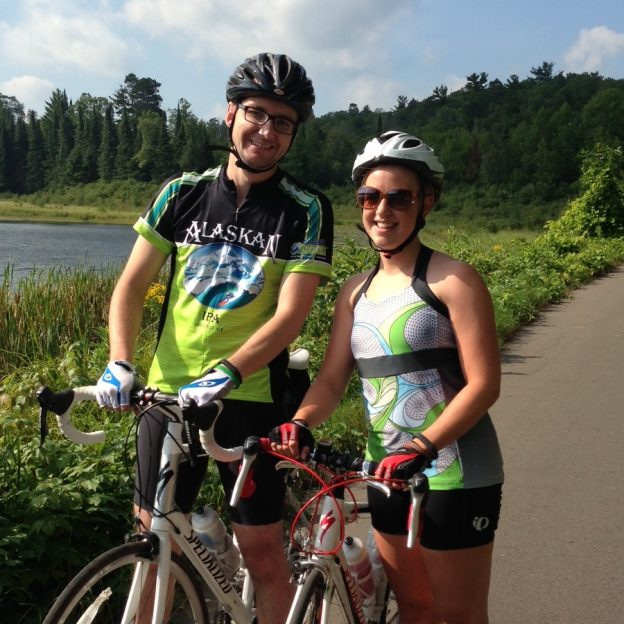
by John Brown, HaveFunBiking.com
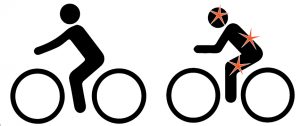
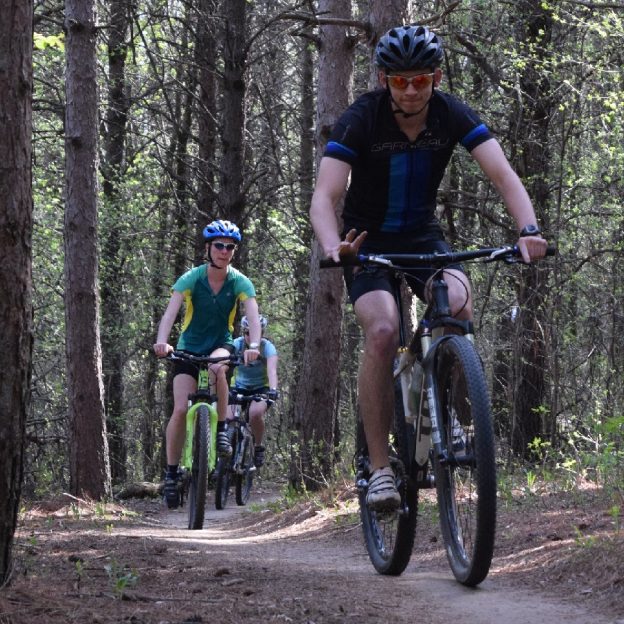
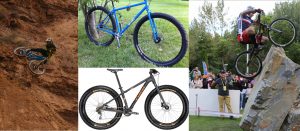
Mountain Bikes (MTB) may all look similar, however if you are planning on purchasing a new one there are some substantial differences between them. First lets take a look at the “It looks like a mountain bike” version, then we will look at a true mountain bike.
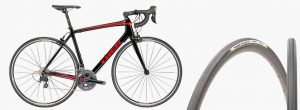
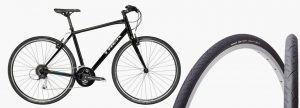
Trail/Path bicycles that look like mountain bikes
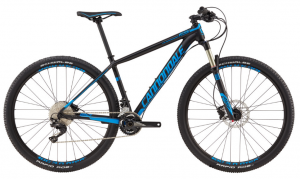
There are some Trail/Path cycles that will look like Mountain Bikes, but aren’t designed for off road use. These Trail/Path bikes are popular because riders like the stability, traction, control, and upright riding position of a Mountain Bike but don’t need the features geared toward off road use.
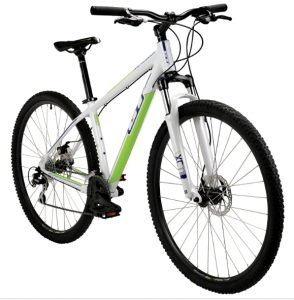
Trail/Path “Mountain Bikes” have higher bars, narrower tires, and less suspension travel.
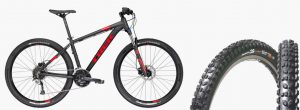
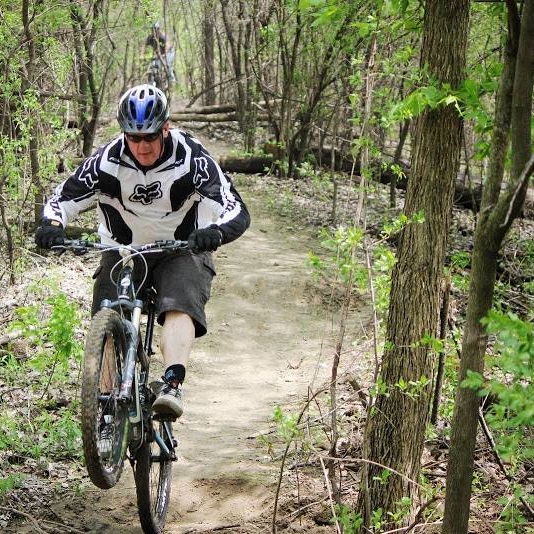
Mountain Bikes True to Their Name
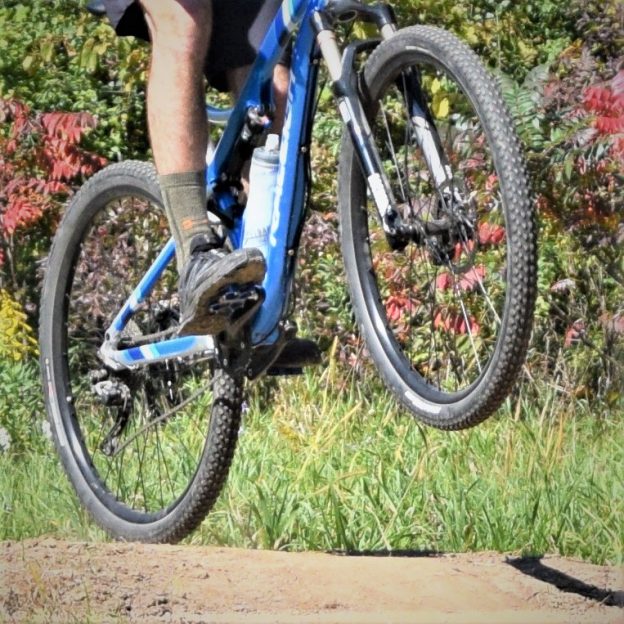
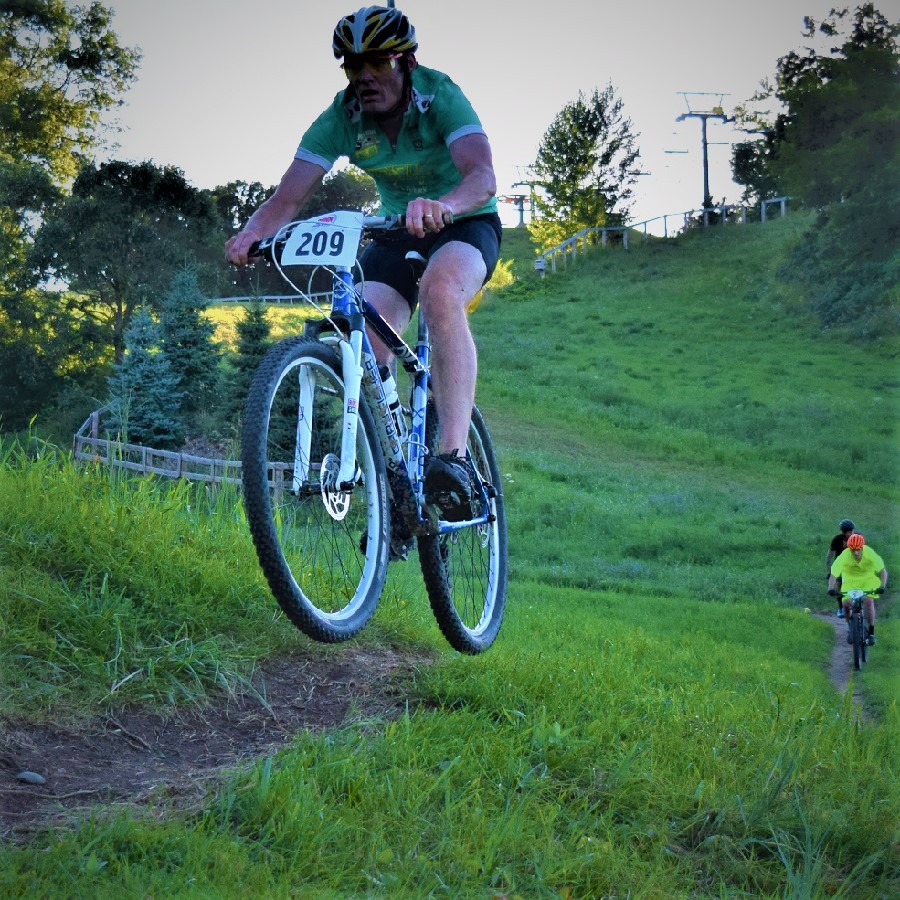
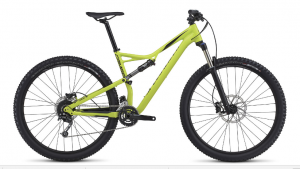
A true Mountain Bike is designed to be ridden off road over loose and rocky terrain. These actual all terrain bicycles offer suspension designed for control rather than comfort, are equipped with low gearing designed to navigate steep, loose terrain, and are built using more durable components to hold up to the constant impacts of riding off road.
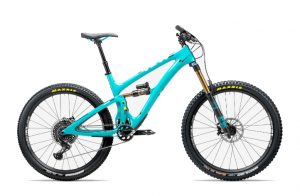
True Mountain Bikes have more suspension, and larger tires.
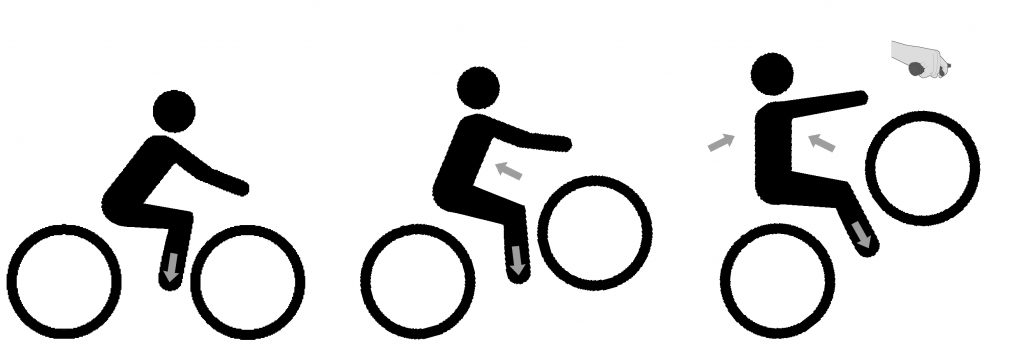
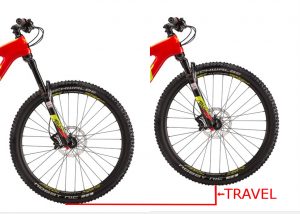
Mountain Bike Suspension
A key feature of a true mountain bike is the suspension that allows the wheels to move up and down over objects giving the rider better traction and more control. The amount the wheel can move is called travel. Therefore, a suspension fork that has 100mm of travel can move up and down 100mm (roughly 4″).
What Kind of Mountain Bikes are Available?
Mountain bikes get grouped by their intended riding conditions. As an example, Cross country bikes (XC) are designed to move quickly both uphill and downhill. For example, XC bikes are light and the suspension is most often limited to 100mm of travel.
Trail bikes are like cross country bikes, but rather than being concerned with maximum speed uphill, they focus a bit more on the downhill. Trail bikes have suspension ranges between 100mm and 140mm of travel.
All-mountain (or Enduro) bicycles take the idea of a trail bike a step further. Therefore, they offer more travel and are focused on offering the most amount of control and speed while descending, while still being capable of riding back to the top of the hill.
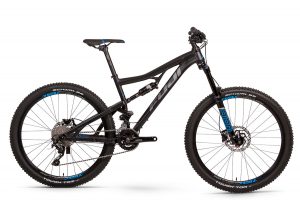
Within each of those categories hardtails (front suspension only) and full suspension (front and rear suspension) are available as well as electric assist versions (using a battery and powered motor)
What is the Deal with wheel size
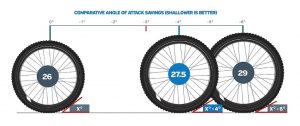
Unlike road or city/path bikes, Mountain bikes come in many different wheel sizes. The first mountain bikes were built in Marin County California 40 years ago. Notably, the only tires available were old 26″ balloon tires from the 1950’s which is why 26″ wheels were used. As technology progressed, the benefits of larger and wider tires became apparent. Initially, 26” tires were made wider for more traction (up to 3” wide). Then a few small builders tried the idea of a larger diameter wheel (29”). The benefits of a larger wheels are that objects are smaller in relation the them, offering a smoother ride, and the amount of rubber on the path is greater (better traction). Now there are a half dozen wheel sizes available, that all have their own benefits and drawbacks.
What type of Mountain Bike is best for me?
To start, think about what you want out of your ride. Someone who wants to burn through a loop of their local park as fast as possible, or likes to push themselves on the climbs as much as they do the descent would probably be a good candidate for a cross country bicycle. It’s light weight frame and efficiency will help that rider get more enjoyment/speed out of their ride.
Another rider might like to make good time on the climbs, but push a bit more on the downhill. They ride quickly (trying to beat their friends maybe) but aren’t looking to enter a competitive race. In this case a trail bike helps this rider have more fun.
Finally, another rider might totally live for speeding downhill. Getting back to the top of the hill is only an inconvenience for this person. therefore, they are willing to push a heavier bike up the hill if that weight equates into more traction and more control at high speeds. This rider would love the benefits an all mountain (or Enduro) bike gives them.
Are there any other kinds of Mountain Bikes?
Yes. There are Fatbikes, Downhill bikes, Trials bikes, dirt jumping bikes……The list goes on and on. To delve into all the subdivisions of bicycles, head into your local bike shop. Seeing and test riding the nuances of different bicycles will give you a quick education.