Category: News
-
Simple Bike Tips to Get You Going Faster, Farther, and More Comfortably
Do you want to make your bike ride more fun? How about getting all you can out of your bike? What about making your bike more comfortable? Well, here is some great news. We have compiled a list of simple bike tips to make your ride more fun, more efficient, and more comfortable.
-
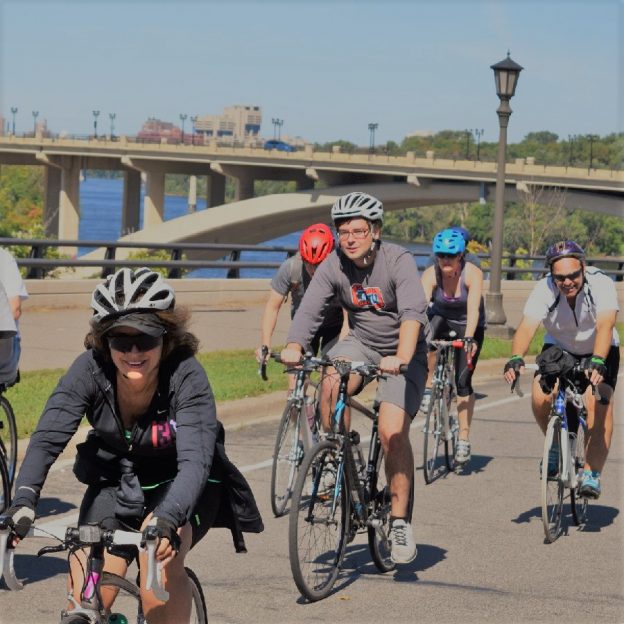
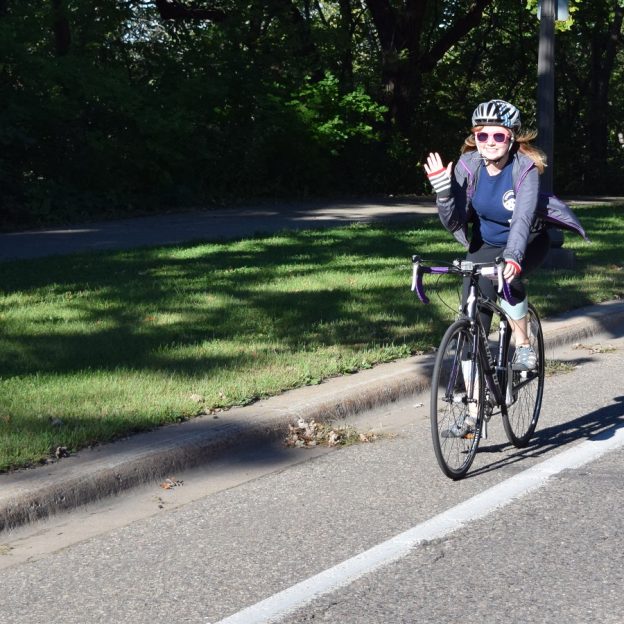
Bike Pic June 9, Thank God its Friday – Another Beautiful Weekend Ahead!
Thank God its Friday and another beautiful weekend lies ahead. So get home as soon as you can and plan your #NextBikeAdventure for warm and sunny summer days of fun.
-
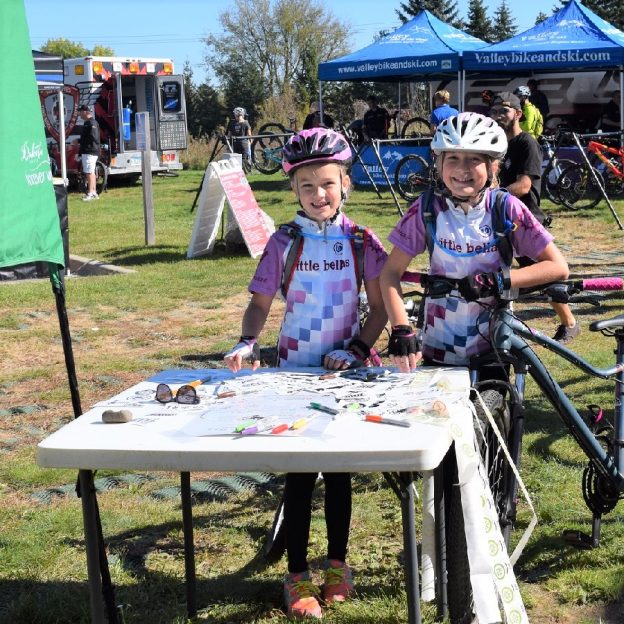
Bike Pic June 8, Schools Out and Time To Party and Ride Lebanon Park
Schools out and its time to party at the trailhead before hitting the mountain bike trail at Lebanon Park , near Lakeville.
-
Bike Crash: What to Look for and Inspect After the Unexpected
As a mountain biker that tranquil feeling is sometimes interrupted by an unexpected bike crash. Whereas crashing my bike it isn’t something I enjoy, I realize that as I try to push my boundaries, a bike crash is a real possibility. You don’t need to be a mountain biker to have a bike crash, after…
-
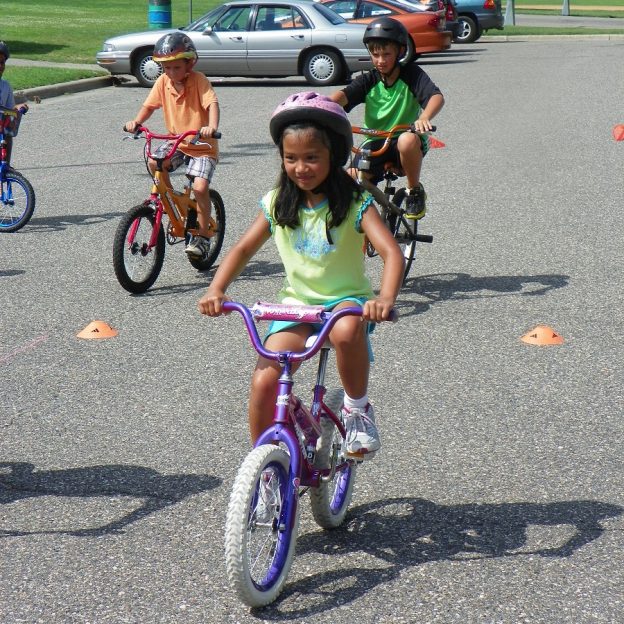
Have Fun on a Minnesota Bicycle Safety Safari for Kids at Como Zoo
Keeping you safe along life’s road this Safety Safari event can be a great family experience with fun children’s games, hands-on learning and a bike helmet giveaway. Plan to come, with the kid’s, Tuesday, June 13, from 10 a.m. until 1 p.m. at the Como Zoo, in St. Paul, MN.
-
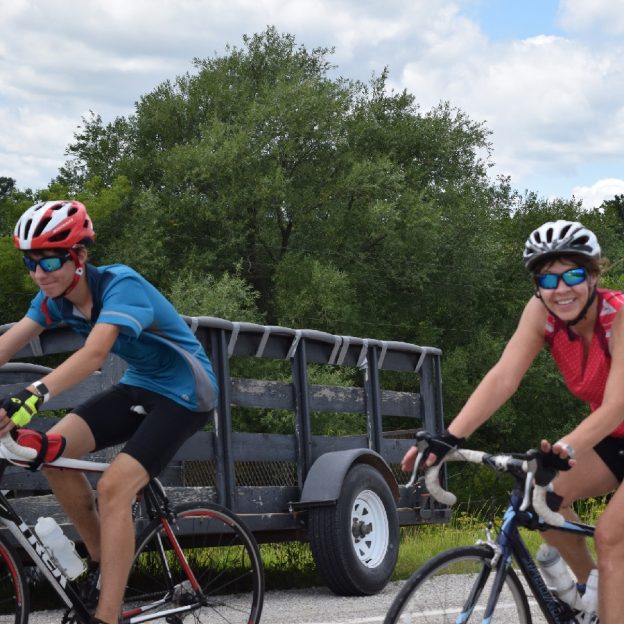
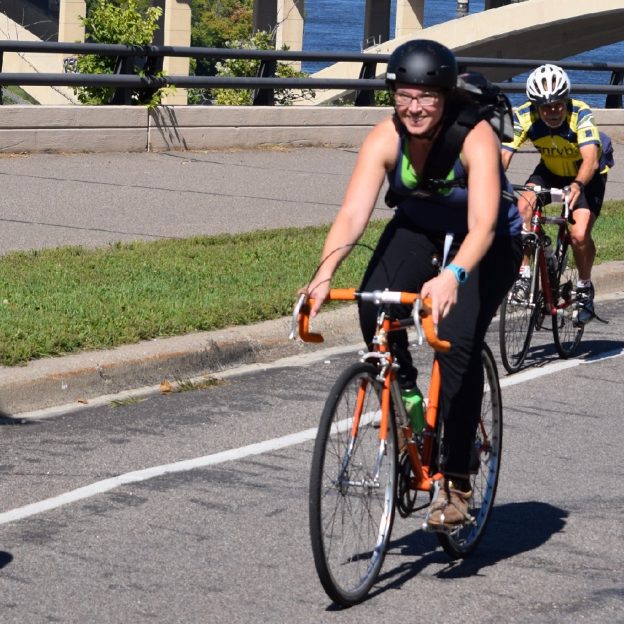
Bike Pic June 2, Still Time For the Root River Bluff & Valley Bike Ride
Have you heard? The Root River Trail Towns has made available an additional 20 spots for the 3-day weekend Root River Bluff & Valley Bike Ride, July 7, 8 & 9th. See more details and sign-up here.
-
Road Bike Hacks: Descending with Confidence and Skill on Your Road Bike
What goes up must come down and going downhill on your road bike can be fun and safe if you learn some basic skills.
-
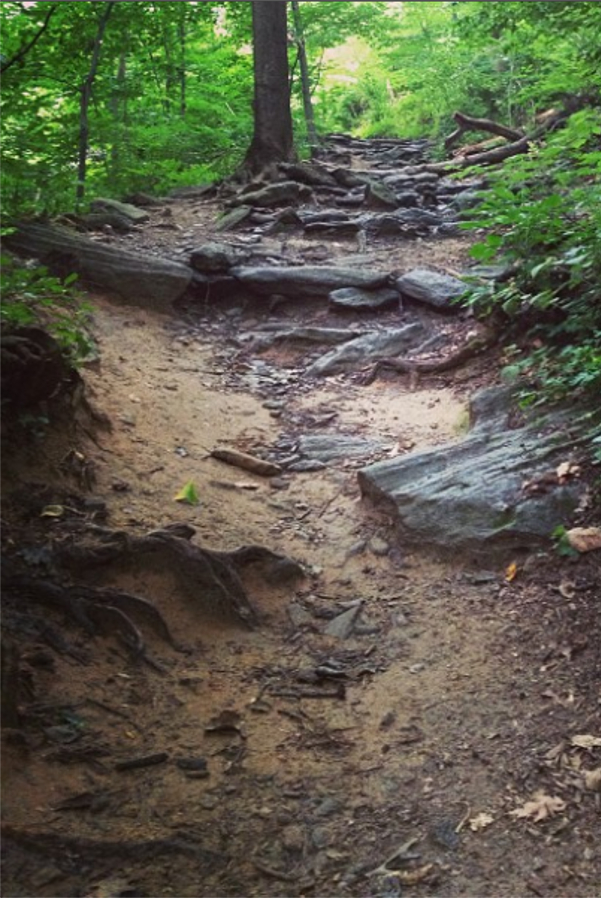
Mountain Bike Hacks: Tips and Tricks to Get You Riding Rocks Fast
One of the most intimidating situations in mountain biking is riding rocks. Places like the east coast have football field long gardens of granite that appear impossible to traverse by bike. Although as impossible as they might appear, just a few tips and some regular practice will have you zipping through rock gardens as if…
-
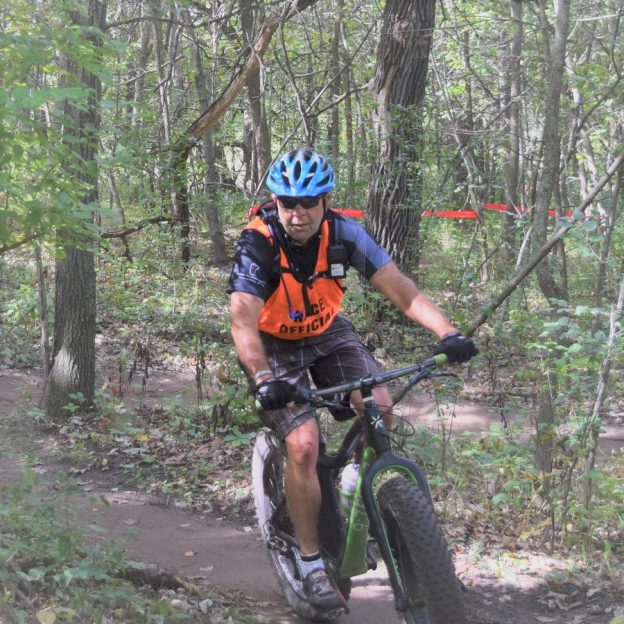
Bike Pic May 27, Checking Out The Jail Trail Course For the Upcoming Season
Here Gary Solquist , a race official for the Minnesota High School Cycling League, checks out the Jail Trail course, near St. Cloud MN, on his fatty.
-
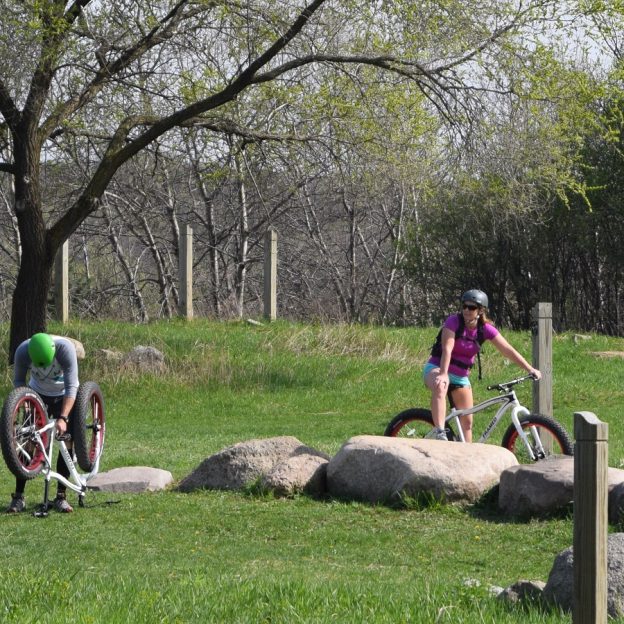
Bike Pic May 25, A Perfect Day Minnesota Day To Be On Your Fatty
A perfect Minnesota Spring day to be on your fatty, unless you are having problems. Photo was shot in Lebanon Park, near Lakeville MN. So get out and soak up the spring fun while you can!