Category: News
-
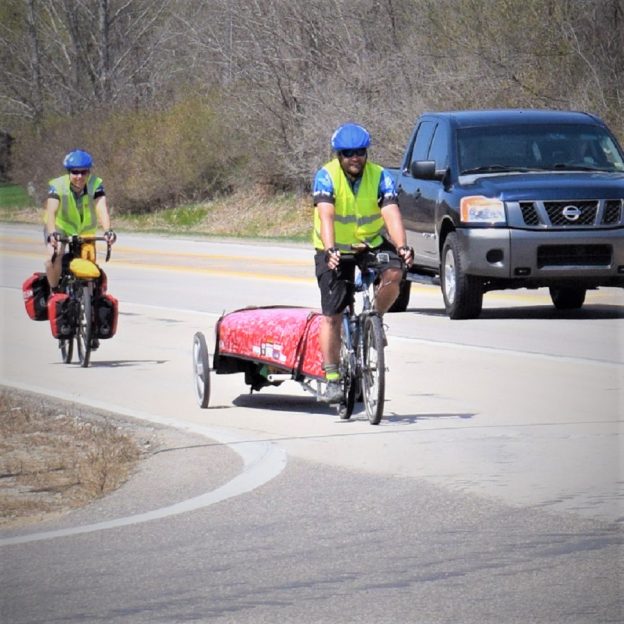
Cyclists tow canoe to Washington D.C. to save the Boundary Waters
It isn’t every day you see a peloton of touring cyclists pulling a canoe down the Mississippi River Trail (Hwy 61). After passing by, Amy & Dave Freeman stopped to explain their journey to D.C. with the canoe in tow to save the BWCA.
-
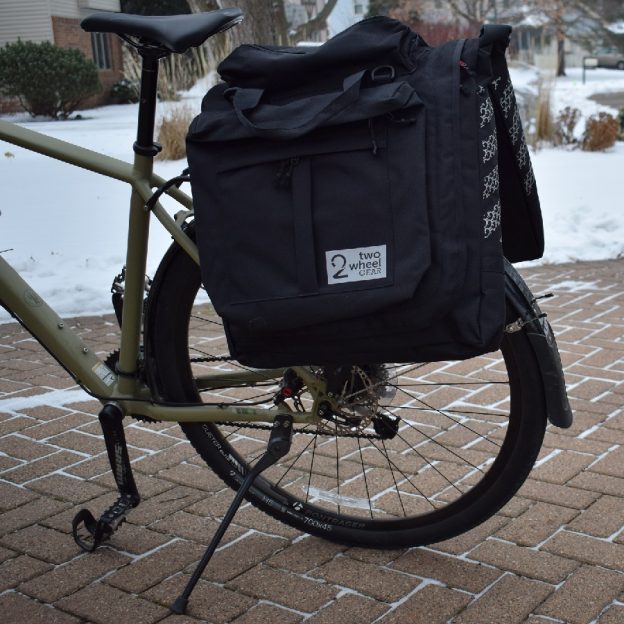
A garment pannier that will keep clothes presentable on the ride
A garment pannier for your bike may be the perfect bag when commuting to work or touring, or when packing a change of upscale duds.
-
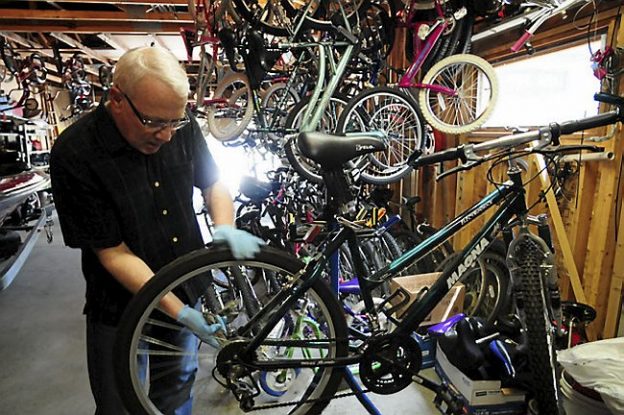
Apple Valley used bike sale benefits Kids ‘n Kinship Youth Program
Are you looking for a gently used bike? If you are and you are in the south Twin City Metro on Saturday May 12th, you may be in luck. For his tenth annual used bike sale, that benefits a kid’s you program, Rick Anderson has over 400 bicycles primed and ready for that #NextBikeAdventure.
-
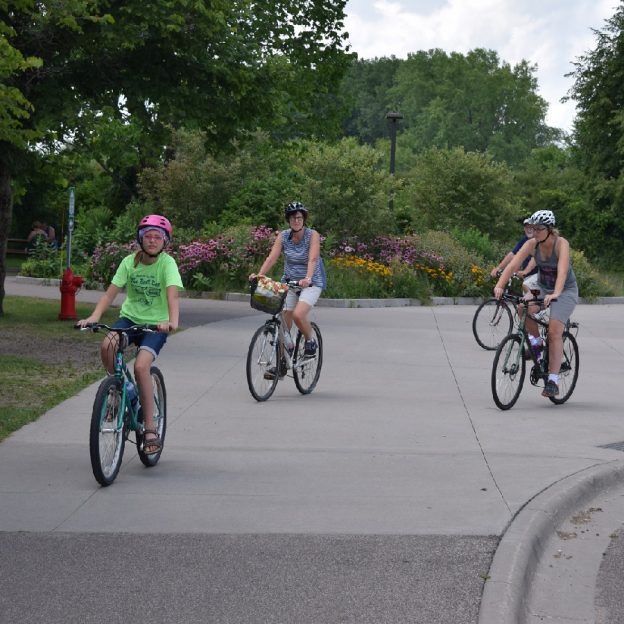
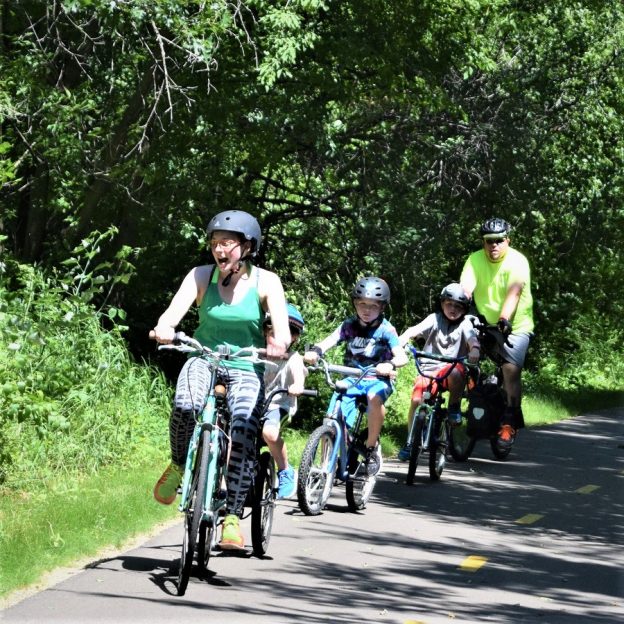
An endless bike adventure in the Twin Cities Gateway of Minnesota
Take a deep breath as you grip your handlebars and prepare for a bike adventure in the northern suburbs of the Twin Cities. You will feel as if you’re deep in the country. As this north metro community area borders the Mississippi River Trail it can be your personal playground while visiting.
-
Enjoy Minnesota’s forest and lake features on the Heartland Trail
In Minnesota’s lake country, the Heartland Trail Area never lacks when it comes to outdoor recreational activities. Discover many fond memories pedaling the trails and attending festival scheduled here throughout the summer.
-

How to choose the right cycling gloves for miles of pain free riding!
A pair of cycling gloves are one of the few pieces of apparel that make direct contact with both your body and the bicycle. They help you maintain proper grip on the bars when things get hot and sweaty, they protect your skin in the case of an accidental dismount, and they can help alleviate…
-

E-bikes, what are the differences and what’s best for your riding style
The idea of strapping a motor to a bicycle is nothing new. In fact, the first internal combustion engine bicycle was launched by Gottlieb Daimler and Wilhelm Maybach in 1885. As time moved forward motorize bicycles became motorcycles, but the call for some sort of powered bicycle never faded. Now that the E-bike market has…
-
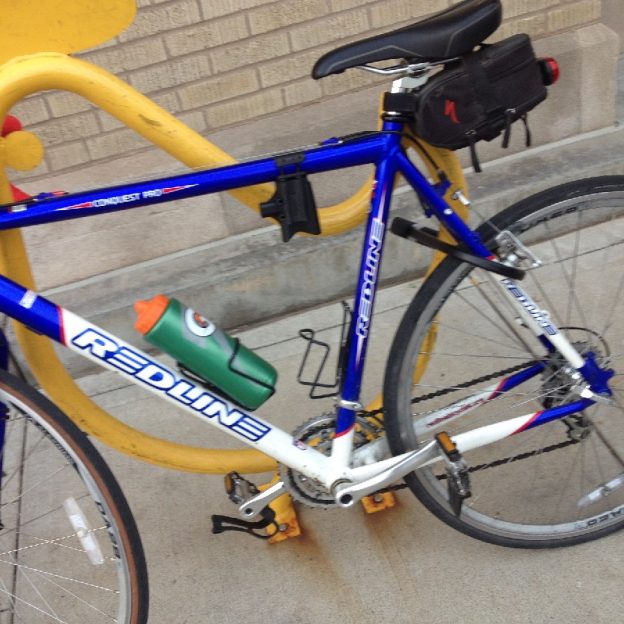
Bike Pic Ap 14, a Tuesday tip always lock up your bike
This Tuesday, lock your bike when to protect your investment
-

Plans for a new cycling complex, with the demise of the NSC Velodrome
Track cycling in Minnesota could come to an end in 2019 without the support of an new cycling center. The NSC Velodrome in Blaine, will be demolished after the 2019 racing season. The MN Cycling Center is working to build a new indoor facility to replace this important cycling venue.
-
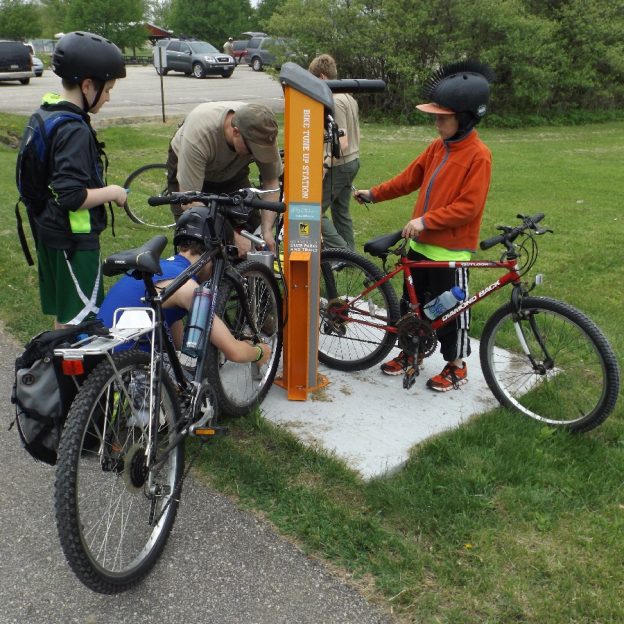
Do your part giving back to the cycling community you enjoy
Giving back to the trails, paths, roads and events you enjoy is a great way to stockpile some good karma and it’s fun! There are countless ways to give back to your cycling community. For example, you can volunteer to support rides, clean up a trail system, build a trail, support a high school cycling…