Category: Riding Tips
-

Add visibility in fall’s limited light for a memorable ride.
With fall session riding in full swing, using passively bright gear is a critical component to being better seen while riding our bikes. The two primary forms of visibility we need to focus on are passive and active visibility. Things like reflectors and bright colors are forms of passive visibility. In contrast, lights and blinkers…
-
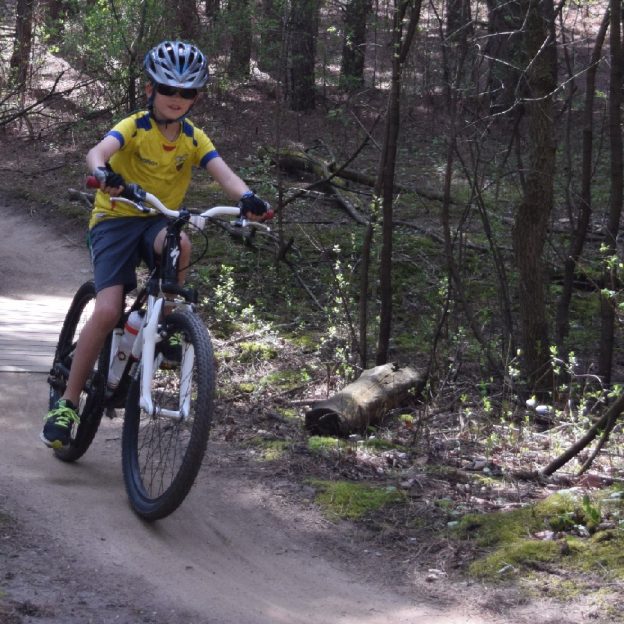
Kid’s mountain bikes: tips and tricks to get them on the trail
John Brown loves riding his mountain bike and enjoys sharing that passion with his boys. He dedicates weekends to teaching his kids the following exercises on mountain biking so they ’ love the sport as he does. Through their eyes, the sense of freedom and excitement is shown with enthusiasm giving his kids a fantastic…
-

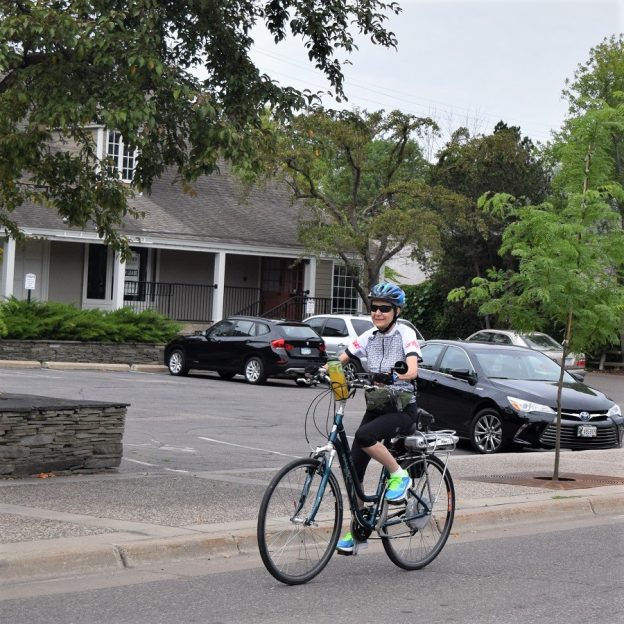
Making yourself heard with a bicycle bell, vs voice command
With summer riding opportunities here, it may be time to look for a new bicycle bell for added safety. Personally, I prefer using a bell when approaching slower cyclists and people walking on the trail, just ahead of me. Rather than using my voice alone, with a tone that may vary. I find a bell…
-
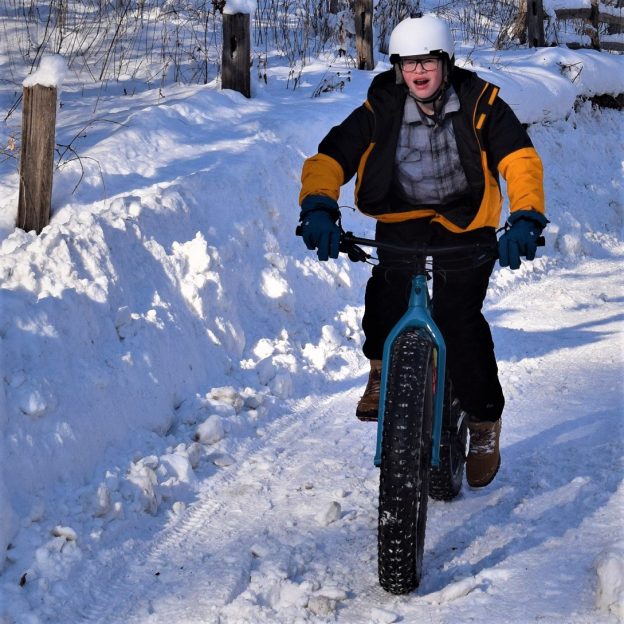
Bike Pic Mar 16, fond memories with more snow on the way
This Thursday, with more snow predicted, get out and shred those frozen elements on the trail
-

Good eating tips along Minnesota’s trails
Here are some tips for good eating along Minnesota’s trails. Maybe it’s to a new area you haven’t had the chance to explore yet. When visiting a new town, or one that you may not have been to in a while, where is the best place to eat, find that afternoon snack or a refreshing…
-
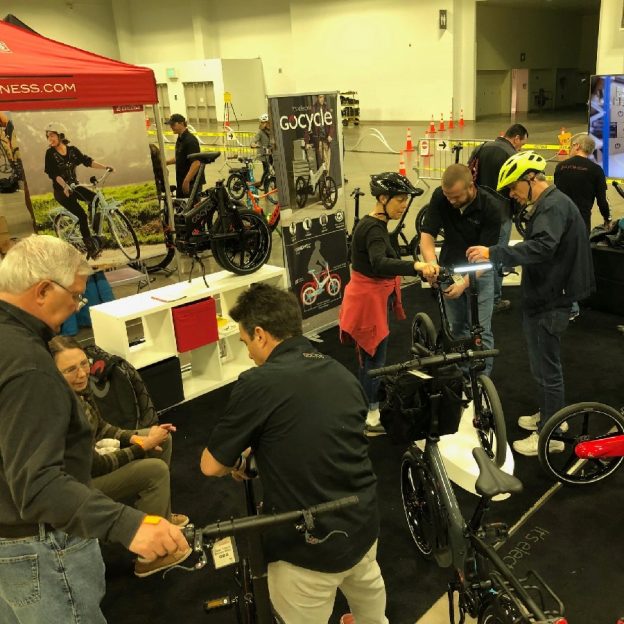
Helpful tips to considering before purchasing an electric bike
They are fun, but the real advantages of an electric bike includes their climbing efficiency, taking a bite out of wind resistance, and the ability to expand your range of travel. Before purchasing an e-bike, it is important to know how far you want to go and what type of terrain you will be riding…
-
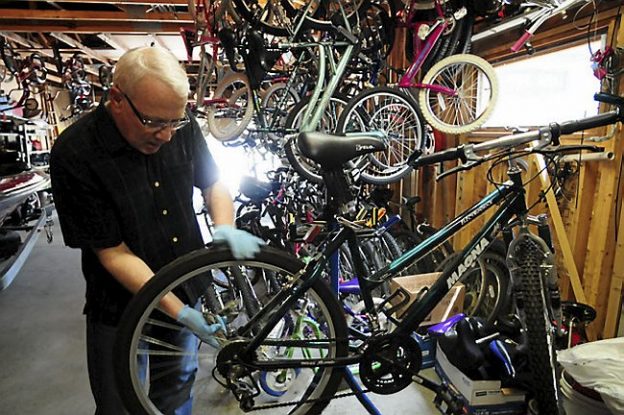
Bicycle maintenance will keep your bike in optimal condition
Like any other mechanical device, routine bicycle maintenance and cleaning will keep your bike in optimal condition as the season progresses. Additionally, routine bicycle maintenance will make your bike safer to ride when you need it. Where do you start? What do you use? Well, here are a few tips to put you on the…
-

E-bike assistance after hip or knee surgery
Recovering from hip or knee surgery can be fun when adding an electric-assist bike to the post-rehab process. After my second hip replacement and talking to others with hip or knee procedures, an e-bike can make the rehab process easier. Helping to achieve full-joint motion and an active lifestyle after surgery. Especially with the improvements…
-
E-bike-maintenance, and what if it needs a repair?
Just like a regular bicycle, doing an ABC (Air, Brake & Chain) check regularly can help you avoid any unnecessary repairs and maximize your e-bike investment. E-bikes aren’t a one-and-done kind of purchase. You’ll need to consider the maintenance costs or have a good warranty because repairs can a shocker.
-
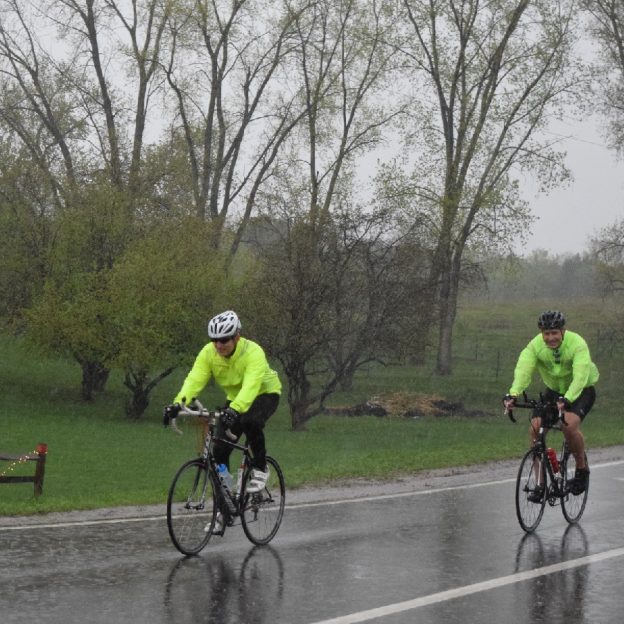
Quick and easy post bike maintenance tips after riding in the rain
Sadly, it is sometimes unavoidable to ride in the rain. In my experience, the rain actually waits for me to get as far from home as possible before starting. So, when you do get caught in the rain, how do you protect your bike from the damages of water? Read on for a few helpful…