Category: Riding Tips
-
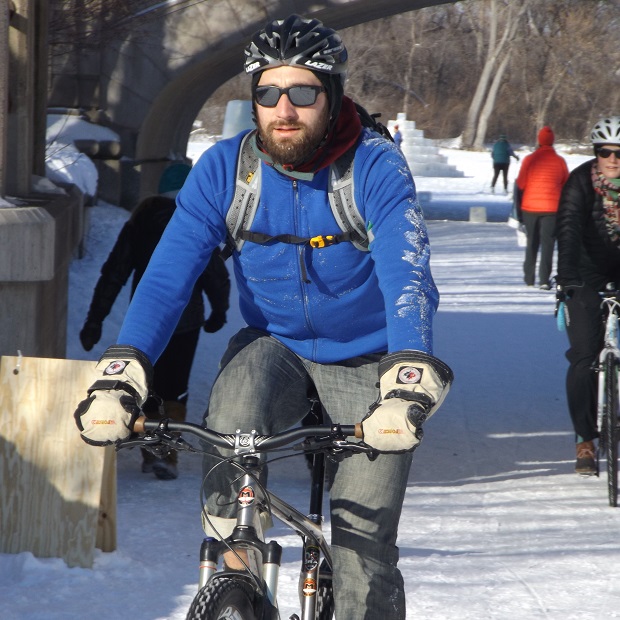
Ice safety tips to bike, ski, or walk on water
For anyone unfamiliar with the bold north, biking, skiing, or walking on water is a fun outdoor winter activity when incorporating a few ice safety tips into the adventure. Mother Nature’s temperature swings in the upper Midwest will determine when to venture onto a frozen body of water. Usually, from mid to late December through …
-
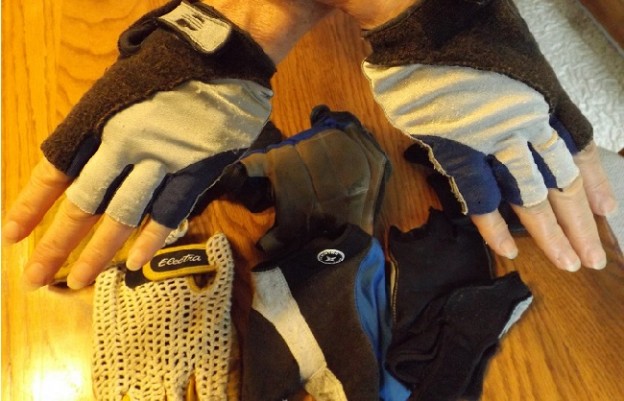
Tips to clean your bike gloves as the summer season ends
With cooler weather approaching, it’s time to clean and store away your summer bike gloves especially if you plan to reuse your gloves next year. Even if they look clean, they are not. How often have you wiped the sweat from your brow, or worse, as a tissue? Cool mornings and pollen make them disgusting…
-
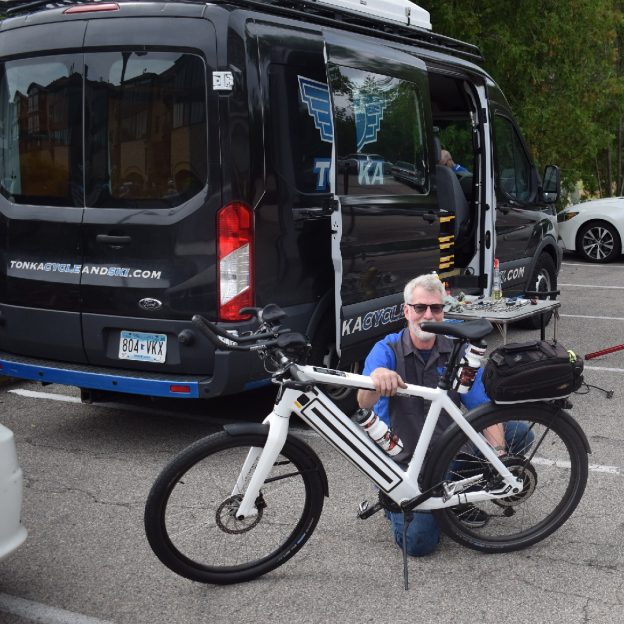
Preparing your bike for storage, a check list help protect your gear
Having enjoyed another summer season of cycling with many great memories, it’s time to think about preparing your bike for winter storage. Unless you plan to pedal your two-wheel steed throughout the winter, wouldn’t it be nice when the temperature warms next spring if you are ready to ride?
-
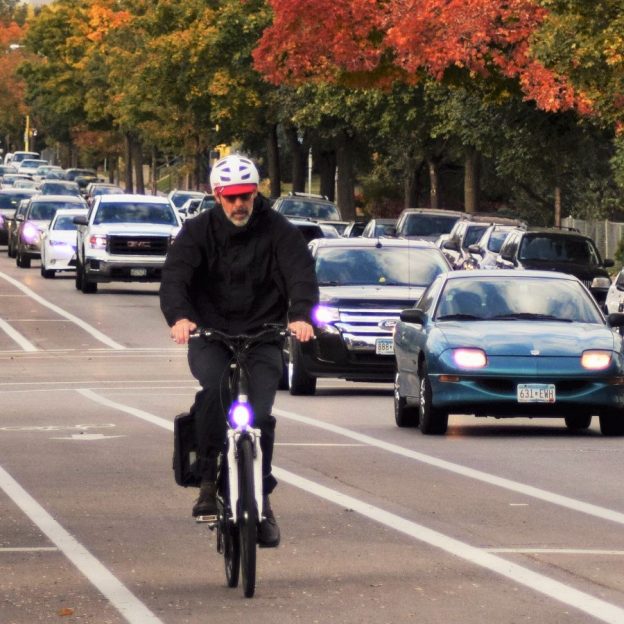
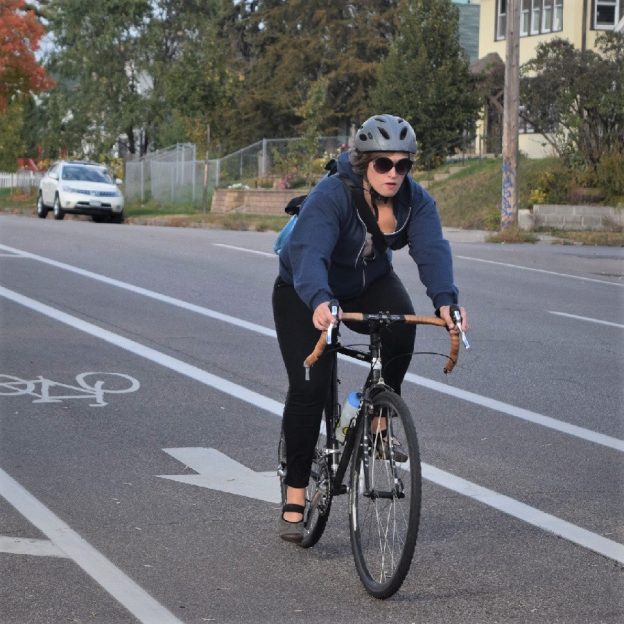
Added visibility for safety and fun in fall’s limited light
Now that fall is just around the corner and the days are getting shorter, we must consider visibility while staying active amongst the autumn colors. As the leaves change and then drop, we need to focus on passive and active visibility. Things like reflectors and bright colors are passive forms of visibility, while lights and blinkers…
-
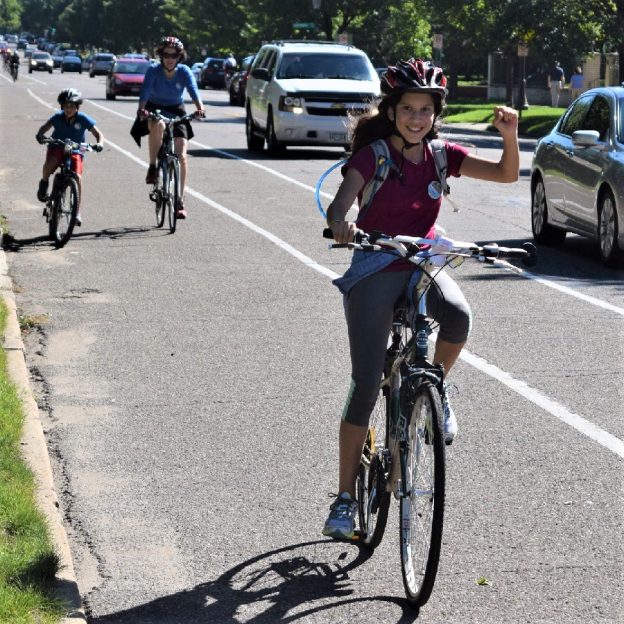
Tips and tricks to make riding to school fun, and safe
All around the country, bike paths are being built, and designated bike lanes are being established. So, riding to school can be an easy and safe option with all the colorful fall weather ahead. Many of these paths are routed from neighborhoods to nearby schools to get more kids energized by riding. To encourage your…
-
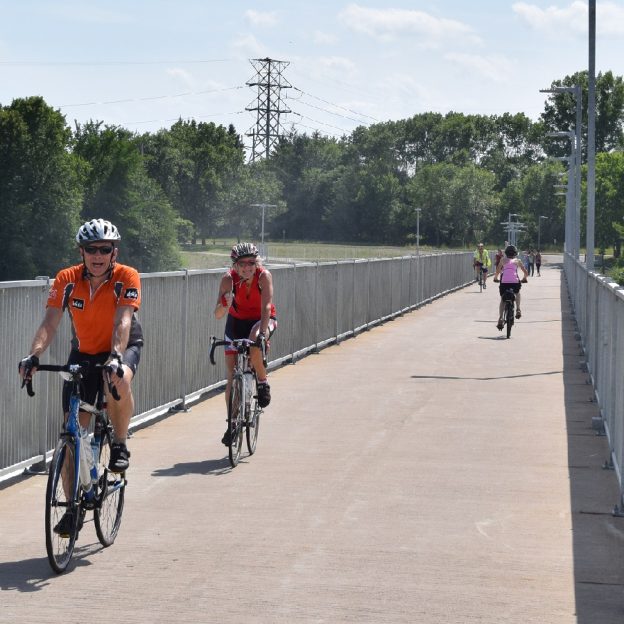
A guide to planning a safe and fun mid-summer bike trip
Now that summer is just about here, for fun in the sun, let’s plan a bike trip adventure. While hundreds of people flock to the lakes and local pools to cool down. Many, like myself, will find refreshing the soul on two wheels the best way to go. Please take a look below at how…
-
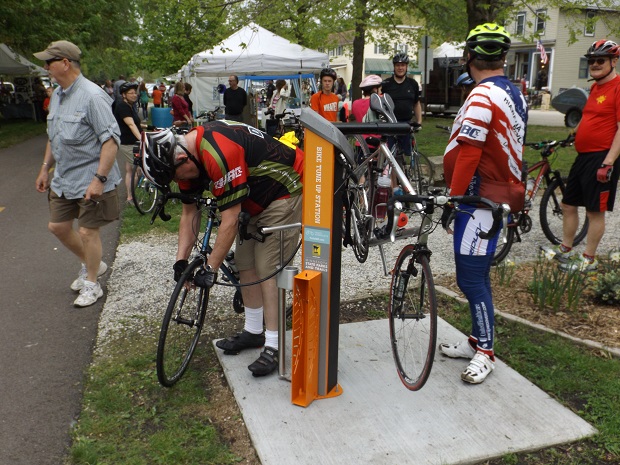
Bike tune-up tricks for better cycling performance
Do you want your bike to go faster, ride more effortlessly, and shift smoother after your annual bike shop check-up? Here are four relatively simple tune-up tasks that don’t require any special knowledge or tools, and you should see a long-lasting improvement in your bikes performance:
-
Searching for back pain causes and finding a solution biking
Over the past quarter-century, I have helped many riders get going on their bikes without back pain. I’ve been lucky to see the life-changing power of proper posture while riding a bicycle. I have also seen riders walk away from cycling due to simple discomforts and not understanding the reason. No discomfort is as debilitating…
-
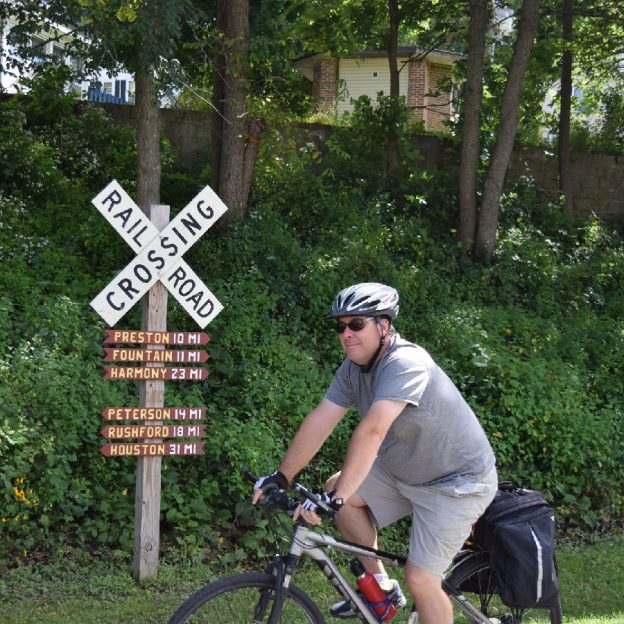
Bike commuting necessities and niceties to make your ride great
Bike commuting is an easy way to add miles, increase fitness, jump start your energy level for the day while enjoying nature, especially with warmer weather. Once you start commuting by bike, you will find the hassle factor lessens while your overall trip acts as your workout for the day. You are saving yourself hours…
-

The Minneapolis app tells you trails plowed after it snows
Minnesota’s cyclists are a hardy bunch, but ice and snow-blocked trails can put the brakes on many rides. Just in time for winter weather, the Minneapolis Park & Recreation Board (MPRB) new Trail Plowing Status Map App. is ready and waiting when it snows. Transponders mounted on the city’s snow removal equipment show in real-time…