Category: Riding Tips
-

Have fun with 30 Days of Biking in April
What started as a way to get more people active, the “30 Days of Biking” campaign has grown in popularity, and shows added heart-healthy values. Depending on the weather, your daily ride might be as little as a spin around the block, a few laps around the underground parking garage, or spinning at the gym.…
-

Courteous tips for a fun ride on or off the bike trails
With warmer spring temperatures drying out the bike trails, we thought it would be good to repeat a message developed by the International Mountain Bike Association (IMBA). These tips work well for courteous conduct on both shared-use paths and lanes. Keep in mind that procedures for yielding and passing may vary in different locations or with…
-

Common cycling mistakes easily solved for more fun
Mistakes are something humans can’t escape; nobody is perfect, especially when riding a bike. That said, we can try to eliminate some of the simple errors we may make, even if we don’t realize we are heading down the wrong path. Consider taking a look at some of the most common and damaging cycling mistakes…
-
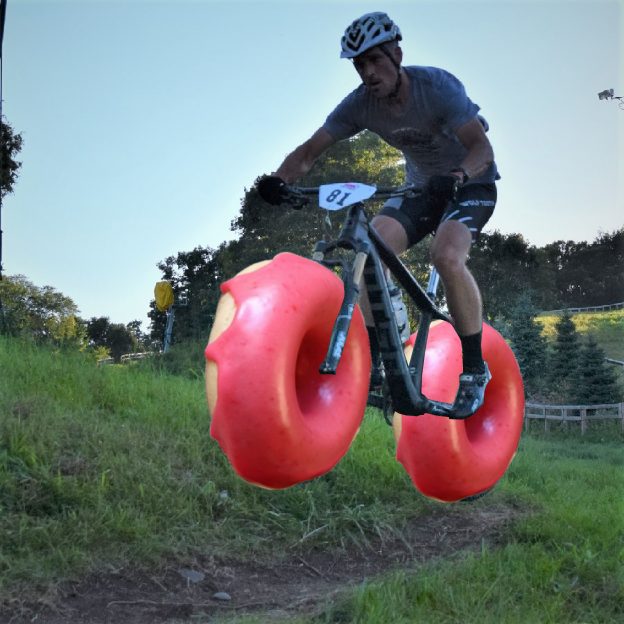
Add a casual doughnut ride to your 30 Days of Biking
Last year I spent some time in the cradle of liberty, Philadelphia. While there, I enjoyed a few rides, but the most enjoyable one was the Trek of Philadelphia’s Doughnut Ride. I was reminded of the joys of simple rides and good company rather than strenuous efforts and a competitive pace. With 30 days of…
-

Fun is testing e-bikes before purchasing
One of the most important and fun parts of buying an electric pedal-assist bike (E-bike) is taking the model(s) you are most interested in out for a test ride. Like buying a car, a test ride will help you finalize your decision once you have narrowed your selection.
-

Clothing that is waterproofi a surefire way to stay comfortable
With spring approaching, staying dry is the most critical and challenging part of biking or hiking with rain and snow in the forecast. The best way to keep warm and dry is to wear waterproof clothing. While most synthetic fabrics still insulate when wet, being damp diminishes their ability to keep you warm. Therefore, a…
-
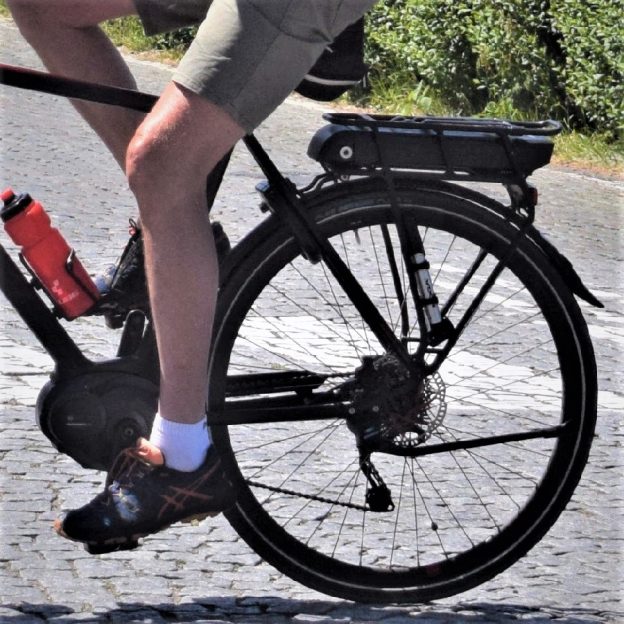
Helpful tips on charging your e-bike to maximize the batteries life
Having a fully charged battery is essential to an electric bike, with the most expensive components the battery and the motor. Today, most ready-to-go electric-assist bikes or e-bikes use a lithium-ion battery pack, and the size of the bike’s battery affects the price you pay.
-
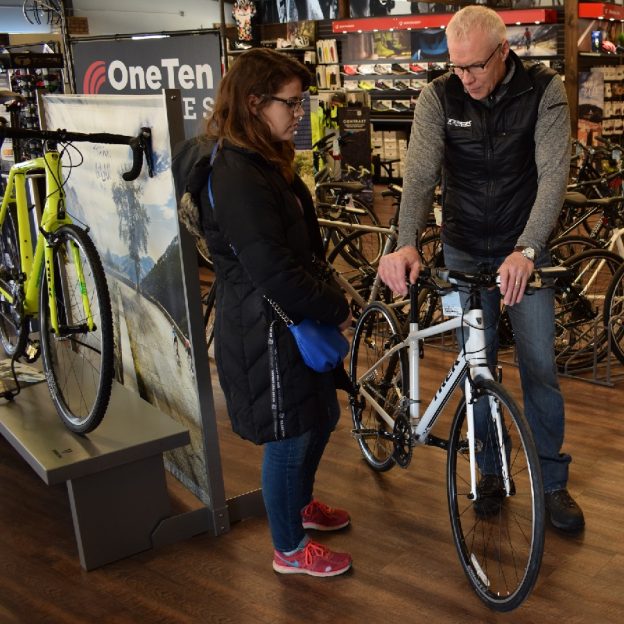
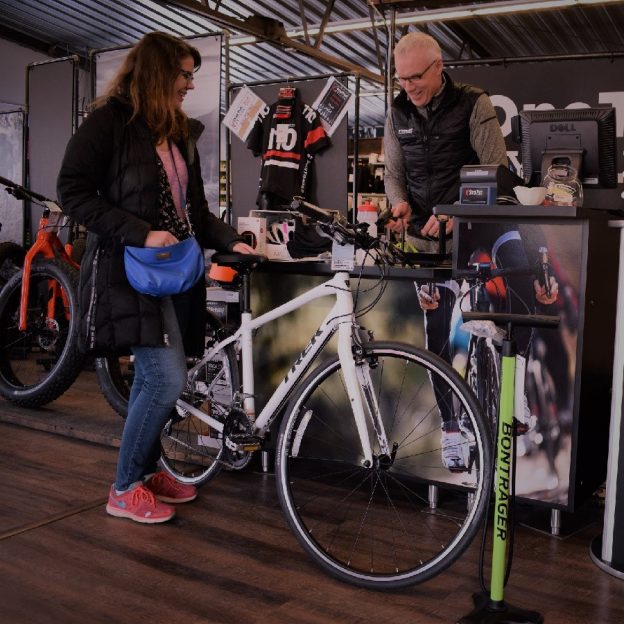
Winter in a bike shop is a great time to learn and save
The winter months are the perfect time to visit a bike shop and learn. Other than just enjoying bikes at a time when you may not be riding, there are many benefits to visiting your bike shop during the cooler months of the year. You can learn more about your bike in the slower winter…
-

Staying fit when outdoor winter activities isn’t your thing
Snow, ice, and cold make for excellent conditions for fat biking, but how do you keep in shape when winter bike riding isn’t your thing? Luckily, many fun activities, exercises, drills, and products can help keep you in shape through the winter months.
-
Quick tips for renting a bicycle when traveling
Taking your bicycle when you travel is not always possible, but don’t give up on the idea of riding altogether. Renting a bike or e-bike is an easy way to experience new places. Plus, it lets you try a new bike you may want to buy when you get home. Before you travel, here are…