Author: John Brown
-
Common cycling mistakes easily solved for more fun
Mistakes are something humans can’t escape; nobody is perfect, especially when riding a bike. That said, we can try to eliminate some of the simple errors we may make, even if we don’t realize we are heading down the wrong path. Consider taking a look at some of the most common and damaging cycling mistakes…
-
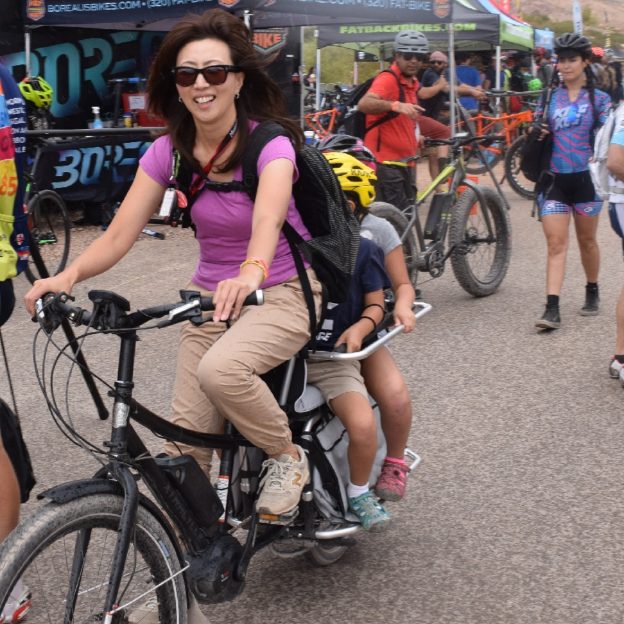
Keep your bike secure with these theft prevention measures
Bikes in general are often stolen, but for a thief in today’s crazy world, an electric bike is close to the crown jewel. For e-bikes, which are typically a larger investment, here are some basic bicycle theft prevention tips to consider. To protect your bike, no matter the value, use a combination of a U-lock…
-
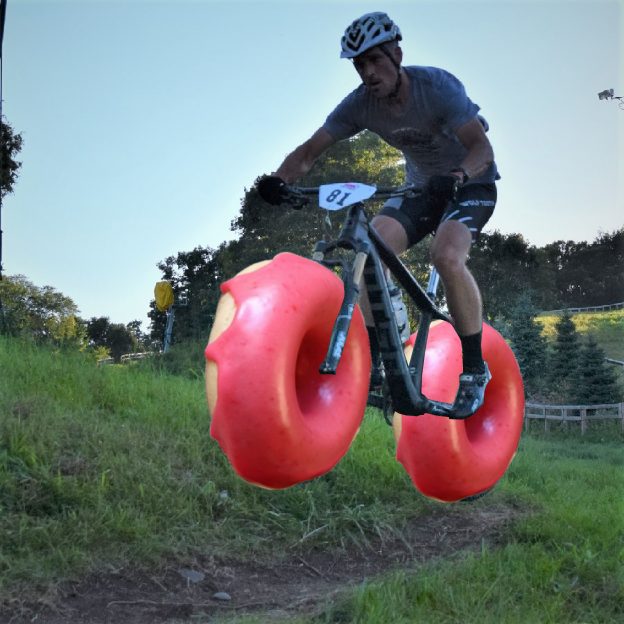
Add a casual doughnut ride to your 30 Days of Biking
Last year I spent some time in the cradle of liberty, Philadelphia. While there, I enjoyed a few rides, but the most enjoyable one was the Trek of Philadelphia’s Doughnut Ride. I was reminded of the joys of simple rides and good company rather than strenuous efforts and a competitive pace. With 30 days of…
-
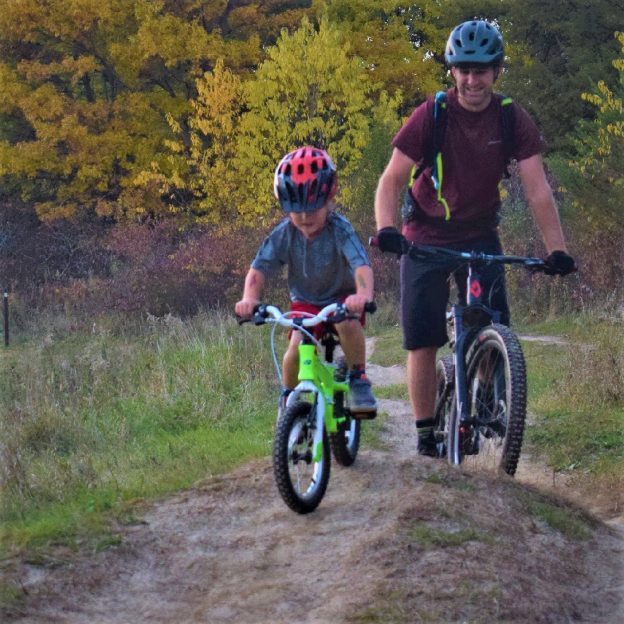
Kid’s bikes can be a gateway to a lifetime of fun.
Knowing the differences between kids’ bikes will make it easier when it’s time to get your child on a bicycle. Whether it’s the first bike or an upgrade to a bigger size. Here are some tips to help you decide what’s best for your young rider.
-
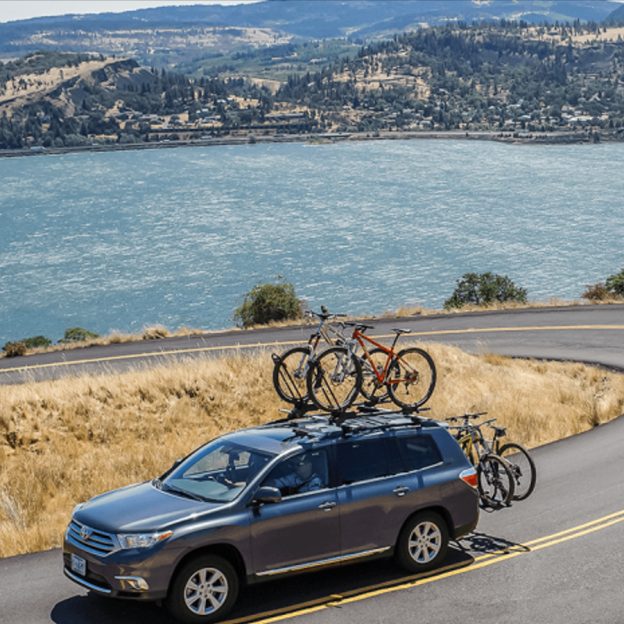
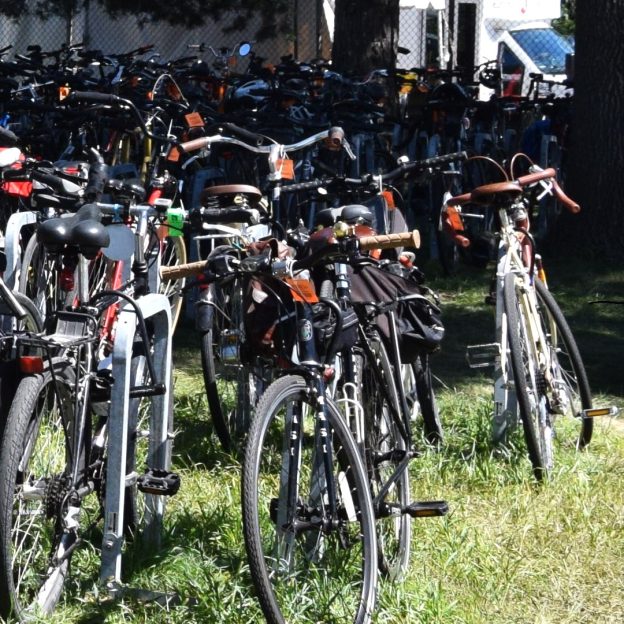
Getting a bicycle rack will protect your car and your bike!
In most cases, a bicycle rack for your car is a necessity if you want to transport your bike safely. Consequently, by trying to transport your bicycle in the trunk, you can create serious damage to it. In light of that, here are a few tips and facts about choosing, buying, and installing the right…
-

Clothing that is waterproofi a surefire way to stay comfortable
With spring approaching, staying dry is the most critical and challenging part of biking or hiking with rain and snow in the forecast. The best way to keep warm and dry is to wear waterproof clothing. While most synthetic fabrics still insulate when wet, being damp diminishes their ability to keep you warm. Therefore, a…
-
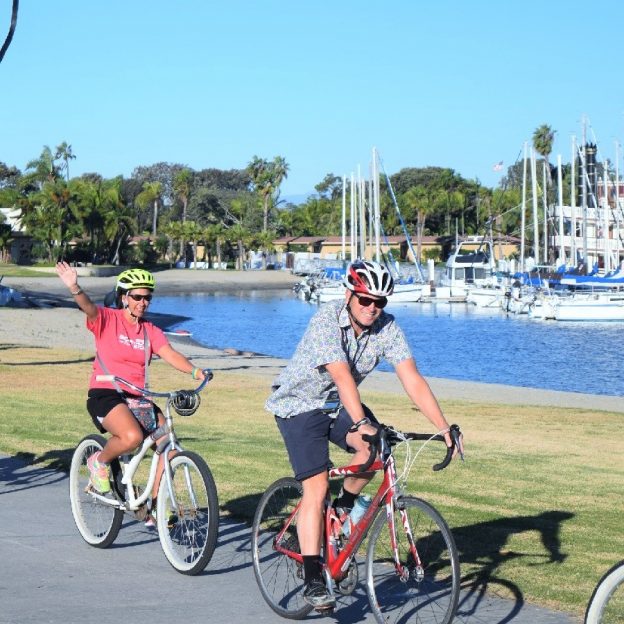
Chasing away those winter blues traveling to a warm destination
With cold temps with us for a few more months, it is not uncommon for cabin fever to set in. Many of us use this time of year to head off to a warm destination to get out of the cold and kick-start the spring season a little early. While the list of warm biking…
-
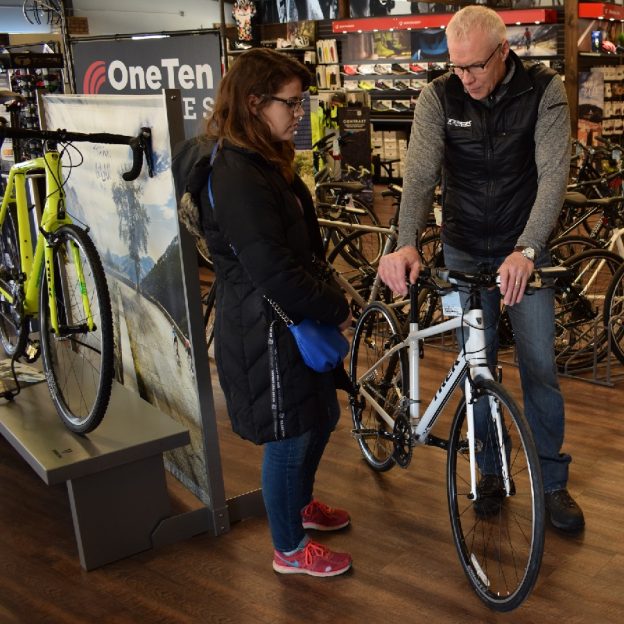
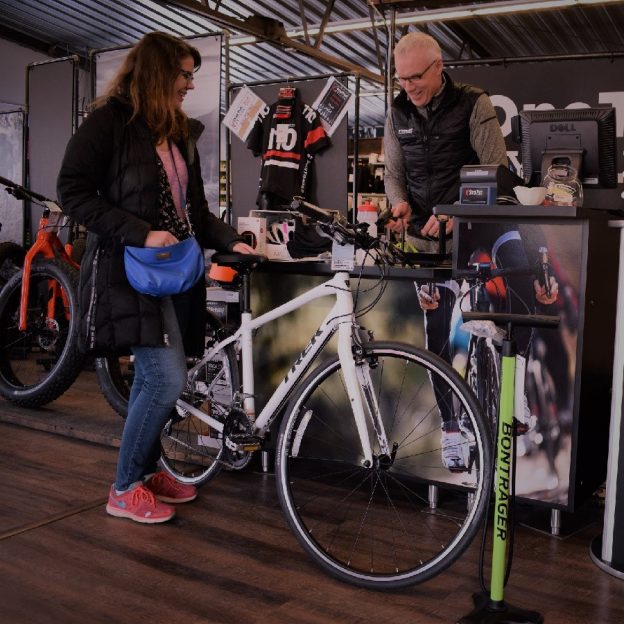
Winter in a bike shop is a great time to learn and save
The winter months are the perfect time to visit a bike shop and learn. Other than just enjoying bikes at a time when you may not be riding, there are many benefits to visiting your bike shop during the cooler months of the year. You can learn more about your bike in the slower winter…
-
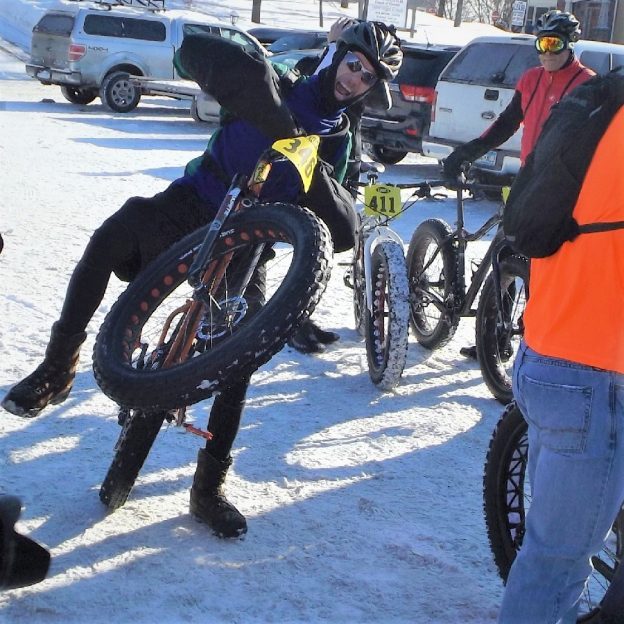
Staying fit when outdoor winter activities isn’t your thing
Snow, ice, and cold make for excellent conditions for fat biking, but how do you keep in shape when winter bike riding isn’t your thing? Luckily, many fun activities, exercises, drills, and products can help keep you in shape through the winter months.
-
Quick tips for renting a bicycle when traveling
Taking your bicycle when you travel is not always possible, but don’t give up on the idea of riding altogether. Renting a bike or e-bike is an easy way to experience new places. Plus, it lets you try a new bike you may want to buy when you get home. Before you travel, here are…