Author: John Brown
-
Bike noises may be easy to fix with these tips
Bikes are fun, and any noise distraction from your two-wheeled steed can be annoying. One distraction that is easy to fix is noises your bike usually doesn’t make. The reason they are easy to eliminate is that each noise is telling you what’s wrong. Here are some of the most common noises, their causes, and…
-
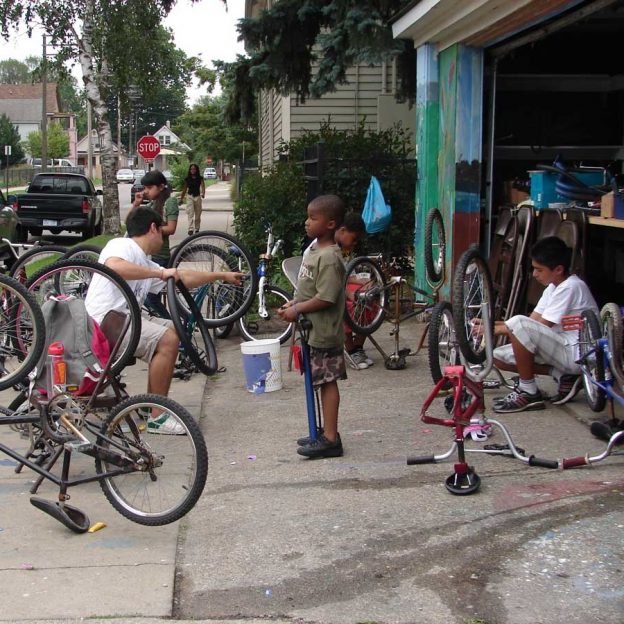
Teach your child the ancient art of bicycle maintenance
As a parent and tinkerer, one of the most fun activities I share with my two boys is teaching them how bike maintenance works. Now that my older son is riding more and helping me review a bike for HaveFunBiking, the time has come to teach him how a bicycle works. Almost everybody gets the…
-

Easy ways to pedal with your favorite music
Like nothing else, your favorite music keeps you pedaling in high spirits through the most challenging rides. So, how do you bring your favorite tunes along with limited space while riding a bike? Look at these tips below, and some of the most popular options.
-
Common cycling mistakes easily solved for more fun
Mistakes are something humans can’t escape, but nobody is perfect. That said, we can try to eliminate some of the simple errors we may make without ever realizing we are proceeding down the wrong path. Consider taking a look below at some of the most common and damaging cycling mistakes made by newbies and seasoned…
-
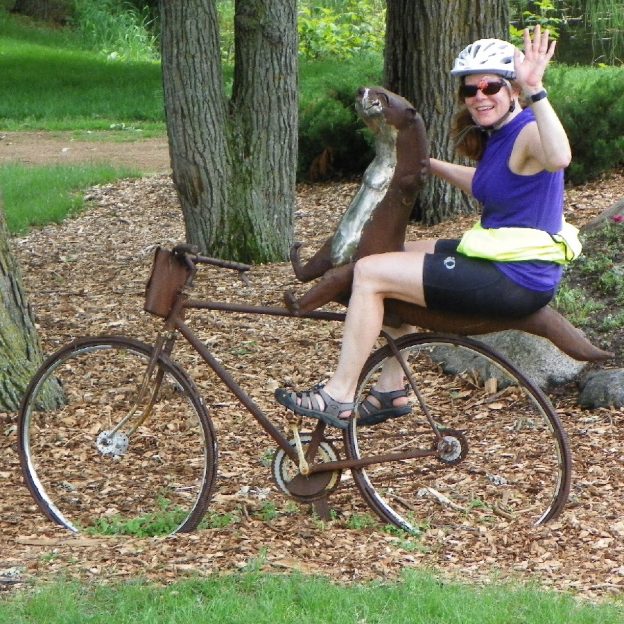
Add a casual doughnut ride to 30 Days of Biking in April
Recently I spent some time in the cradle of liberty, Philadelphia. While there, I enjoyed a few rides, but the most enjoyable one was the Trek of Philadelphia’s Doughnut Ride. I was reminded of the joys of simple rides and good company, rather than difficult efforts and a competitive pace. Now, with 30 days of…
-
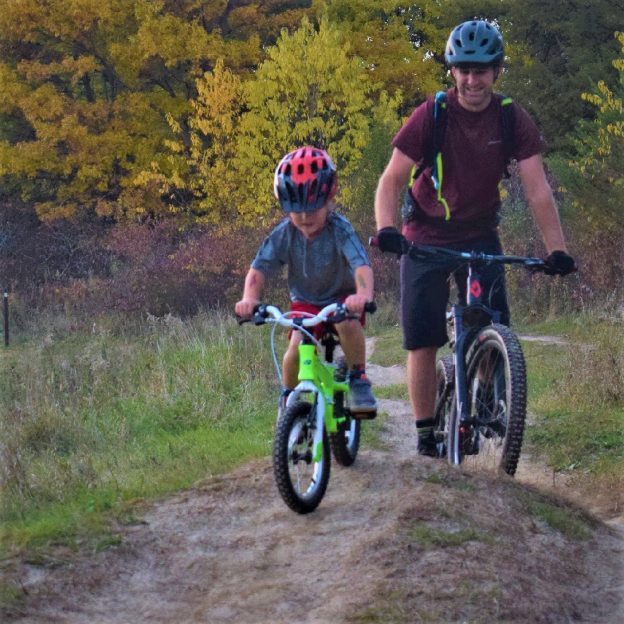
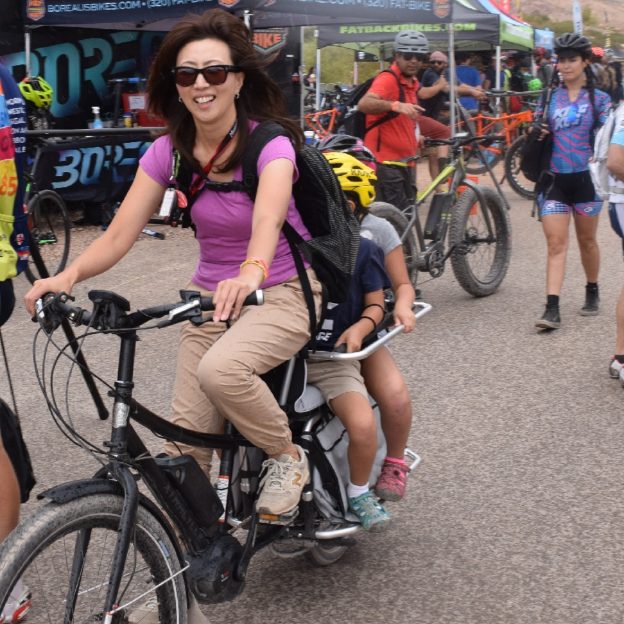
Kid’s bikes are the gateway to a lifetime of fun.
Knowing the differences between kids’ bikes when it is time to get your child on a bicycle will make your job easier. Whether it’s the first bike or an upgrade to a bigger size. Here are some tips so you know what’s best for your young rider.
-
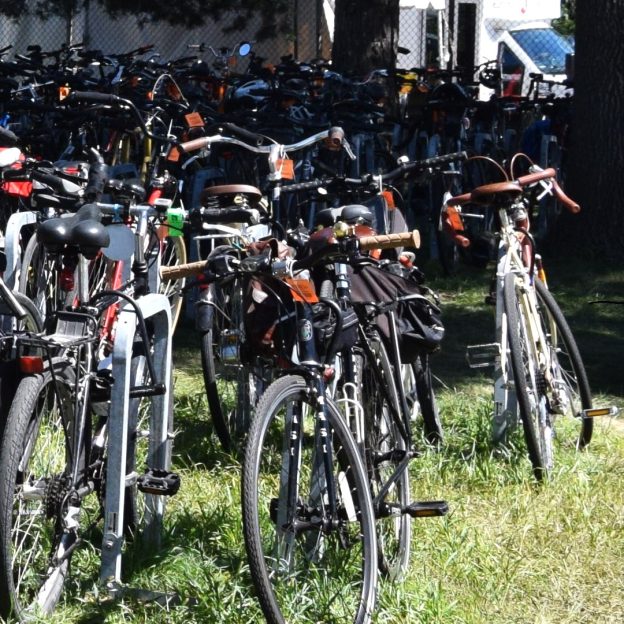
Bicycle theft prevention to keep your bike secure
Bikes in general are stolen often, but for a thief in today’s crazy world an electric bike is the crown jewel. With e-bikes, normally a larger investment here are some bicycle theft prevention ideas to consider. To protect your bicycle investment, consider using a combination of a U-lock, or cable lock, along with a GPS-tracking…
-

Waterproof clothing is a surefire way to stay comfortable
With spring approaching, staying dry is the most critical and challenging part of biking or hiking in the rain and snow. The best way to keep warm and dry is to wear waterproof clothing. While most synthetic fabrics still insulate when wet, being damp diminishes their ability to keep you warm. Therefore, a waterproof jacket…
-
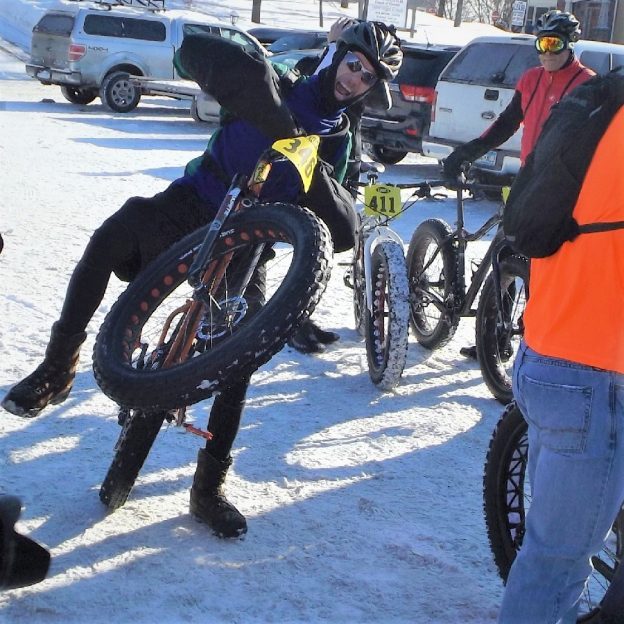
Fun and fitness when winter bike riding isn’t your thing
Snow, ice, and cold make for excellent conditions for fat biking, but how do you keep in shape when winter bike riding isn’t your thing? Luckily, many fun activities, exercises, drills, and products can help keep you in shape through the winter months.
-
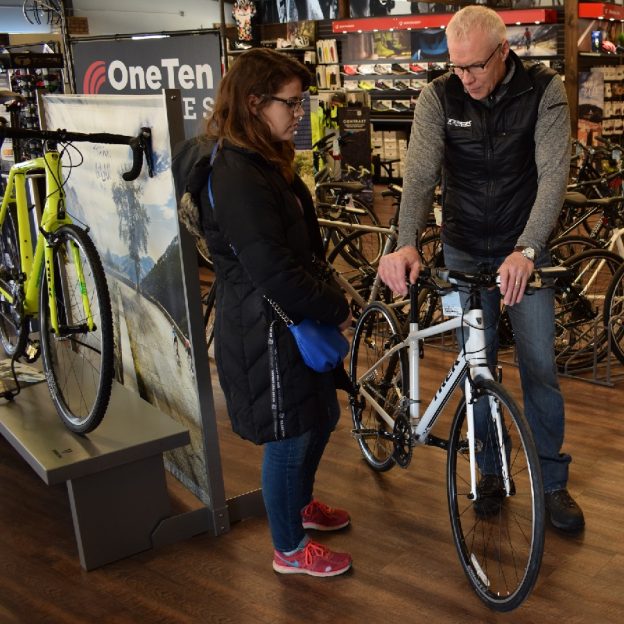
Winter in a bike shop is a great time to learn and save
The winter months are the perfect time to visit a bike shop and learn. Other than just enjoying bikes at a time when you may not be riding, there are many benefits to visiting your bike shop during the cooler months of the year. You can learn more in the slower winter months, get better…