Welcome. We're your premier source for fun places to explore by bicycle or on foot. Offering guides, maps and articles on road and trail riding for the novice to seasoned cyclist - helping you find your #NextBikeAdventure
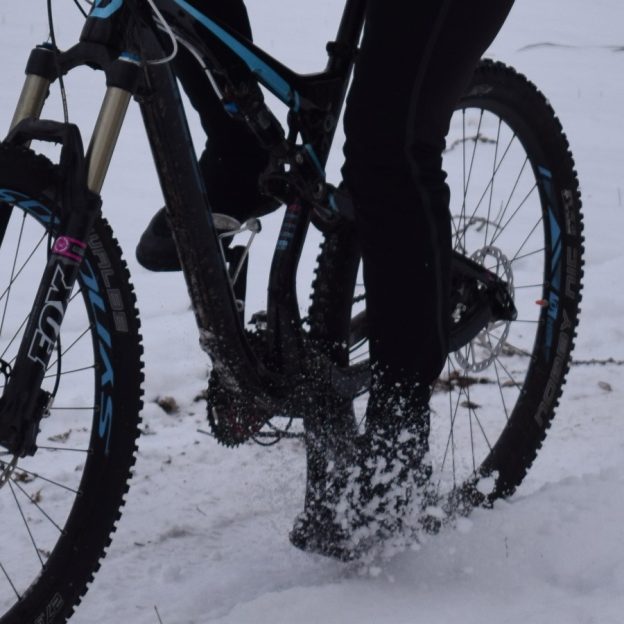
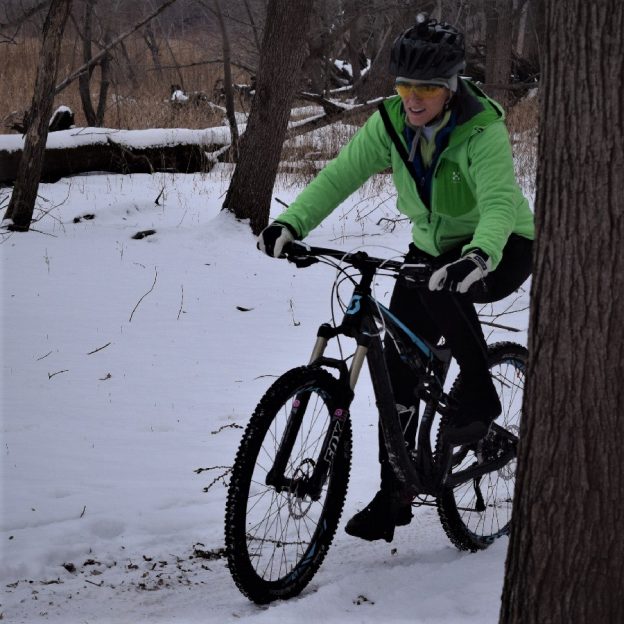
With below normal temps snow is sticking throughout the upper half of Minnesota making it perfect for some fat bike fun as this biker chick demonstrates.
What better way to continue your fall fun and your #NextBikeAdventure. View all the fun ideas and bike destinations in the latest Minnesota Bike/Hike Guide. Then plan your next outing with family and friends in one of Minnesota’s HaveFunBiking Destinations.
Thanks for viewing our ‘Yeah Fat Bike Fun’ Pic of the Day
We are now rolling into our 10th year as a bike tourism media. As we pedal forward our goal is to continue to encourage more people to bike and have fun while we highlight all the unforgettable places for you to ride. As we continue to showcase more places to have fun, we hope the photos we shoot are worth a grin. Enjoy the information and stories we have posted as you scroll through.
Do you have a fun bicycle related photo of yourself or someone you may know that we should post? If so, please send your picture(s) to: [email protected]. Include a brief caption (for each) of who is in the photo (if you know) and where the picture was taken. Photo(s) should be a minimum of 1,000 pixels wide or larger to be considered. If we use your photo, you will receive photo credit and acknowledgment on Facebook and Instagram.
As we continue to encourage more people to bike, please view our Destination section at HaveFunBiking.com for your #NextBikeAdventure – Also, check out the MN Bike Guide, now mobile friendly, as we enter into our 8th year of producing this hand information booklet full of maps.
Remember, bookmark HaveFunBiking.com on your cell phone and find your next adventure at your fingertips! Please share our pics with your friends and don’t forget to smile. We may be around the corner with one of our cameras ready to document your next cameo apperance while you are riding and having fun. You could be in one of our next Pic’s of the Day.
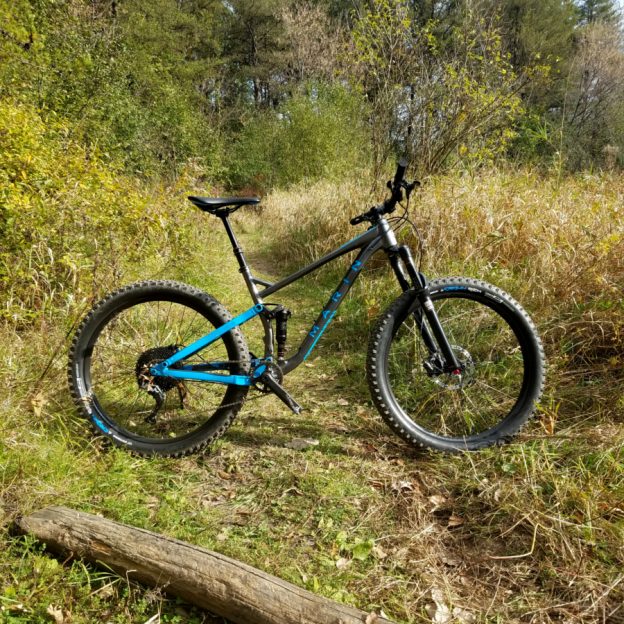
Is mountain biking in the snow season really here to stay in the upper Midwest? With temps hovering in the low 30’s, including rain and snow over the next several day. it maybe time to get the fatty out and prepare for some winter riding fun.
What better way to continue your fall fun and your #NextBikeAdventure. View all the fun ideas and bike destinations in the latest Minnesota Bike/Hike Guide. Then plan your next outing with family and friends in one of our HaveFunBiking Destinations.
Thanks for Viewing Our ‘Mountain Biking’ Pic of the Day
We are now rolling into our 10th year as a bike tourism media. As we pedal forward our goal is to continue to encourage more people to bike and have fun while we highlight all the unforgettable places for you to ride. As we continue to showcase more places to have fun, we hope the photos we shoot are worth a grin. Enjoy the information and stories we have posted as you scroll through.
Do you have a fun bicycle related photo of yourself or someone you may know that we should post? If so, please send your picture(s) to: [email protected]. Include a brief caption (for each) of who is in the photo (if you know) and where the picture was taken. Photo(s) should be a minimum of 1,000 pixels wide or larger to be considered. If we use your photo, you will receive photo credit and acknowledgment on Facebook and Instagram.
As we continue to encourage more people to bike, please view our Destination section at HaveFunBiking.com for your #NextBikeAdventure – Also, check out the MN Bike Guide, now mobile friendly, as we enter into our 8th year of producing this hand information booklet full of maps.
Remember, bookmark HaveFunBiking.com on your cell phone and find your next adventure at your fingertips! Please share our pics with your friends and don’t forget to smile. We may be around the corner with one of our cameras ready to document your next cameo apperance while you are riding and having fun. You could be in one of our next Pic’s of the Day.
Based on our quick MTB review at Interbike’s Dirt Demo, we have been extended a Marin mountain bike demo for a long term review. This week, a big brown box showed up at our office. What was inside was a Marin B-17, a full suspension trail bike just waiting for me to put together and ride. However, before I ride it and give you a full MTB review let me share with you what is actually coming out of that box.
The Marin B-17 MTB review out of the box
The first thing I have to note about this bike, is that it isn’t a brand new bike. While it’s new to me, It has been to a few demos before. That being said, I have to note the immaculate condition this bike it arrived in. Whereas the tires show signs of wear the frame and components were cleaned to a level I have never seen before. Overall, the bike built up quickly and easily for a quick spin around the block.
The Marin B-17 2 in all its glory. It won’t be so clean soon.
The Frame
The B-17 is an aluminum trail bike that uses Marin’s MultiTrac suspension system for 120mm of travel. The MultiTrac system is tuned to absorb large and small hits equally, while still maintaining pedaling efficiency. It accepts both 27.5” x 2.8” wheels as well as standard 29” wheels. On first inspection, the frame design is clean, with the cables running internally within the frame. The rear shock is tucked neatly in line with the seat tube allowing for the use of a normal water bottle cage. For additional stand over clearance, the Top tube is welded low on the seat tube and uses a jack brace for strength. Overall, the B-17 frame looks like someone sweat all the details.
Here you can clearly see the cables enter the frame. Also, take a look at how each tube is shaped specifically shaped to its intended purpose.
The Parts
The version of the B-17 I am riding is an early production demo unit. For that reason, the parts are slightly different from the final retail bike. Most notably, my demo unit uses a Rockshox Pike rather than the Rockshox Revalation suspension fork. For the most part the two forks will ride similarly, with the Pike being a bit smoother in operation. The rest of the bike uses Shimano parts for shifting (SLX) and brakes, which ensures great shifting and stopping. This model B-17 also uses a dropper seatpost, to let me get my weight back and low on the trail.
Throughout the rest of the bike, Marin uses house brand components for the rims, bar and stem. While this may have been an area of concern in the past, most brands are sourcing some exceptional parts. Any remarks of the house brand components would be incomplete if I didn’t remark on how well Marin has tied these products into the rest of the bike. The same graphic touches that make the frame look classy are carried through to the parts. The graphic are clean and understated, without overstating the bicycles brand name.
Some Classy details as seen on the Marin B-17
What I am looking forward to
I really want to see if this bike handles as well on my home trails as it did in Las Vegas. Our parks have limited climbing and smooth features, so it will be interesting to see if the plus sized tires have the same dominance on these trails as they did in the steep, rocky terrain of Nevada. Finally, I can’t wait to really tune the suspension and see what it is capable of. Stay tuned for the long term review in the next few weeks.
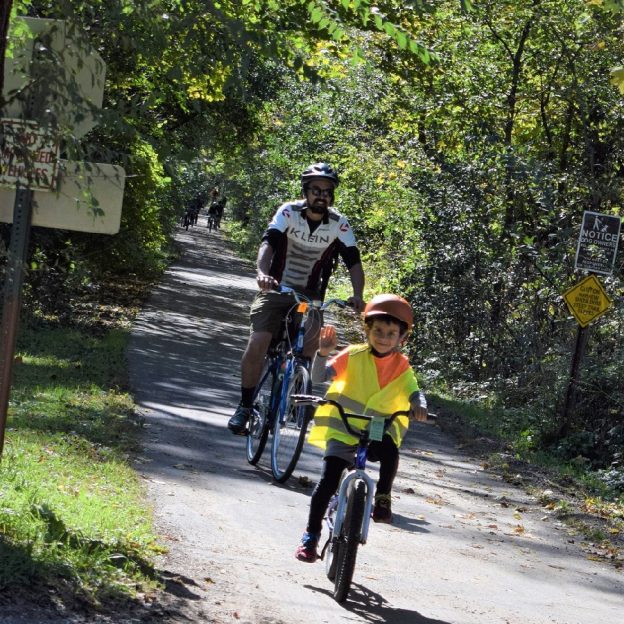
For many, fall and the beginning of the winter signals the end of bike riding, especially kids. But why should the fun stop just because the mercury drops? Instead of ending the rides, get your kids excited to ride through the fall foliage. Here are some tips for encouraging kids to keep the fun rolling.
The Right Clothes for Fall Riding
There are some easy ways to keep your kids comfortable while riding but none as important as clothing. It’s easy to make the mistake of just bundling them up in heavy pants and hoodies, but that will only lead to them being cold in the long run. It’s better to reach for synthetic fabrics that wick moisture while insulating. Cotton will insulate, however it also absorbs sweat and will quickly leave your kids wet and cold. With a synthetic material, sweat is carried off the skin and allowed to evaporate quickly.
This ride might get cut short thanks to a cotton t-shirt and a lack of gloves. Keep warm and dry for fun fall rides.
Once you have your kids dressed well, take a moment to consider their hands and feet. Even if there is no wind, riding a bike at any speed will create a wind chill for the rider. Take special note of fingers and toes by wearing gloves and socks that are a bit heavier than the weather would normally call for.
The Right Trail Conditions
I know how tempting it is to try and squeeze every last moment of riding time out in the fall months. With that said, no kid will have fun if they are wet and cold. It’s best to avoid the trails if you have recently had rain. For one, the trails are more susceptible to damage and all that water is sure to find it’s place on your kids. A better idea is to enjoy the local bike paths that are paved and dry out quickly.
Wet pavement dries far faster than wet trails. Keep your kids happy and dry, by staying off wet trails.
The Reward
I found the best way to encourage riding in less than perfect conditions is to shamelessly bribe my kids. If you can plan a destination, like a favorite burger joint or ice cream shop, your kids will usually be really excited to head out. If a destination isn’t possible, I like to put together a reward like hot chocolate once they get home. You will see that the Pavlovian effect takes hold after just a few tries.
These young bikers stops along the canal route to enjoy a creamy cool treat before resuming her bicycle ride.
The best reasons
Finally, the best reason to enjoy the cooler months is that most others won’t. Having trails and paths to yourself is safer and allows everyone to focus more on each other. So whether you are heading into the woods, onto the roads, or just around the block, the fall is a perfect time to be with your family.
Recently, we reviewed a light from the wizards over at MagicShine, the MJ-900B. Along with the light they also included an amazing Geniehelmet. The Genie is a revolutionary helmet that boasts a headlight and tail light as well as remote activated turn signals. Read on to see some more detail.
Genie Helmet out of the box
The Helmet is packaged in a relatively sturdy cardboard box with a foam liner to keep things stable. Within the box is the helmet, remote, instructions, screwdriver, battery cell, and a wedge shaped device. Once I read through the instructions, I saw that I needed to install the battery cell. In order to install the cell, I had to remove the battery cover on the top of the helmet. Removing the cover is done by loosening a single Philips head bolt and using the wedge device to pry the cover off. With the battery cell installed, activating the light is as simple as pressing the power button once.
The MagicShine Genie out of the box
Genie Helmet functions
You can tell the helmets system is activated by looking at the rear blinker. Once the system is on, the rear blinker will be lit. In order to power the headlight or turn signals you simply press the corresponding remote button once. To change mode, you press the button again. Here is the only tricky part, In order to turn off the headlight or blinkers, you need to hold the button down for between 2-3 seconds.
Front light and turn signals with inset of remote
The Genie Helmet fit
The helmet is a one size fits all variety with a dial type retention device. The overall fit is a bit round for my head, so I felt a bit more pressure on the front of the helmet than I would prefer. That being said, I run into the same problem with Giro brand helmets, so I think it’s more an issue with my head than the helmet. It has ample padding throughout so the feel of the helmet is soft.
Ample, soft padding in the Genie helmet
How it feels
With so much going on within the Genie helmet, there is some added weight. Wearing the helmet feels just like when I attach a GoPro to my standard helmet. That weight can be a little strange at first, but like the camera, you will get used to it.
More to Come
Because there are many different head shapes, there will be more than one person trying out this helmet. We want to give the fit a thorough review. For the function of the helmet, I am really excited to see if cars respect the turn signals, how warm the headlight gets, and how long the battery lasts. Stay tuned for more info.
While strolling the isles of Interbike, there were many brands offering headwear to keep you comfortable, but none as interesting as Headsweats. Beyond the great construction and performance, there are also conservational reasons to choose a brand like this.
Headsweats the product
What sets Headsweats apart from other caps is their primary material, Eventure fabric. Eventure can be manipulated to make a textile that can be warm in one configuration or cool in another. Additionally, they can have the material feel very soft on your skin or be incredibly durable. So thanks to that fabric, Headsweats can make all sorts of caps.
Headsweats’ offers a wide range of caps
The fit
Fit for their caps is easy. They have versions that tie, flex fit versions and Velcro style closures. Once on, you will notice the sweatband (included on all caps) is soft and comfortable against your skin. Once you start sweating, these caps show why they are so popular. Within the band there is a sweat absorption ring that pulls sweat away from your eyes, then allows that sweat to evaporate three-times faster than cotton.
A Headsweat cause
Headsweats started a National Parks program in order to give back to the national parks we all enjoy. 20% of the sale of every national park hat gets donated to the parks. This season they have Katmai, Golden Gate, Rockies, Yellowstone, Yosemite and Glacier national parks. Additionally, at Interbike they were showing an International Mountain Bike Association cap and donated proceeds to IMBA.
Glacier, Golden Gate, and Grand Canyon Hats
Why should you buy one?
With about a million different styles, there is no situation Headsweats doesn’t have covered. On top of the expansive line, they also have all sorts of colors and patterns available to match your personal style. Even if none of their designs tickle your fancy, Headsweats can produce custom caps for you and your team.
As you begin doing longer rides like the MS150, Minnesota Ironman, or any other charity ride, sports drinks (cycling nutrition) becomes really important. The basic rule is to replace electrolytes and calories after riding for an hour. Considering most of our rides are longer than one hour, there are many nutritional products designed help. The popular cycling nutrition products are sports drinks, gels, and bars.
Sports drinks, the problem and solution
No doubt you are familiar with the stories of Powebar and Gatorade, both companies were born out of a need for in-activity nutrition and electrolyte replacement. Since their development, there has been many amazing advancements in sports nutrition. Read on to see how Tailwind Nutrition is moving the science forward.
The issue with sports nutrition comes from the fact that in many cases sports drinks have replaced soft drinks and nutrition bars have replaced snacks in many people’s diets. This evolution has led to nutrition that is to sweet, too heavy and resistant to quick digestion during activity. Therefore, most readily-available nutrition products force your body to expend too much energy attempting to digest it. Additionally, because they take so long to digest, they often times cause a stomach soreness.
Tailwind Nutrition’s story
That problem of heavy nutrition is a big part of why Tailwind came into being. The Idea for Tailwind came when Jeff (one of the founders) had trouble keeping his breakfast down when he was competing in the Leadville 100 (a one hundred mile mountain bike race in Colorado). He was struggling with the heavy nutrition products, available at the time. In an effort to fix his own nutrition issue, he used himself as a guinea pig. He consulted nutritionists and then developed a sports drink that fulfilled his calorie requirement, adjusted for electrolyte replacement, that had an incredibly light taste.
After sharing it with friends and selling the new product out of the back of his car at events, news spread fast. Soon the story of a customer who finished a 100 mile mountain bike race, for the first time after a decade of trying, solidified the company into being.
Jeff at Tailwind mixing some new cycling nutrition products to test
How it tastes
After my twenty years of drinking different sports drinks, Tailwind is a refreshingly light drink. The taste is a great mix of sweet and savory (my guess is that’s the carbohydrates and salts natural flavor). After the initial taste, I was amazed to find that there was no syrupy aftertaste. The aftertaste is really important because as you exercise and increase your breathing rate, any residual flavor can become overwhelming. It is so light that when I finished the bottle of Tailwind, I then filled that bottle with straight water and didn’t detect any aftertaste.
How it works
The best part of the Tailwind products I feel is its consistency. In my experience most nutritional products do a great job of bringing your endurance level up temporarily, then sadly your energy level drops off drastically as you continue on. What I found with the Tailwind products, they deliver consistent energy with no severe drop. Additionally, as the temperature goes up and electrolytes are more important than calories, this product offers salts that are quickly absorbed into the body.
Why use Tailwind
I know what you’re thinking, why shouldn’t I just grab a Gatorade down at the ole’ Circle K before my weekend ride? Well, the answer is as easy as comfort, results, and cost.
First, I have tried most sports drinks on the market and all of them left me feeling the same way – sick. Those heavy drinks sit in my stomach and sometimes, attempt to come back up again. By contrast, the Tailwind stuff never made a peep in my belly. Additionally, Tailwind offers 200 calories per serving rather than the 150 calories from Gatorade. That’s not only more calories, but I found they were better calories. Typical sports drinks gave me an initial energy boost, but then dropped off severely. By contrast, I found Tailwind to give sustained energy, but no harsh drop off. Finally, Tailwind is way cheaper. Tailwind can be as little as $.75. When compared to Gatorade at more than twice that per bottle. To me Tailwind makes good sense.
All in all, nutrition is a personal preference. While I may like one product, that doesn’t necessarily guarantee it is the right product for you. With that being said, I feel that Tailwind offers a great product for even the most sensitive stomachs. Give it a try, I think you will like how it works.
Interbike’s Dirt Demo is always good for a few things, red dust, high winds, and some really expensive bikes just waiting to be ridden – and wow, was I impressed with the Marin B17. Typically the brands at Dirt Demo bring their biggest and best bikes in an effort to wow the throngs of bike shop staff members visiting. Happily, this year many brands brought their price point bikes and I have to say they were all awesome. OK, OK, I realize that calling them all awesome isn’t the type of hard hitting journalism that makes for a serious review. But, with that said, I honestly have to share just how much bike you get for a reasonable amount of money.
Bootleg Canyon
Dirt Demo is held about thirty miles east of Las Vegas in a place called Bootleg Canyon. This high plateau offers a great stage for dozens of brands to create a tent village from which to show their product. Bootleg also has paved bike paths, winding roads and miles of offroad trails. For these reviews, I used their trails, and small pumptrack. The trails are predominantly sand, rock and what riders call “kitty litter. While sand and rock is self explanatory, “kitty litter” needs some explanation. Basically “kitty litter” is loose rock, typically smaller than gravel, which is deposited over a firm surface. While sand will slow you down, and rock will make for fun obstacles, kitty litter requires a bike to have excellent traction, and handling to navigate it well.
Out in Bootleg Canyon there is plenty of room to test out the latest bikes manufactures are showcasing.
This pump track was fun and a good way to see how the Marin B17 handled
The Marin B17
The first bike I tried was the Marin B17. The B17 is one of the new crop of aluminum full suspension bikes using 27.5+ (27.5 x 3”) tires. It boasts 130mm of travel up front and 120mm in the rear and a 1×11 speed drivetrain.
The Marin B17 I rode
Thankfully, the B17 uses an air shocks which made it easy for the the Marin mechanics to quickly adjust the suspension to my riding weight. When testing out any bicycle, it is important to try to isolate problems, adjust, and see if you can get the bike to ride its best. Initially, I felt the suspension offering good control but the bike seemed a bit harsh. Rather than adjusting suspension though, I lowered the tire pressure. For the B17, the harshness came from the tire’s air pressure being too high. Happily, once I lowered it, the bike absolutely lit up.
I was amazed how well the bike handled! To start, it had a near telepathic handling character. Simply think about changing direction and the bike did it. Following that, I was amazed at how well the B17’s suspension operated. Even when thrown down rocky chutes, or off camber, jagged turns, the B17’s suspension soaked up anything I threw at it. Even more, when it was time to turn the bike uphill, the suspension resisted bobbing and transferred my pedaling effort to the rear wheel while still allowing the rear wheel to find traction.
Keeping things Consistent
I tested the B17 3 (Marin’s Top end model at $3699.99). While $3700 dollars isn’t exactly wallet friendly, Marin also produces a B17 1 AT $2099.99. That makes the B17 1 an excellent deal for such a full functioned bike. however, you may be concerned that the ride quality of B17 I rode was associated with the high end suspension parts and not the frame design. I ran both the fork and rear shock in their full “open” position. I did this to see if the frame design or shock function is responsible for the ride quality. If the function of the high end shocks were responsible the bike would behave differently in “full open”. Happily I can say that with the suspension setup in “full open” that the B17 happily climbed and descended with control and confidence.
More to come
Stay tuned for my Review of the Marin Wolf Ridge, Hawk Hill, and Haro Shift. As for right now, I am off to Dirt Demo to bring you more great product reviews. Feel free to comment below if there is anything you want to see in more detail.
In the spring of 1999 the french rim maker MAVIC launched the first viable bicycle tubeless system. By working closely with their french neighbor, the tire maker Hutchinson, they engineered a simple system that could give riders the benefits of larger air volume, greater traction, lighter weight and greater durability that tubeless systems offer. Since 1999, tubeless has evolved to be lighter, more serviceable, and lighter.
Now, with more bicycles coming from the manufacturer with these tires as standard equipment, please read on to see how the current family of tubeless systems can benefit you.
What are tubeless tires
Tubeless tires are exactly what they sound like, tires that use no innertubes. Specifically, these tire and rim systems use the air pressure, combined with a sealant, to keep your tires seated and inflated on the rim.
Why tubeless
There are a few reasons as to why tubeless tires have become popular. In essence, they are less prone to flats, they ride more comfortably, they are lighter and they offer better traction.
Less flats
Tubeless tires protect against the most common type of flat tire, a pinch flat. How a pinch flat works is the tire is compressed between a solid object and the rim. When compressed the rim and object work like scisors and cut a hole in the innertube. Considering tubeless tires have no innertube, they cannot pinchflat. This isn’t to say you cannot cut the tire in the same circumstance, but that is far less likely.
The innertube on the left (blue) is susceptible to pinchflats, while the tubeless setup on the right is immune.
Less weight
Innertubes are relatively heavy. The pair can easily weigh a pound. While a pound may not sound like a lt of weight, we need to consider were that weight is. Tires, tubes, and rims have a profound effect on the feel of a bike. Heavy rims, tubes or tires can make the bike feel very heavy (even if it’s overall weight is low). The reason for this is that when you pedal, the weight you are constantly accelerating, only to have it decelerate and need to be accelerated again is rotating weight (ie. Rim, tire, tube). Reducing the rotating weight will decrease the mass you need to constantly accelerate, and lead to a lighter riding bicycle.
More comfot
By doing away with the innertube, you automatically increase the air volume of the tire. This increased air volume allows for a greater degree of flex in the tire when you ride over objects. Increaseing that flex allows the bike to more comfortably float across road and trail.
More traction
Tires and tubes don’t actually play well together. A tire is built with high thread count fabrics that are designed to conform over objects, but not collapse under the efforts of turning and pedaling. That delicate balancing act is made more difficult when you introduce an innertube. An inflated innertube will press against the inner surface of the tire an hinder it from conforming over objects. This is because that pressure creates friction between the tire attempting to conform, and the tube exerting force on it. This, if you eliminate the tube, the tire is free to do what it was intended to do
Air Pressure (Green) forces the tube into the tire causing friction (Red)
Types of tubeless tires
There are two primary tubless systems. Tubeless, and Tubeless-ready. A true tubeless system (like the tires on most automobiles) requires no sealant to inflate the tire. The tire is built with a airtight material grafted to the inner surface. Tubeless-ready tires require you to use a sealant because they have no airtight material applied. Overall, the tubeless-ready tires has become more popular because they ride better, are lighter and less expensive. For all those benefits, the trade off is that a sticky solution must be installed into the tire to seal it.
What you need to go Tubeless
There are four primary items you need to go tubeless. They are a tubeless compatible rim, rim tape and valve, a tubeless-ready tire, and sealant. In many cases new bikes are coming stock with tubeless compatible rims (the largest expense) so check with your shop to see if you are already half way there.
What happens if you get a flat with a tubeless tire
In the rare instance where you do get a flat tire, you can simply remove the tubeless valve core, and install an innertube. There is a bit of added mess with the sealant, but otherwise changing a flat is simple.
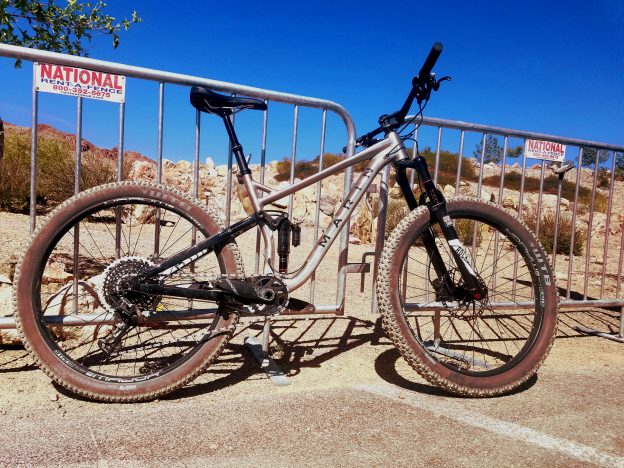
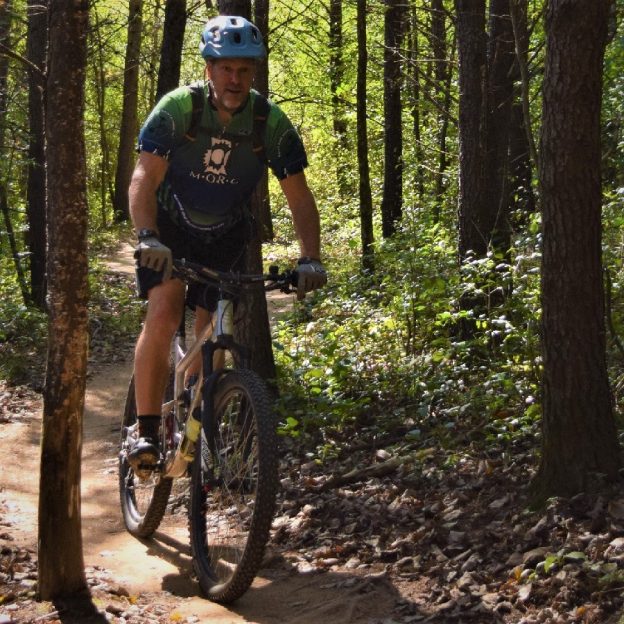
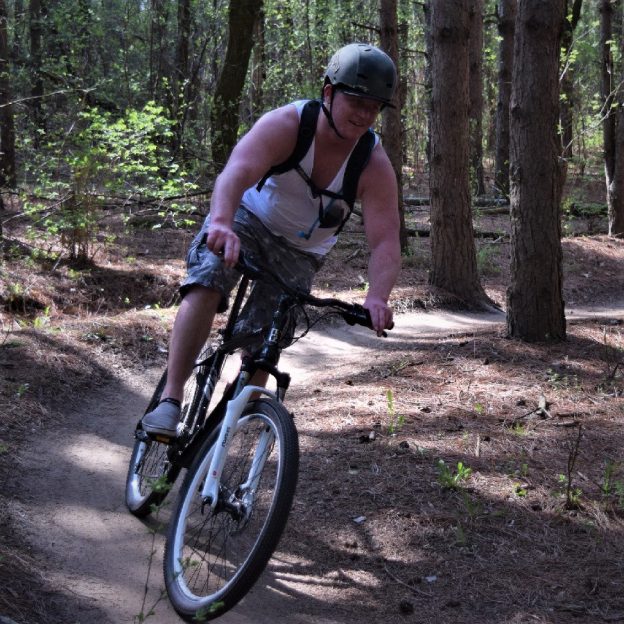
Back in the mountain bike saddle after a long holiday weekend, excited for the next challenge, here is our bike pic to start your week.
What better way to continue your summer fun and your #NextBikeAdventure. View all the fun ideas and bike destinations in the latest Minnesota Bike/Hike Guide. Then plan your next outing with family and friends in one of Minnesota’s HaveFunBiking Destinations.
Thanks for Viewing Our ‘Bike Pic’ of the Day
We are now rolling into our 10th year as a bike tourism media. As we pedal forward our goal is to continue to encourage more people to bike and have fun while we highlight all the unforgettable places for you to ride. As we continue to showcase more places to have fun, we hope the photos we shoot are worth a grin. Enjoy the information and stories we have posted as you scroll through.
Do you have a fun bicycle related photo of yourself or someone you may know that we should post? If so, please send your picture(s) to: [email protected]. Include a brief caption (for each) of who is in the photo (if you know) and where the picture was taken. Photo(s) should be a minimum of 1,000 pixels wide or larger to be considered. If we use your photo, you will receive photo credit and acknowledgment on Facebook and Instagram.
As we continue to encourage more people to bike, please view our Destination section at HaveFunBiking.com for your #NextBikeAdventure – Also, check out the MN Bike Guide, now mobile friendly, as we enter into our 8th year of producing this hand information booklet full of maps.
Remember, bookmark HaveFunBiking.com on your cell phone and find your next adventure at your fingertips! Please share our pics with your friends and don’t forget to smile. We may be around the corner with one of our cameras ready to document your next cameo apperance while you are riding and having fun. You could be in one of our next Pic’s of the Day.