Tag: #mnbikeguide
-
Bike Pic Feb 22, it’s throwback Thursday with more above normal temps today
It’s throwback Thursday, and a reminder that summer may be here early
-
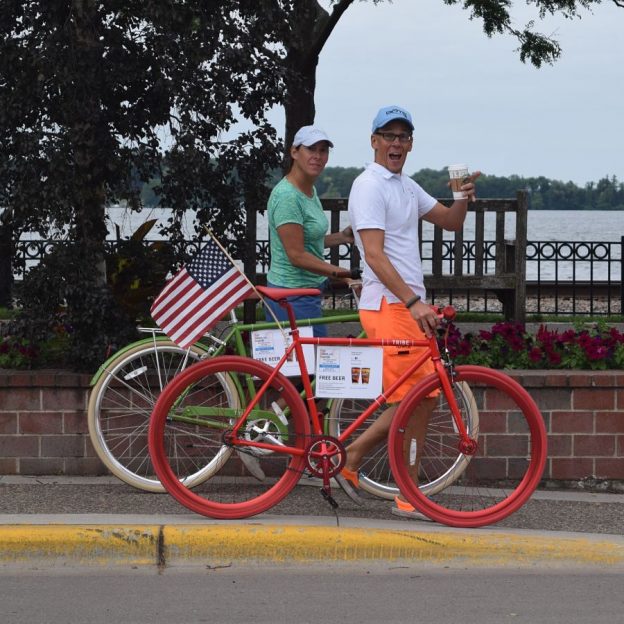
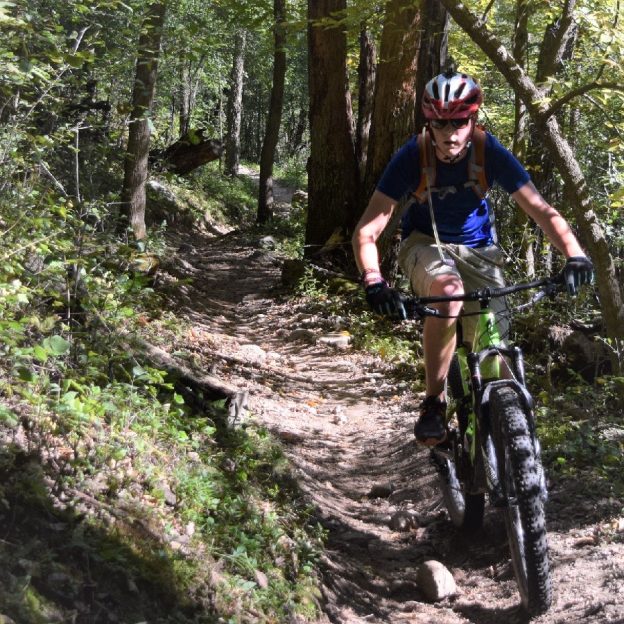
Bike Pic March 2, Take Pride In This Great Country We Live In
“From the lakes of Minnesota, to the hills of Tennessee, across the plains of Texas, from sea to shining sea.” We are fortunate to live in a country that takes pride in what we stand for and a country that is free.
-
Bike Pic Feb 20, winter riding conditions requires proper clothing
This Monday, as winter weather returns, see these tips on warmer clothing
-

Bike Pic Feb 27, its ice cream Sunday, hope you’re smiling?
Realy, it’s the last ice cream smiles Sunday for February 2022!
-
-
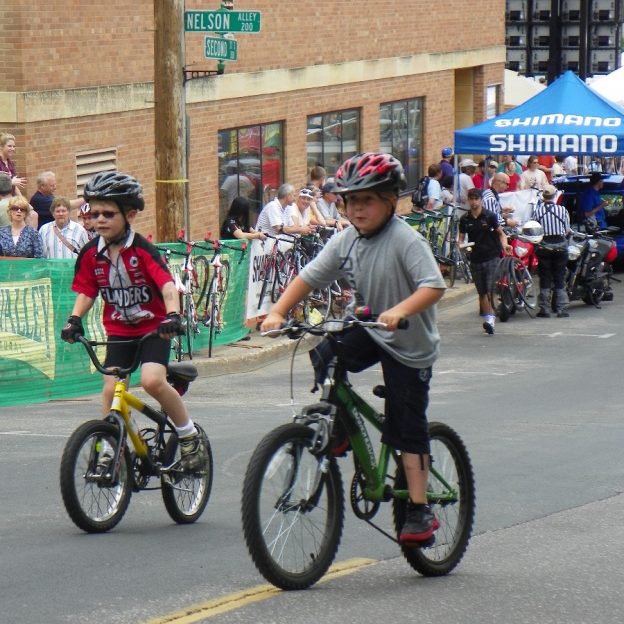
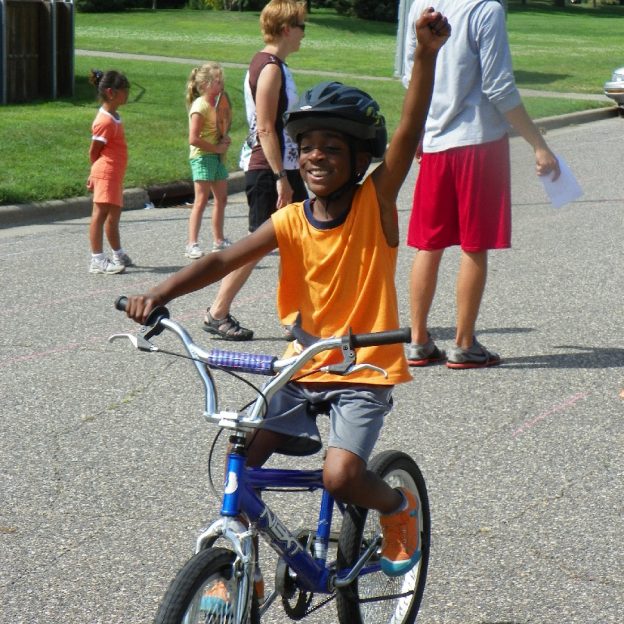
Demonstrating safe riding practices teaches kids valuable skills for life
The summer months ahead will play host to countless hours of family fun riding. During these rides is the perfect time to teach your kids about riding safely. All things considered, there are just a few topics to teach. Read below for the details.
-
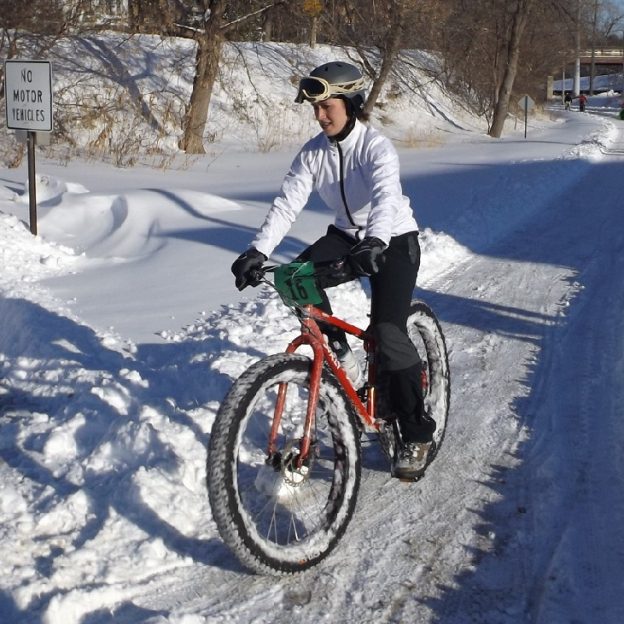
Learning to fatbike for fitness and fun as winter soon returns
As the winter winds begin to blow into our office here in Minnesota, thoughts turn toward the snow covered trails of the twin cities. We are lucky here to enjoy a massive amount of trails that are designed for winter riding. But if you are like me, and new to the whole Fatbiking thing, how…
-
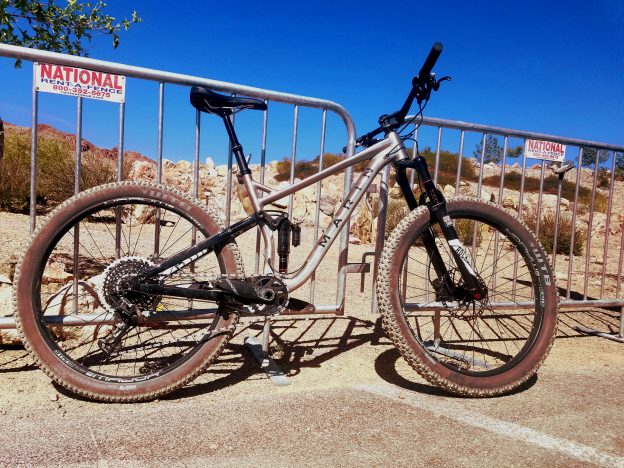
Dirt Demo Reviews: Thoughts and Feelings on the Marin B17
I was amazed how well the Marin B17 bike handled! To start, it had a near telepathic handling character. Simply I would think about changing direction and the bike did it. Following that, I was amazed at how well its suspension operated. Even when thrown down rocky chutes or off camber, jagged turns, the B17’s…
-
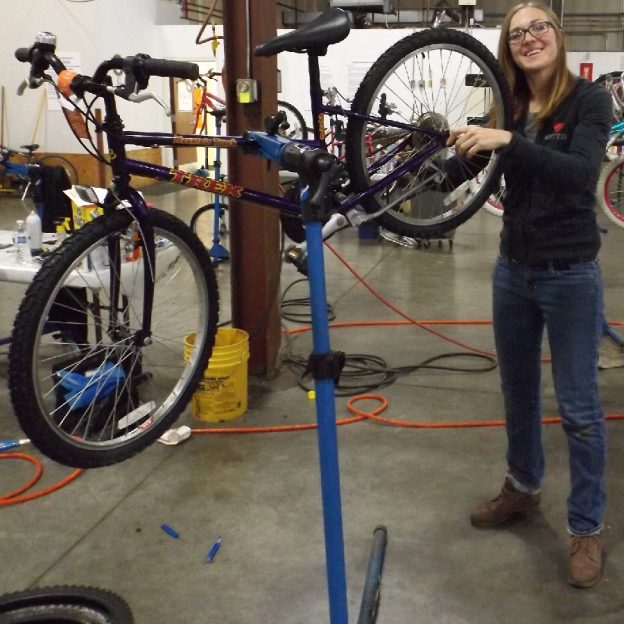
Tips and Tricks to Adjust Your Bike’s Rear Derailleur
It goes by many names, the rear derailleur. It is also known as the “s,” the “hangdown,” or the mech. Here in the U.S. we refer to it as the derailleur. The device that moves your bike’s chain from gear to gear letting you traverse hills with ease. Even though derailleurs are sturdy and relatively…
-
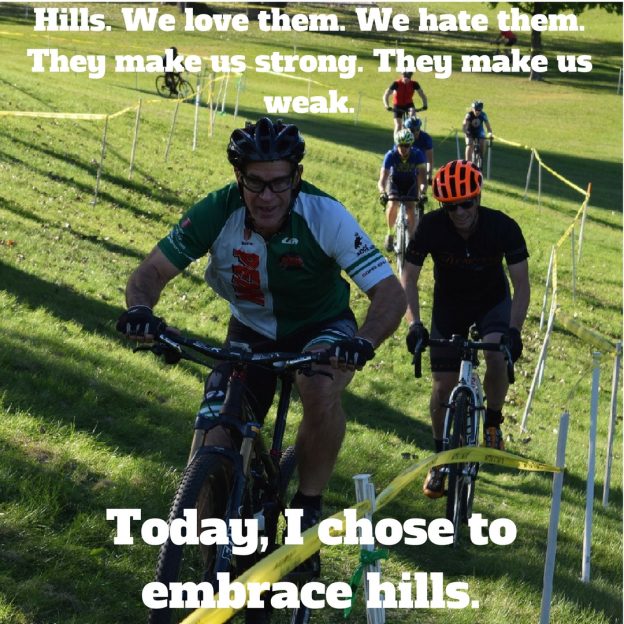
Mountain Bike Hacks: How to Descend with Speed and Confidence
For Many, the fun of mountain biking is going down hill. So how do you descend with speed and confidence? You will find it is as easy as controlling your weight, position and growing skills.