Tag Archives: clean derailleurs

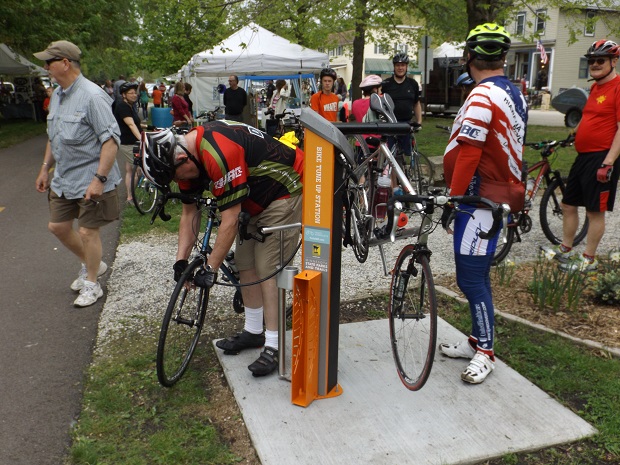
Bike tune-up tricks for better cycling performance

By John Brown,

Do you want your bike to go faster, ride more effortlessly, and shift smoother after your annual bike shop check-up? Here are some bike tune-up tricks that you may want to keep handy.

Bike tune-up tricks to remember.

Improvements in these areas are often relatively easy to accomplish with just a few simple steps. Try out these four simple tune-up tasks below. They don’t require any special knowledge or tools, and you should see a long-lasting improvement in your bike performance and ease of riding:

1. Clean your chain and lubricate often

Light lubrication is the key, wiping off excess to prevent dirt build up.

Light lubrication on your bike chain is the key; wipe off excess to prevent dirt build-up.

The chain and sprockets on your bike are key in transferring power from your legs to your wheels, making them go round and round. When the crank and gears collect dirt and grit and get gummy, not only does it slow you down, but they also wear out faster. Keeping your chain clean and lubricated is one of the best ways to keep your bike working well.
• How to clean your chain – quick and easy check out this video.

Tip: Use lightweight oil specially designed for bikes. Please avoid motor oil as it is too heavy and quickly attracts dirt and crud. Want a big greasy chainring mark on your leg? Using too much oil or the wrong kind is a guaranteed way to get one. Light lubrication is the key, and wipe off excess at the end.  

2. Lubricate the moving parts of your derailleurs.

Keep your derailleurs clean for smooth shifting.

Keep the derailleur on your bike clean for smooth shifting.

Your bike has quite a few moving metal parts that are vulnerable to dirt and moisture. These parts should be lubricated regularly to keep your bike happy and in good working condition.

Pivot points on the brakes and derailleurs are good places to target because they are vulnerable to attracting dirt and grit due to their placement on your bike. You can spot many of these places by watching your bike in action and seeing where metal parts move against and around each other.

For instance, think about your brakes. Most road bikes are mounted on a bolt on the frame above the wheel. When you squeeze the lever, the brake pivots around this bolt as it contracts. These are places where you want to apply a couple of drops of oil.

3. Inspect your brake pads.

check your brakes to see that the pads are clean and aligned correctly.

Check your brakes on your bike to see that the pads are clean and aligned correctly.

A quick check of your brake pads will often reveal potential problems that are easy to fix. You want to check:
• Are your brake pads adequately aligned? Brake pads are the little rubber things that clamp down on your rims to slow you when you squeeze the brake levers. Ensure they are hitting the rims evenly and aren’t rubbing the tire or missing your rim partially or entirely.

• Are the brake pads toed in? The bike brake pads should also be “toed in,” which means the leading edge of the pads should touch the bike rim first when you lightly apply the brakes. The pads squish a little, and you should get complete contact with the rim when you squeeze down hard—this helps prevent squeaking.

• Check for junk embedded in the brake pads. Inspect the surface of the brake pads where they meet the rims, and using a sharp, pointy instrument like a knife, pick out any bits of sand or metal that may have become embedded in the pad. Removing this grit prevents the pads from wearing and scratching your rims and helps them provide more even and consistent stopping power. Need more info? Check out this video.

4. Check the pressure on your tires.

Always check your tires air pressure.

Always check your bike tires’ air pressure.

Checking the tire pressure is one of the simplest things you can do for the best results. Surprisingly, most people overlook this both on their bikes and cars. Paying attention to keeping the proper level of air pressure in your tires accomplishes many things, including:
 Makes pedaling easier
• Protects your rims from damage
• Prolongs the life of your tires
• And it makes it much less likely that you will get a flat
.

And, checking for proper air pressure in your tires before every ride is quick and easy to do.

Simply look for the recommended air pressure for your bike’s tires. It will be printed on the tire’s sidewall in both English and/or metric units. When you know what that number is, inflate the tire and check the air pressure as you pump to ensure that you’re on target. You’ll need a tire gauge, either built into your pump or a separate gauge, to measure the tires’ air pressure. Be sure to check the pressure frequently as you pump up the tire so that you do not overinflate your tire. See this video for more information.

Also, take a quick moment to check your tires for proper inflation before each ride and add more air if needed. It is not uncommon for tires to gradually lose air over several days, even without having a flat that needs to be replaced. Taking just this simple and easy step will prove valuable to you in the long run.

If you are still having problems, need to adjust the derailleurs, or need to get some new tires if the ones on your bike are several years old, visit your local bike shop. They will fix you up and share some more easy maintenance tips.

Now go out and have fun riding!

About John Brown, the author

As a lifelong cyclist and consummate tinkerer, John operates Browns Bicycle in Richfield, MN. It all started for him in grade school when the bike bug bit, and that particular fever was still there. Now, and over the past thirty years, he has worked at every level in the bike industry. Starting, like most, sweeping floors and learning anything he could about bikes. He eventually graduated as a service manager and then as a store manager.  Through the years, he has spent extensive time designing and sourcing bicycles and parts for some of the largest bike companies in the world. All the while focusing on helping as many people as possible enjoy the love of riding a bike. In that pursuit, he has taught classes (both scheduled and impromptu) on all things bikes. John also believes in helping every rider attain their optimal fit on the bike of their dreams. Please feel free to stop in any time and talk about bikes, fit, parts, or just share your latest ride. You can also see more of John’s tricks and tips on the Brown Bicycle Facebook Page.