Category: News
-
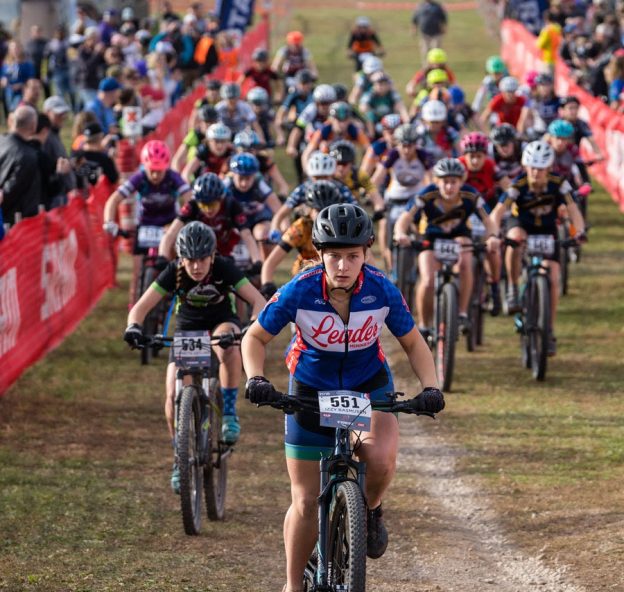
Staff Added to Get More Kids on Bikes at Interscholastic Cycling Assoc.
The National Interscholastic Cycling Association (NICA) adds two new staff positions, in development and partnerships, to get more kids on bikes.
-

Twin Cities Gateway: Vacation Like an Olympian in Blaine, MN
A city in the Twin Cities Gateway known for its many sports opportunities, Blaine is home to the National Sports Center, the largest amateur sports complex in the world. The city also offers a premier hockey rink, many soccer fields, a center to learn the sport of curling, a challenging disc golf course and a…
-
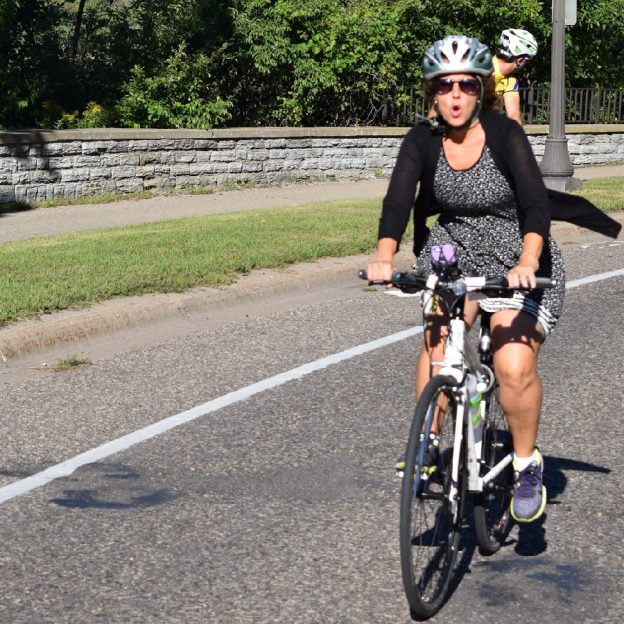
Bike Pic June 15, Less Humidity Equals Another Fun Bike Tour Weekend
Oh what a relief! It looks like the humidly level is going to be a little more pleasant as we we enter another fun bike tour weekend.
-
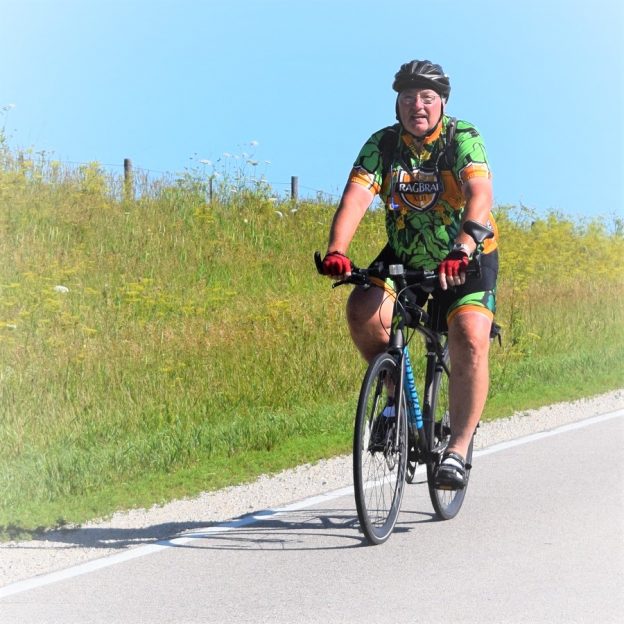
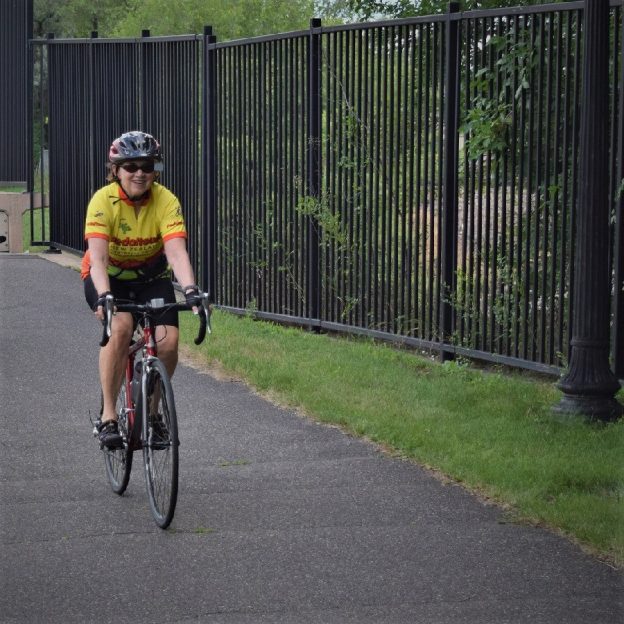
Bike Pic June 14, Getting In Shape On The Root River Bike Tour
Getting in shape for RAGBRAI on the Root River Bluff & Valley Bike Tour coming up July 7, 8 & 9th, in Southeast Minnesota.
-
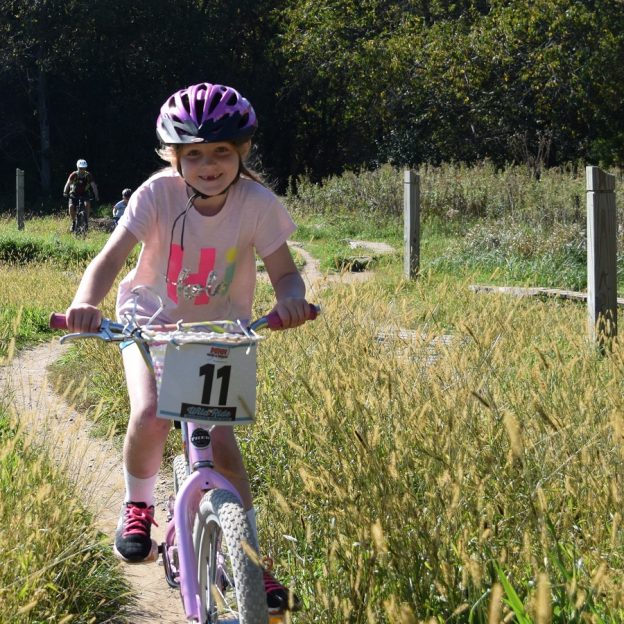
School Is Out, Everyone Is Heading To The Safety Safari At The Como Zoo
Now that school is out everyone is heading to the Safety Safari to help keep you safe along life’s road. A great family experience at the Como Zoo, tomorrow June 13, from 10 a.m. until 1 p.m., in St Paul, MN.
-
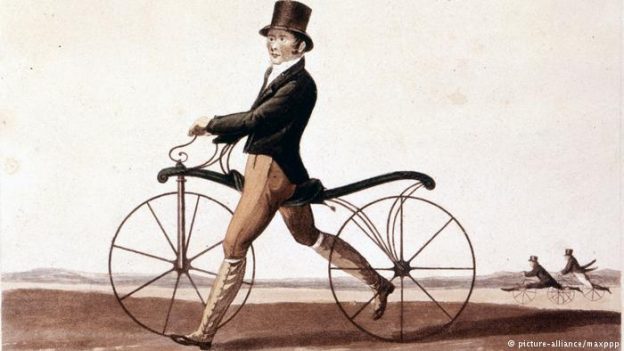
It’s Not Too Late To Celebrate The 200th Birthday Of The Bicycle!
Happy 200th birthday, bikes! Bicycles were first made in Germany, on June 12, 1817, conquering the world and saving the Earth.
-
Experience Fridley’s Nature, Arts and 49er Days in Twin Cities Gateway
Get on your bike and take it in all Fridley has to offer. You’ll find nature trails with birding opportunities, history and art experiences, and more.
-
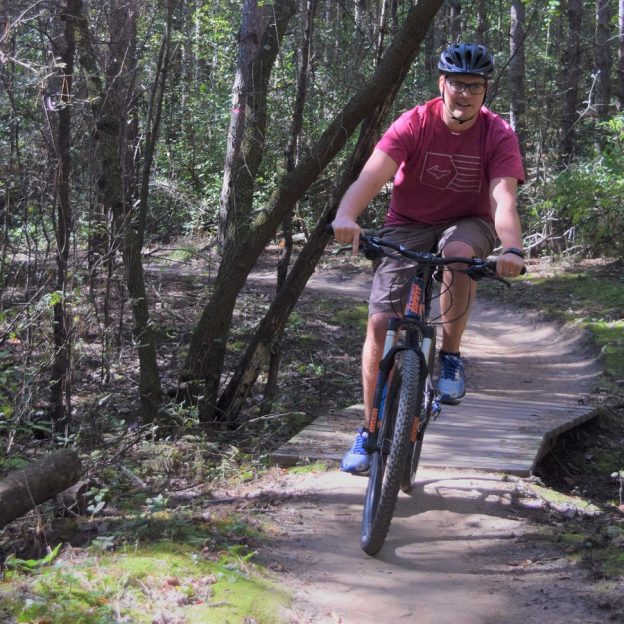
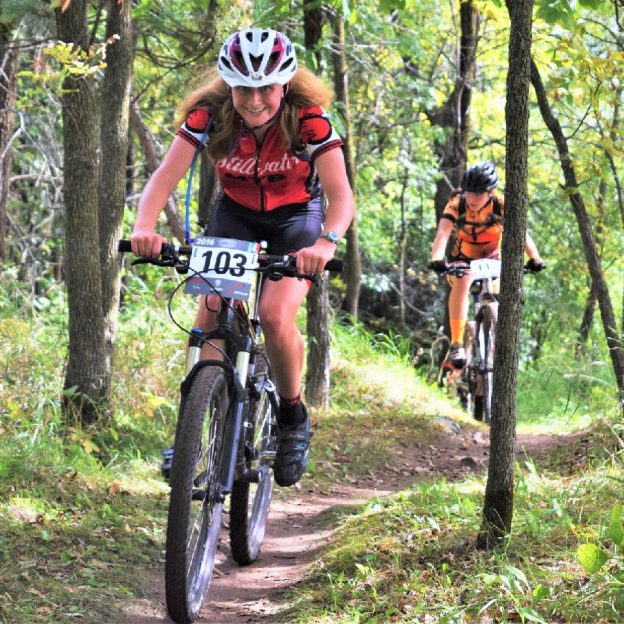
Bike Pic June 12, A Monday Morning Mountain Bike Ride In The Woods
What better way to start your week then a Monday morning mountain bike ride in the woods for your #NextBikeAdventure. With warm, sunny summer weather ahead you will be glad you did.
-
Understanding Bicycle Racing – How Teams Use Tactics and Strategies
Understanding bicycle racing opens up many questions for potential spectators. With the North Star Bicycle Festival & Grand Prix coming back to Minnesota this coming week and the Tour de France beginning July 1st, we wanted to review some of the technical facets and show you a video below on race strategies from this fun…
-
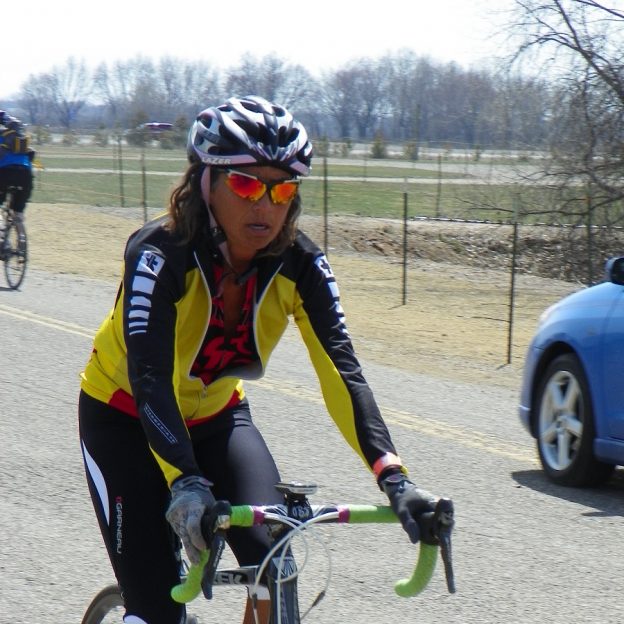
Consider Buying a Nicer Helmet That Adds Comfort to Bicycle Safety
While talking with a neighbor over the weekend, he said, “I need to go get a helmet….to set a good example for my son”. We reviewed all the reasons why buy a helmet and how to find the right one. Then I added some additional suggestions on why a more expensive helmet, with comfort and…