Tag Archives: wheels

You don’t need to be a mountain biker to have a bike crash, after all, accidents happen. Be sure to take a few moments post-crash to inspect your bike.

Bike Crash: What to Look for and Inspect After the Unexpected

by John Brown, HaveFunBiking

I love the feeling of riding bikes. I don’t know if it’s the freedom, the movement, or the ability it gives me to clear my head, but I can’t imagine enjoying any other sport more. As a mountain biker, that tranquil feeling is sometimes interrupted by an unexpected bike crash. While crashing my bike isn’t something I enjoy, I realize that as I try to push my boundaries, a bike crash is a real possibility. You don’t need to be a mountain biker to have a bike crash, after all, accidents happen. However, if you find yourself spontaneously dismounted from your bike, be sure to take a few moments post crash to inspect your bike.

Body, Mind, and Helmet Inspection After a Bike Crash

Nothing on your bike is more important than you. It’s tempting to jump right up after a bike crash, but take a few moments to assess yourself. Make sure your joints (particularly knees and wrists) feel and function okay. Follow that up by looking for any cuts that might need attention. Finally, remove your helmet and check to see if there are signs of impact. If there are, seek medical attention.

Wheels

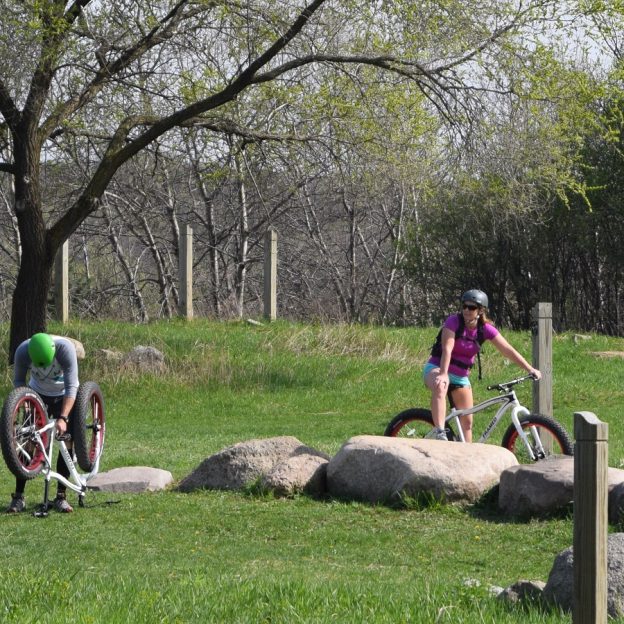
After you have deemed yourself okay, pick up your bike and spin each wheel independently. Look for any wobbles or dents in the rim. Also, look to see if the tire has come unseated from the rim. Sometimes you may not be able to see a slight wobble in the rim, but you can hear the rim hit the brake pad as it rotates if you listen closely. Slight wobbles can be fixed later (as long as the brake pads aren’t hitting the tire) but larger ones will leave you calling for a ride home. If you have AAA for your car, they now offer a bike pickup service as well.

Bars and Seat

Once you have checked the wheels, make sure that the bars and seat on your bike are still straight. Look down over your handlebars and make sure they are in line with the front wheel and level. Next, look down the length of your saddle and make sure it is in line with your bike and not bent down to one side or another. If you see any bending in the seat or handlebars, it’s best to take the bike into your shop and have those parts replaced. You may see some scuffing on the side of your saddle or the end of your handlebar grips. That scuffing is a good indication that your seat or bars made a hard contact with the ground and could need replacement.

Derailleurs

Before you ride away, look at your rear derailleur from the back of the bike. The top and bottom pulley should be in line with the cog above it. If it is bent inward, do not ride the bike. A bent derailleur will still hold the chain on the gears, but as you shift into a lower gear, it will get caught in your wheel. This scenario usually leads to a destroyed derailleur and can even result in a destroyed bike.


Frame

Look at the frame and inspect each tube carefully. You are looking for any dents (on metal bikes) or cracks (on metal and carbon frames). If you see damage to the frame, have it checked at your local shop before you continue to ride it.


Brakes

The last thing to check is the brakes. Make sure they operate properly by spinning the wheels and inspecting where the pad hits the rim. If the pads hit the tire, adjust the brake before riding away. A brake pad can make quick work of a tire, leaving you in a far worse situation.

Follow up

For the next few rides, be sure to pay close attention to how you feel and how the bike feels. I have had injuries appear days after a crash. Similarly, my bike has sustained damage that I missed upon my initial inspection. Listen for strange noises coming from the bike, or any change to the way the bike handles.