Tag: #ridemybike
-
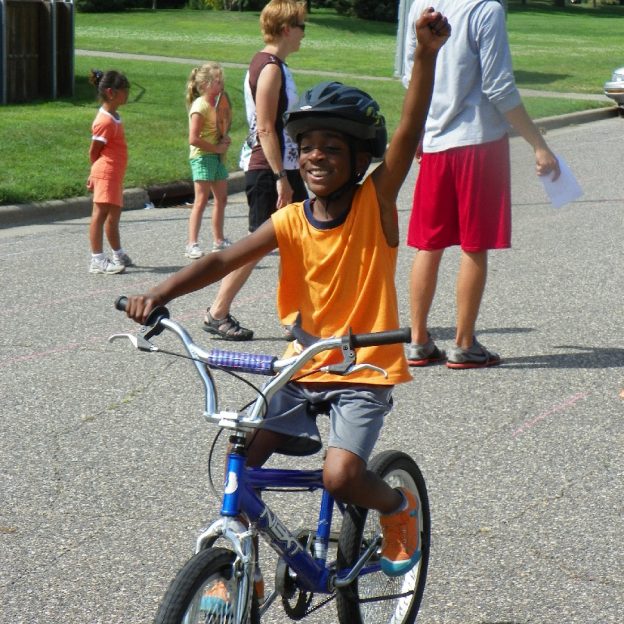
Bike Pic Feb 22, it’s throwback Thursday with more above normal temps today
It’s throwback Thursday, and a reminder that summer may be here early
-
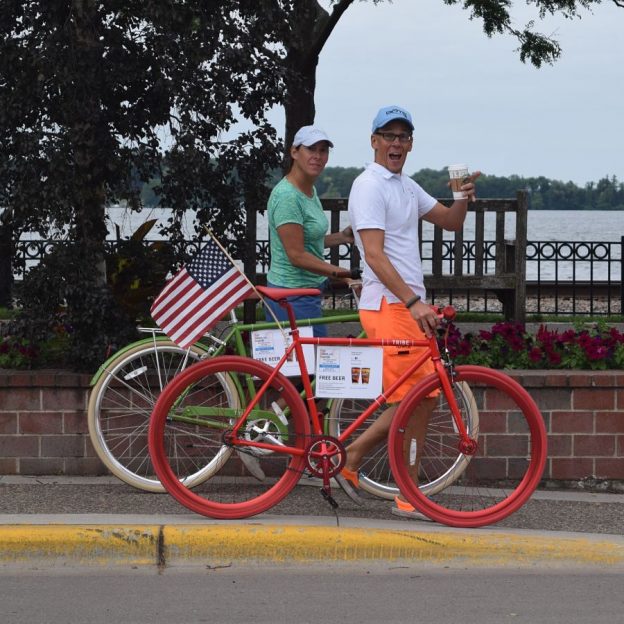
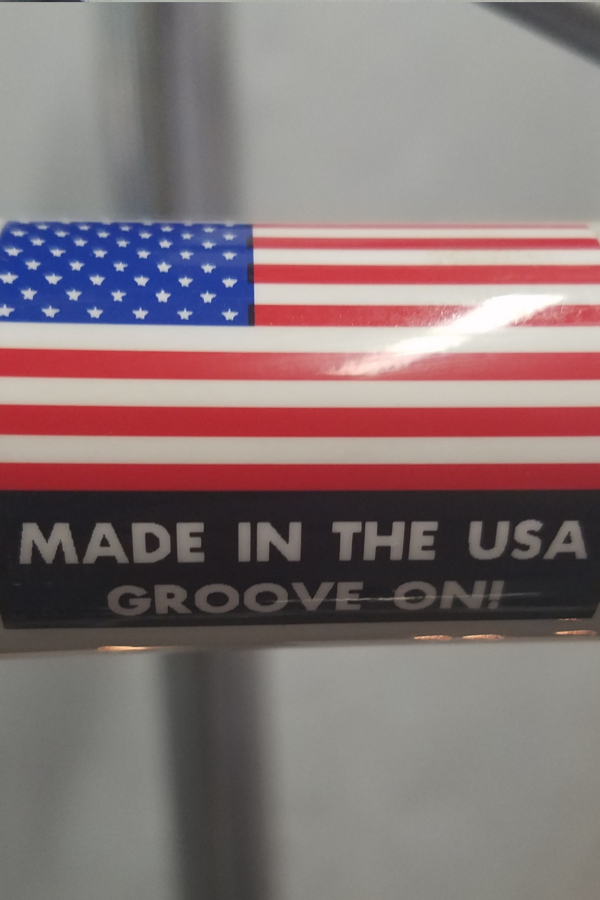
Bike Pic March 2, Take Pride In This Great Country We Live In
“From the lakes of Minnesota, to the hills of Tennessee, across the plains of Texas, from sea to shining sea.” We are fortunate to live in a country that takes pride in what we stand for and a country that is free.
-
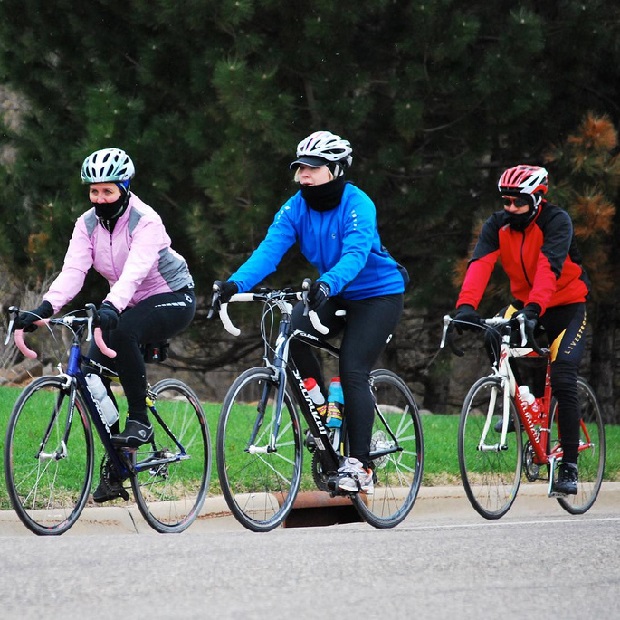
Bike Pic Feb 20, winter riding conditions requires proper clothing
This Monday, as winter weather returns, see these tips on warmer clothing
-
-
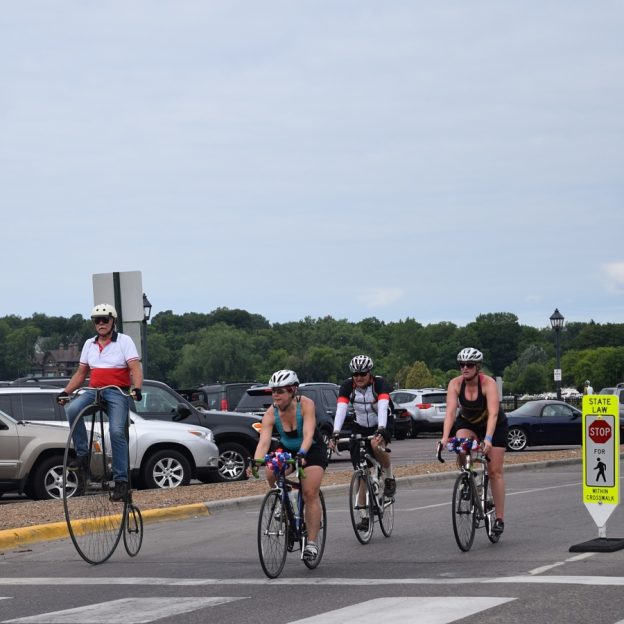
Bike Pic March 4, Take A Trip Back To The Big Wheel, Penny-Farthing
This Thursday, to take a trip back in time to the first bicycle
-
Suspension Setup For Your Smoothest, Fastest, and Best Ride Ever
Most mountain bikes today are coming equipped with a suspension fork, many offer suspension for both the front and rear wheel. Additionally, the technology being employed in these suspension systems has become truly amazing. However, as assume as a suspension is it does nothing unless setup correctly. Read on to learn how the right suspension…
-
MinneCycle: Show Review and Why Buy a Custom Bike?
With hundreds of custom bike builders in the US, and hundreds more spread across globe, how do you pick the right builder? Start with shows like Minnecycle, and when possible and have a conversation.
-
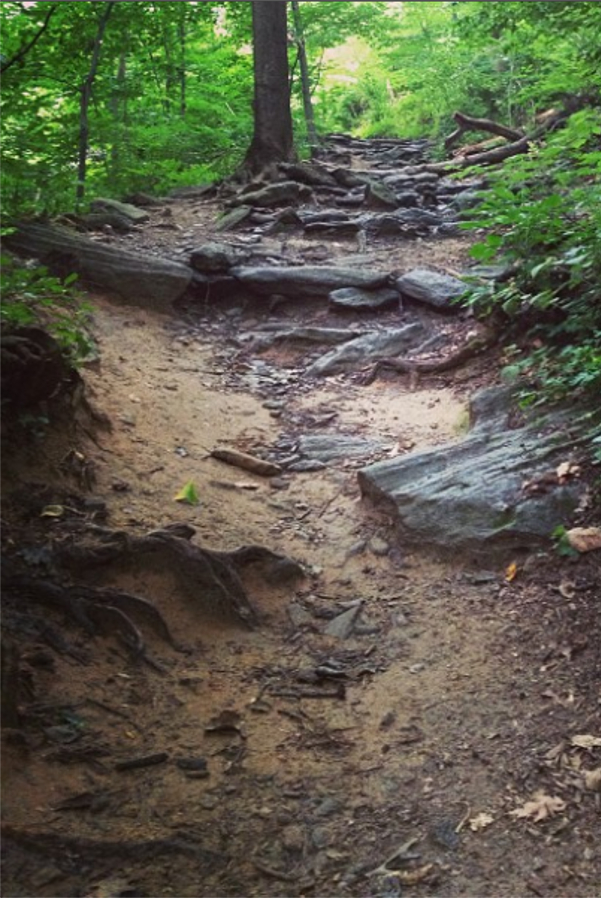
Mountain Bike Hacks: Tips and Tricks to Get You Riding Rocks Fast
One of the most intimidating situations in mountain biking is riding rocks. Places like the east coast have football field long gardens of granite that appear impossible to traverse by bike. Although as impossible as they might appear, just a few tips and some regular practice will have you zipping through rock gardens as if…
-
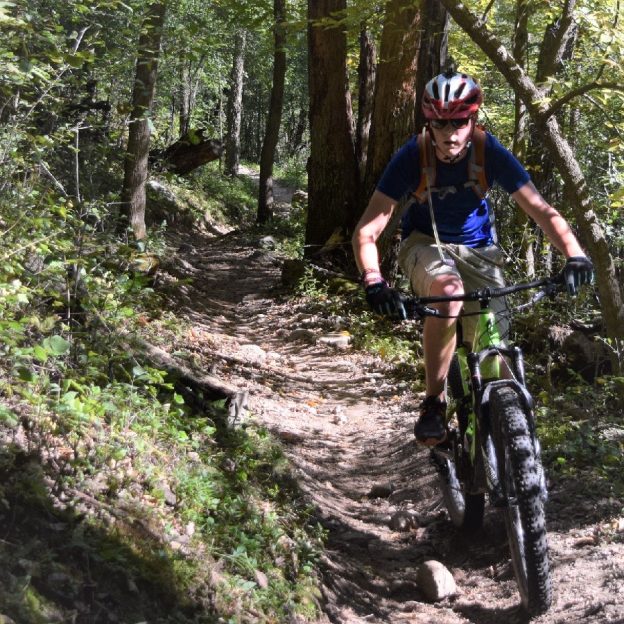
Mountain Bike Hacks: How to Descend with Speed and Confidence
For Many, the fun of mountain biking is going down hill. So how do you descend with speed and confidence? You will find it is as easy as controlling your weight, position and growing skills.
-
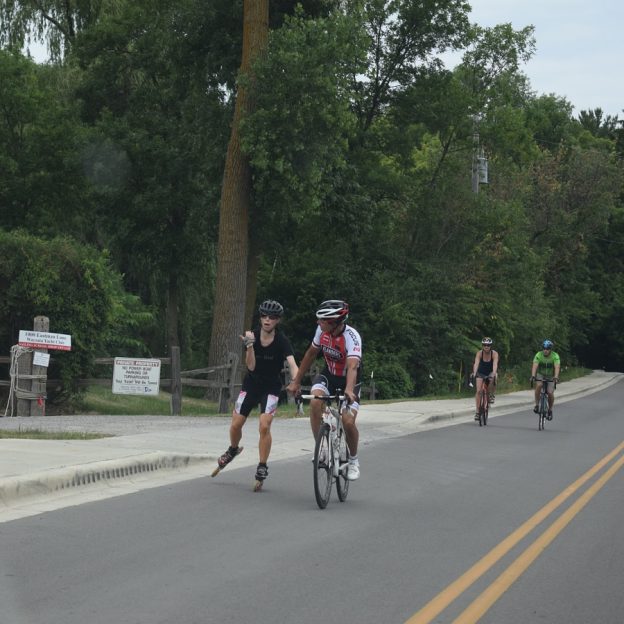
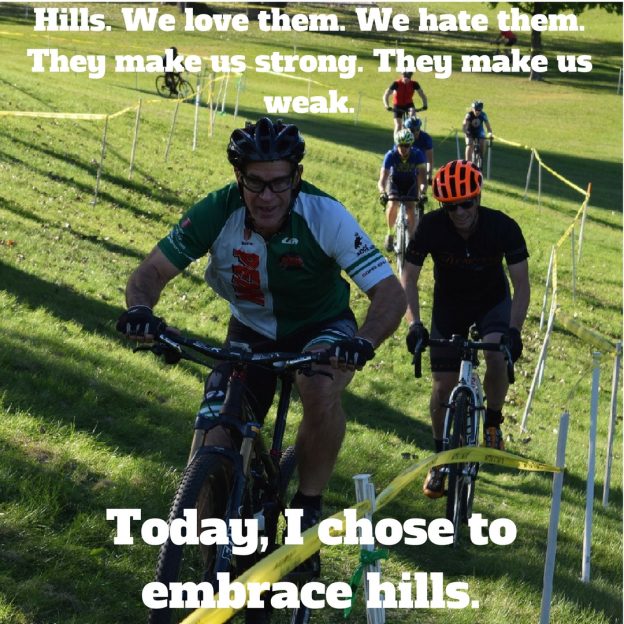
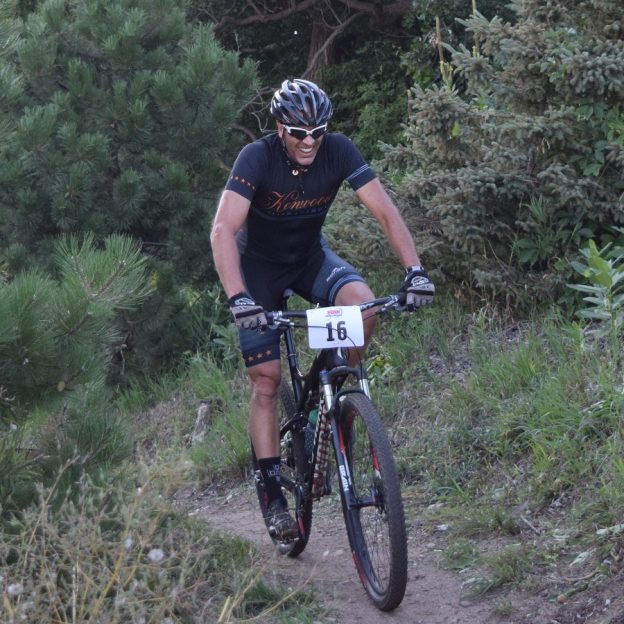
Bike Pic March 15, Being Active Is What Keeps Us Healthy and Having Fun!
Biking isn’t for everyone, but being out there and being active is awesome. So whatever you do, you’re being active and promoting a healthy lifestyle!